


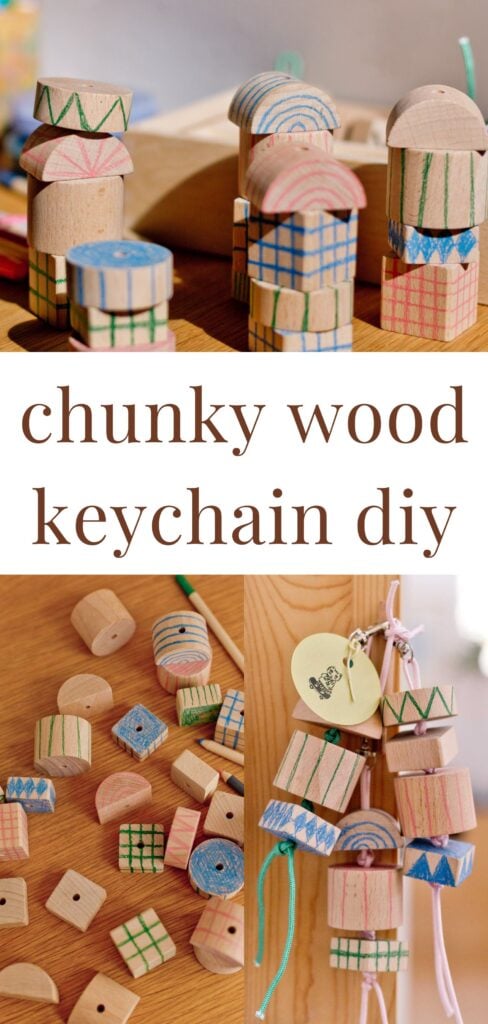
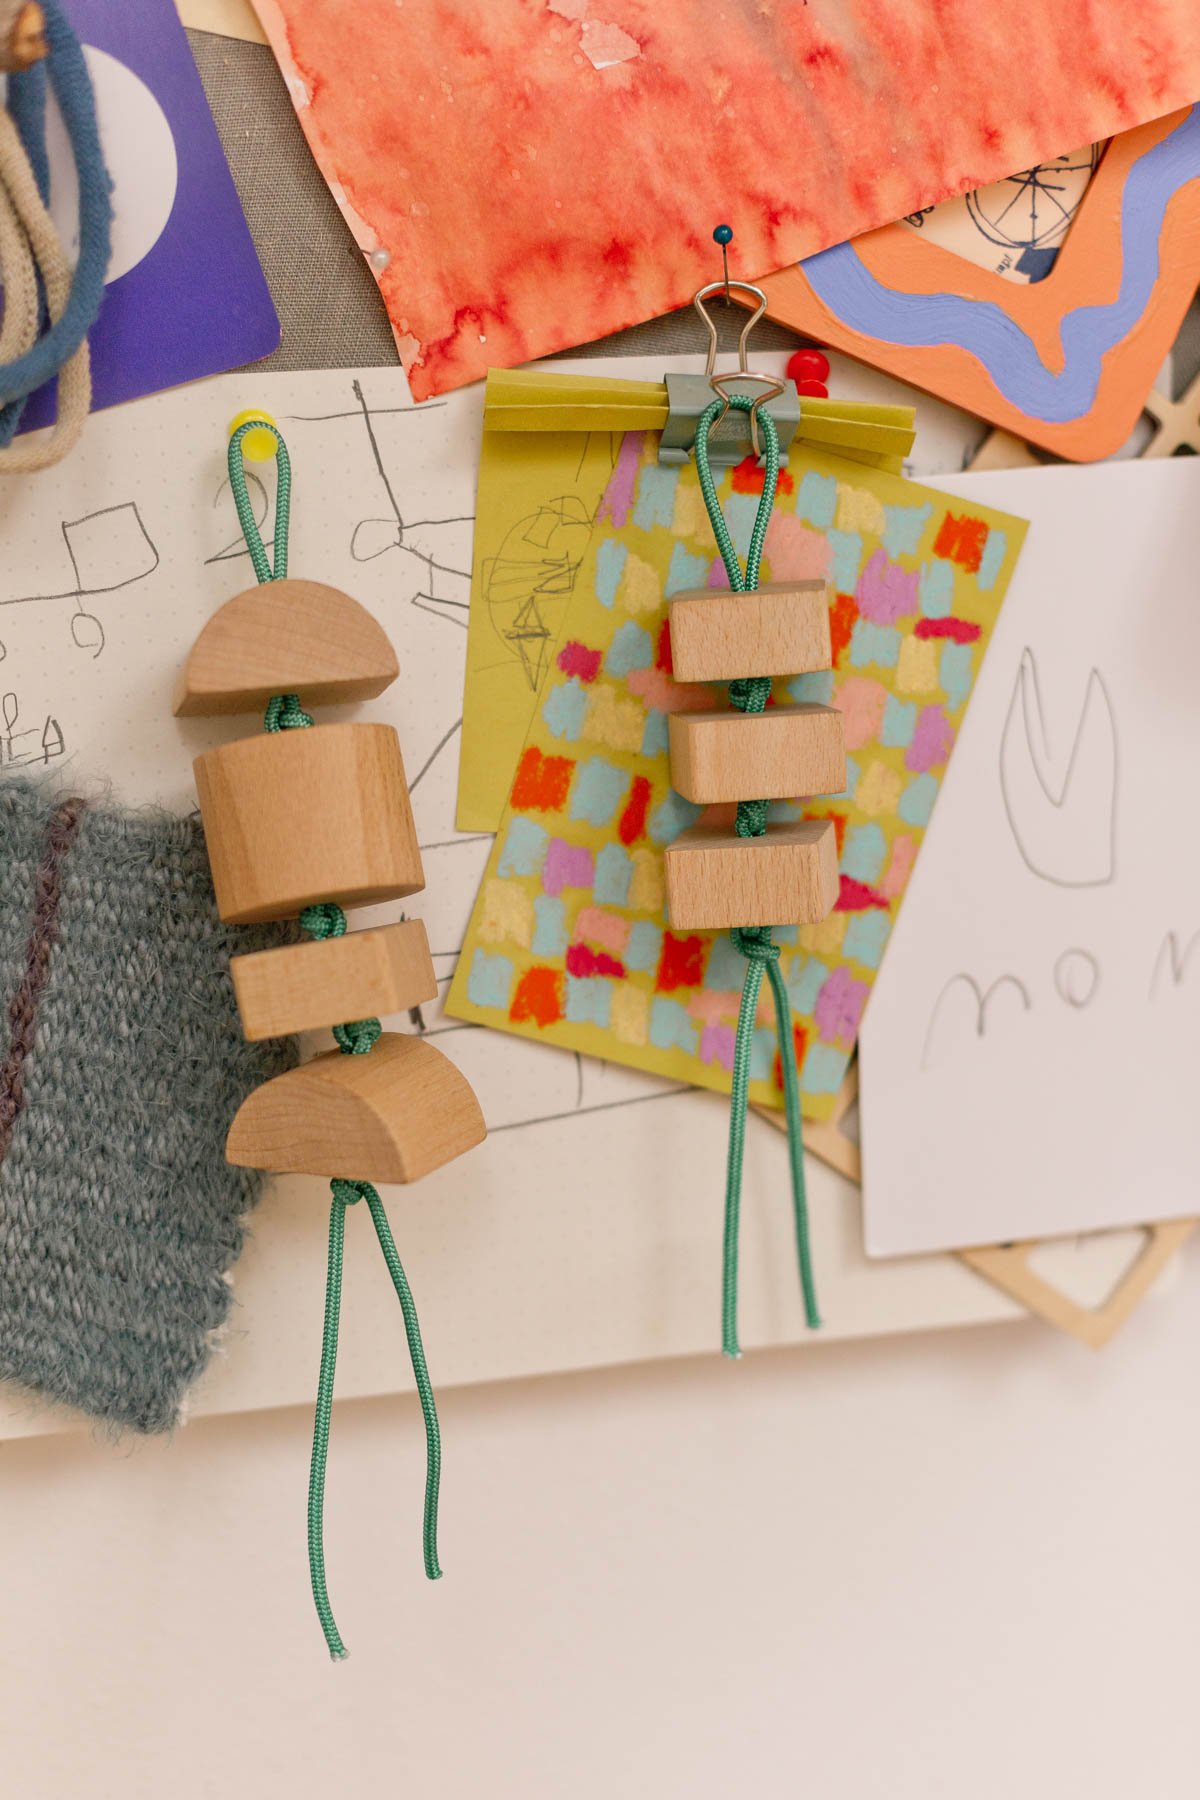
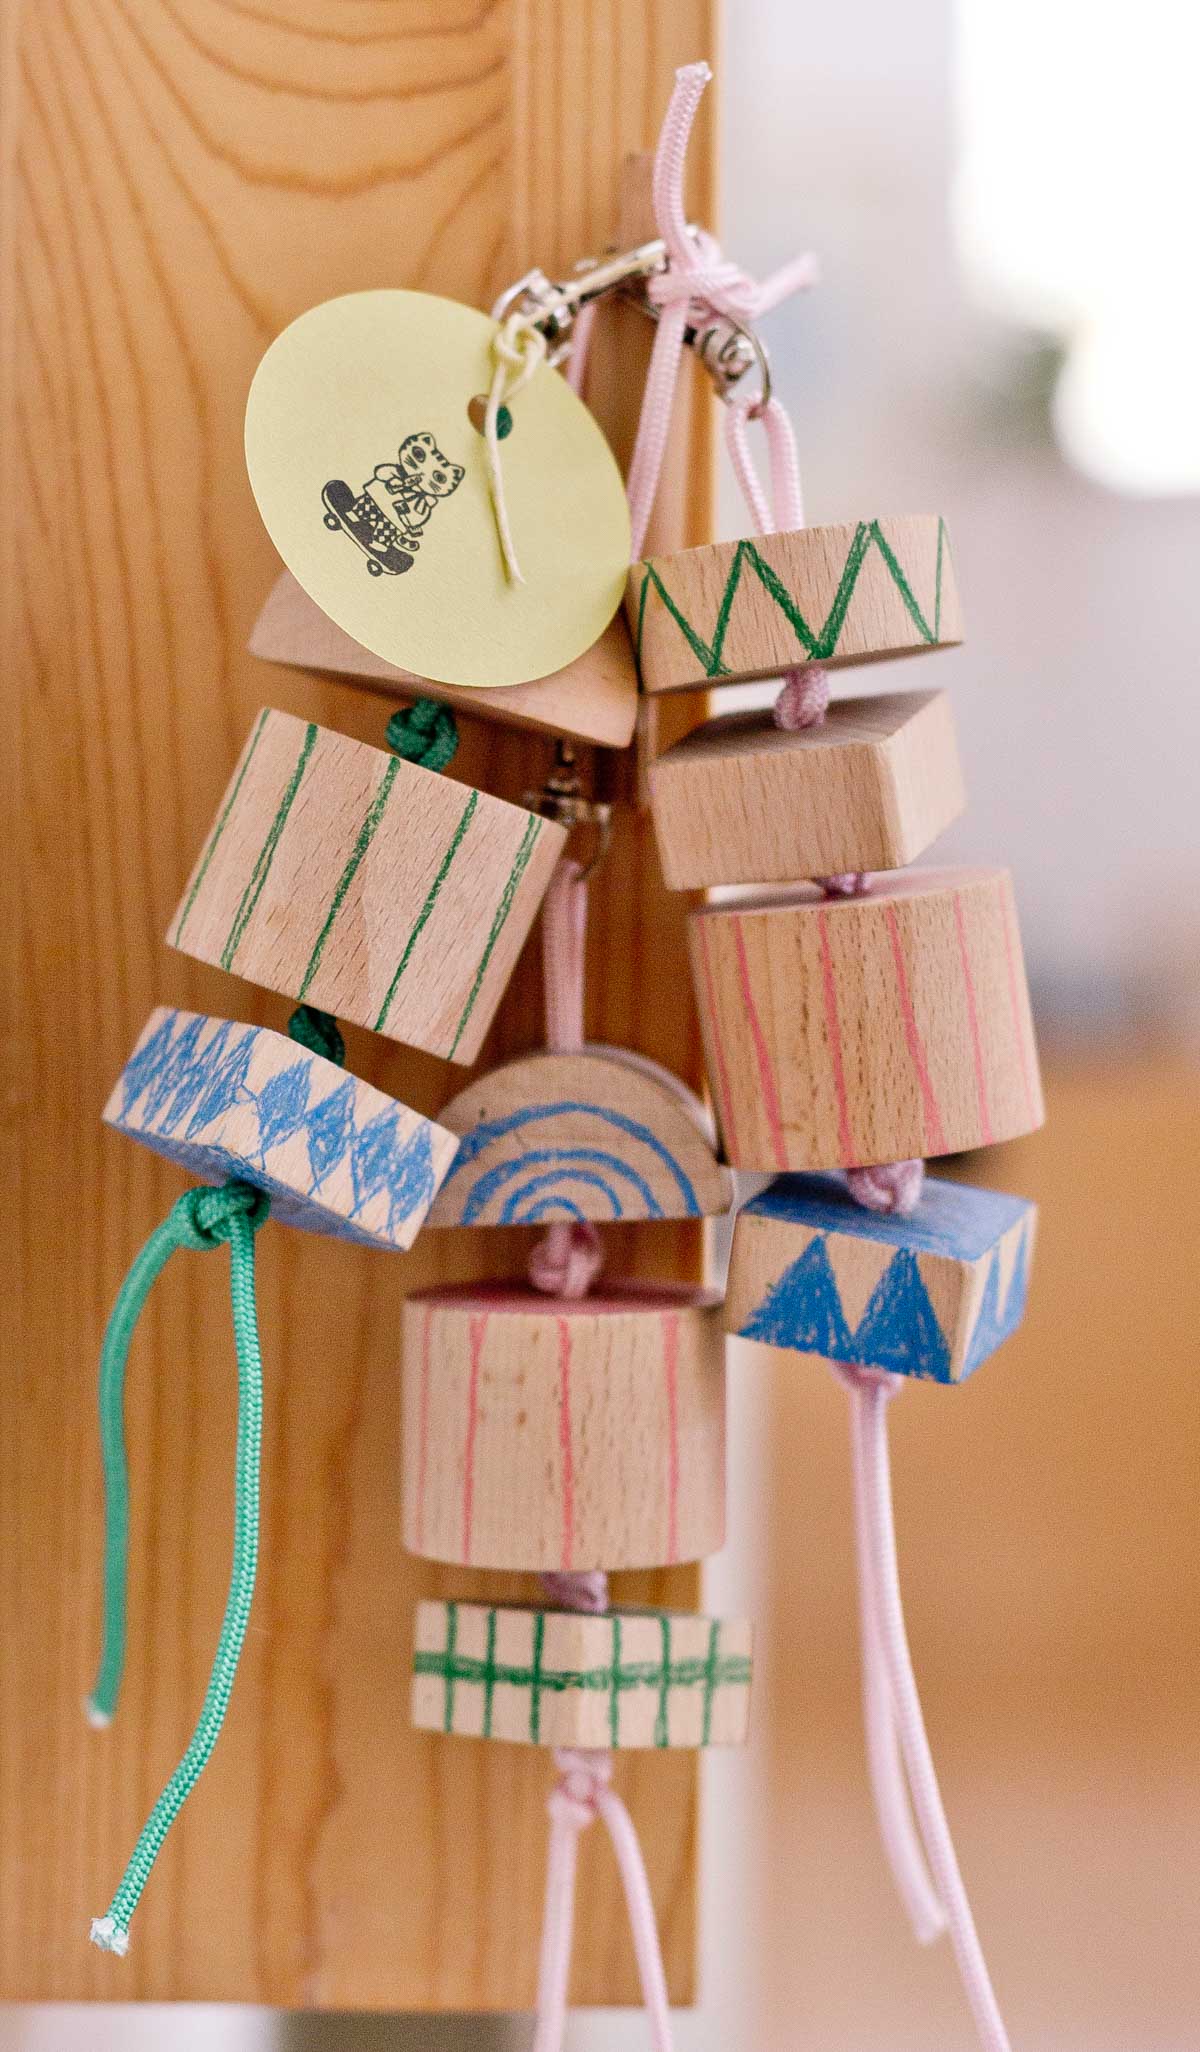
Right here’s a straightforward venture that may make an excellent reward for youths: a cool (and chunky) wooden keychain full of character.
These wooden block keychains are a enjoyable DIY to attempt for again to highschool, Christmas presents, stocking stuffers, even distinctive social gathering bag fillers for birthdays. One thing that youngsters might connect to their backpacks, lunchbox, or tote bag that can truly final!
I ended up making 8-10 of those fairly rapidly (an hour or two) for a fundraiser at my son’s colleges, that includes handmade objects. They had been reasonably priced to get the provides for and really straightforward to make. Win-win!
Alongside those self same strains, I really feel like these keychains can be a cute factor to promote at a craft truthful too. A low-cost merchandise that will get individuals trying out your sales space. Anyway! Right here’s find out how to make ’em…
Provides for DIY Keychain
- chunky wooden blocks*
- thick keychain cording
- lobster clasp keychain elements
- coloured pencils or paint (non-compulsory)
- sealant (non-compulsory)
- scissors
*In the event you use wooden blocks that don’t have already got a gap by way of the center of them, you’ll have to drill holes within the blocks first, earlier than getting began with this venture.
Make a Wooden Keychain
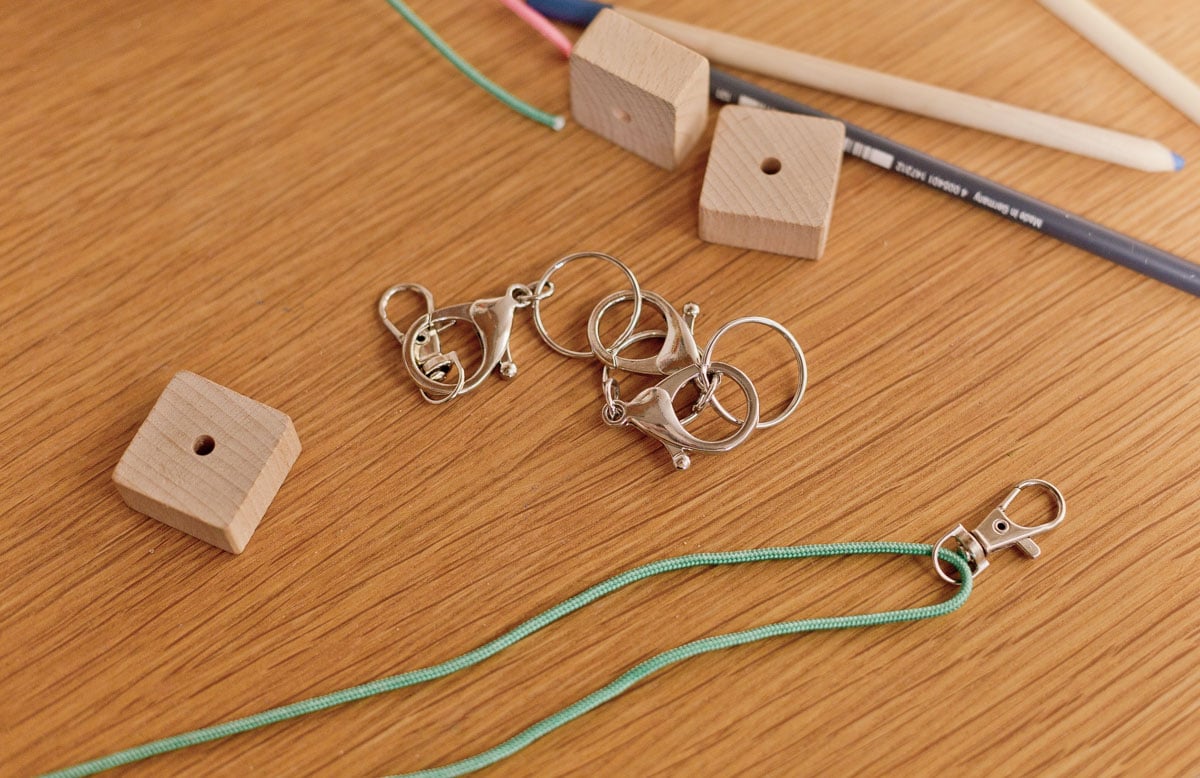
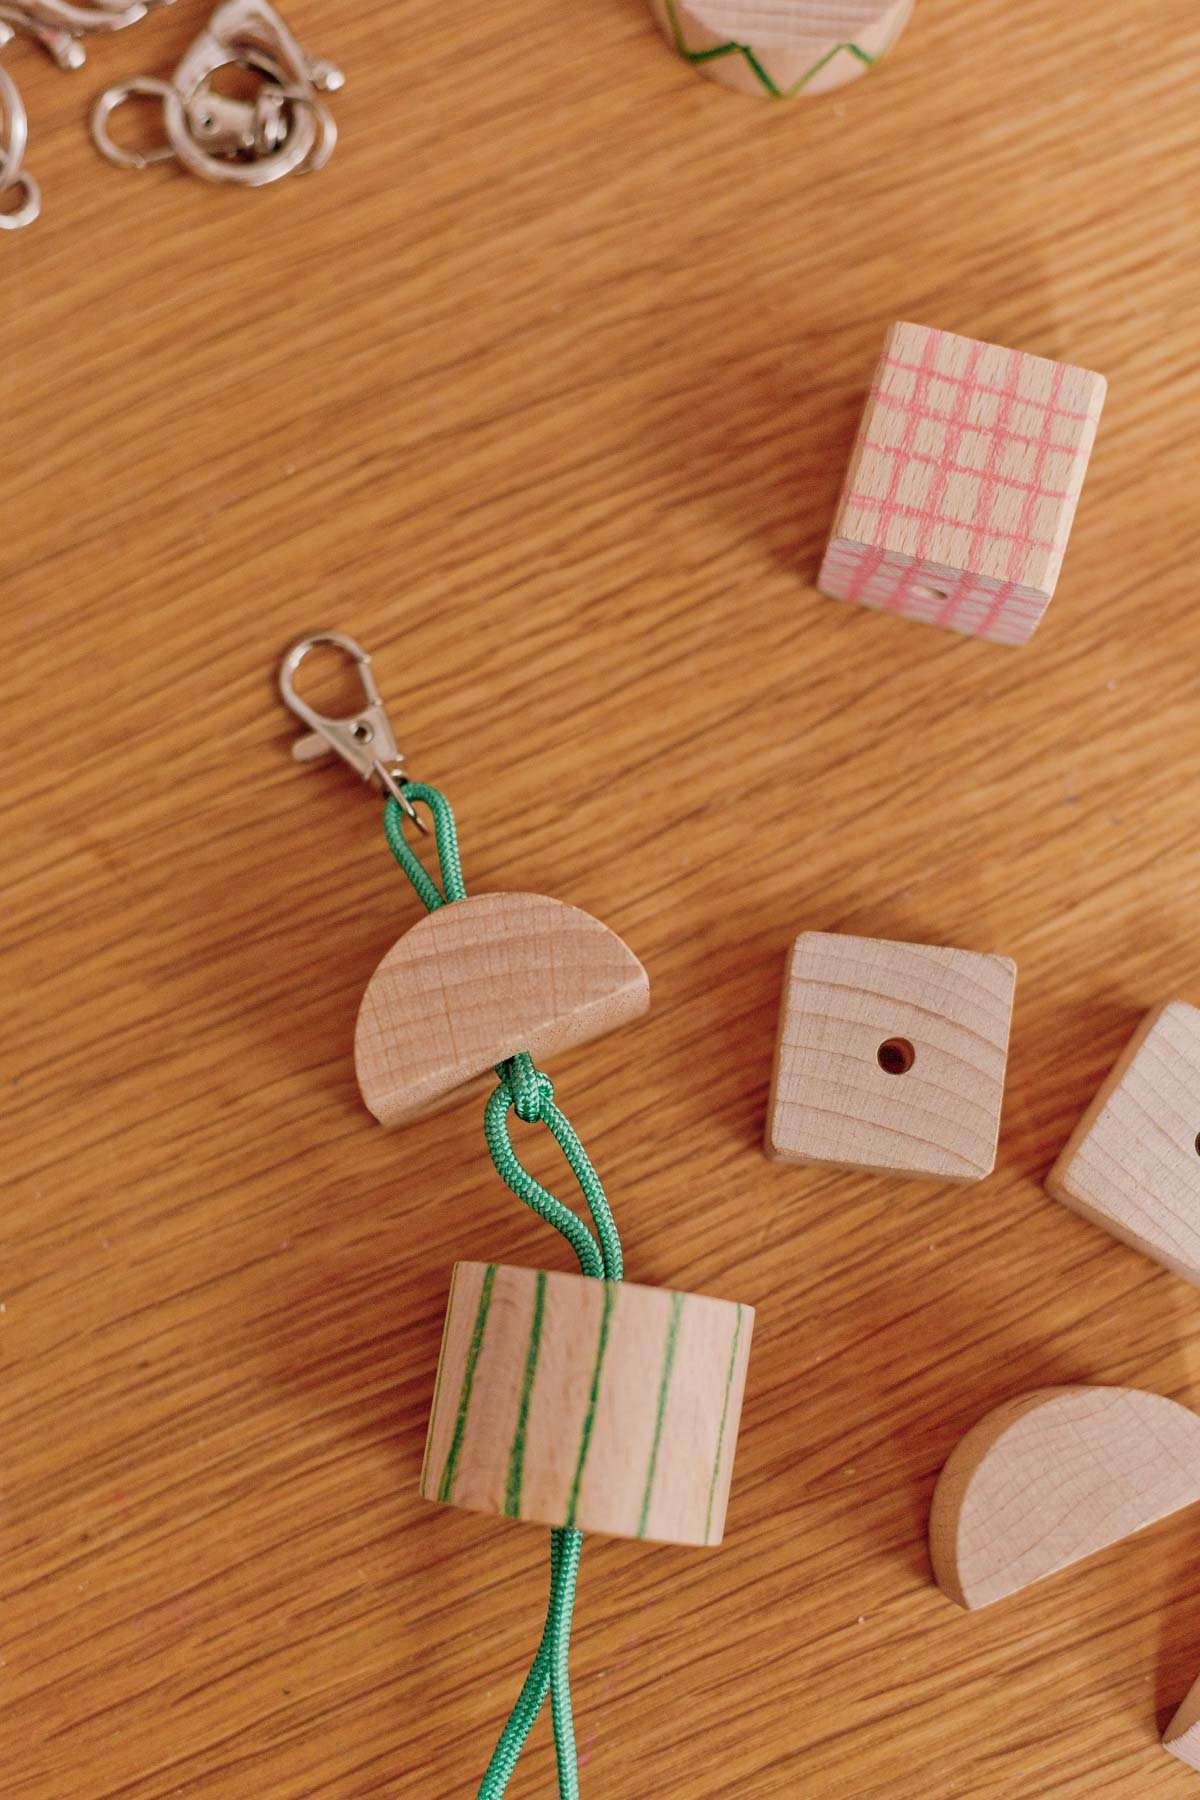
1. String a keychain clasp onto twine.
Making your personal keychain is easy. Begin by stringing a keychain clasp onto the cording, on the midway level. So there may be an equal size of twine on both sides of the clasp.
I’ve just a few completely different sizes of those lobster clasp keychain elements, however the small ones are those I like most.
Put aside.
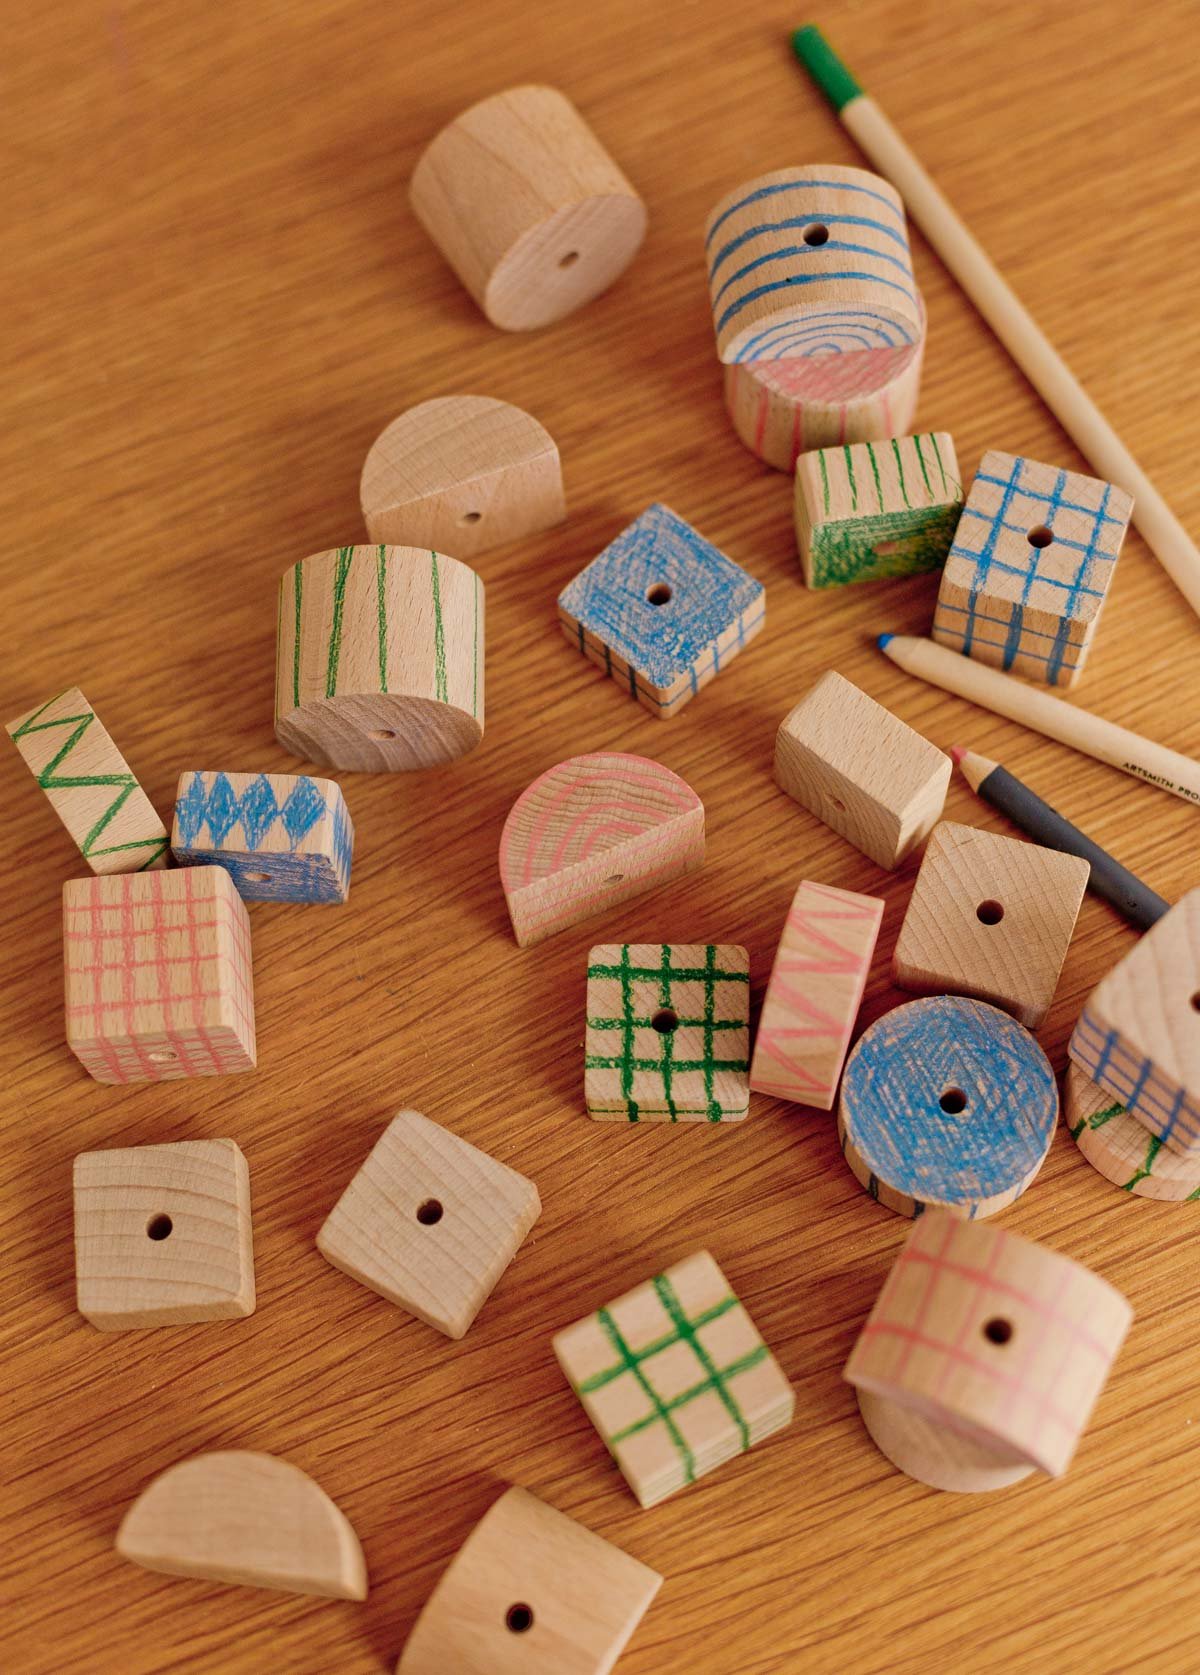
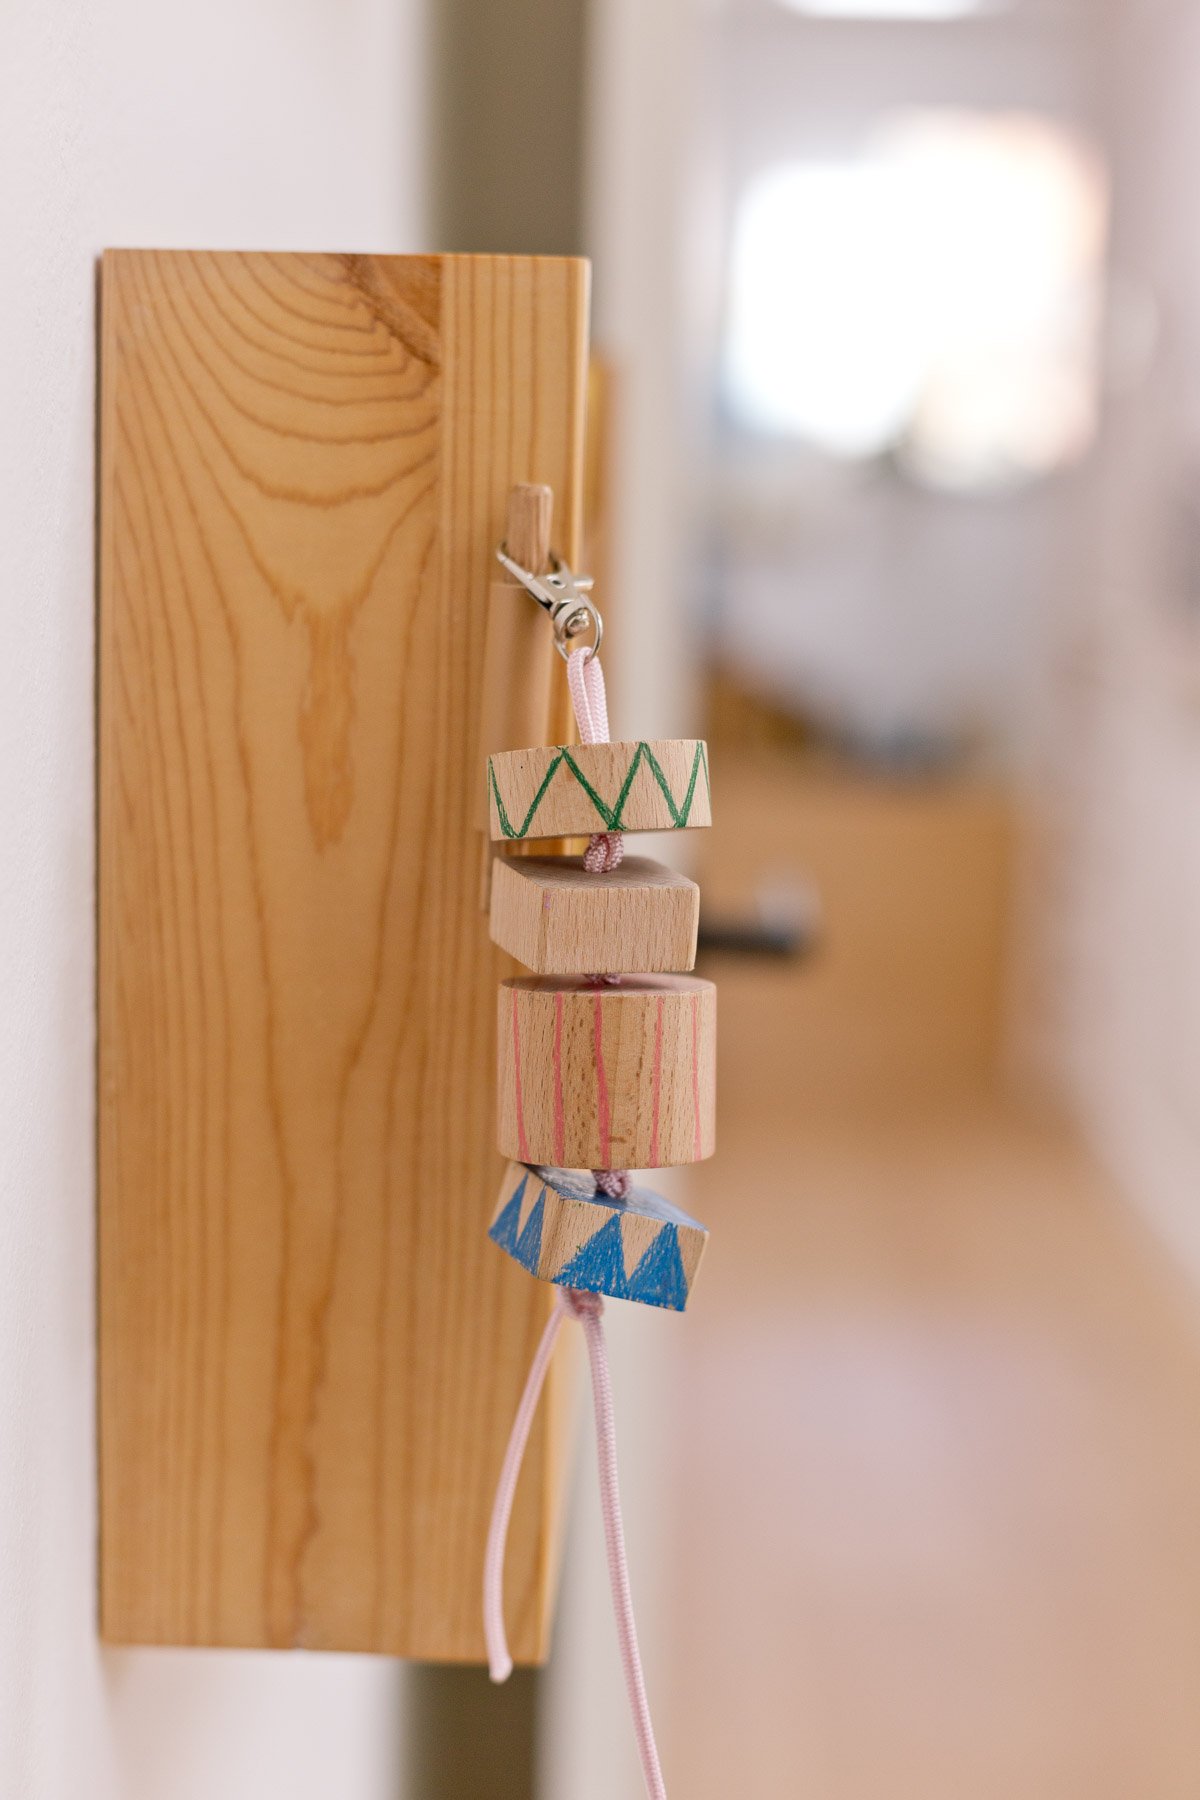
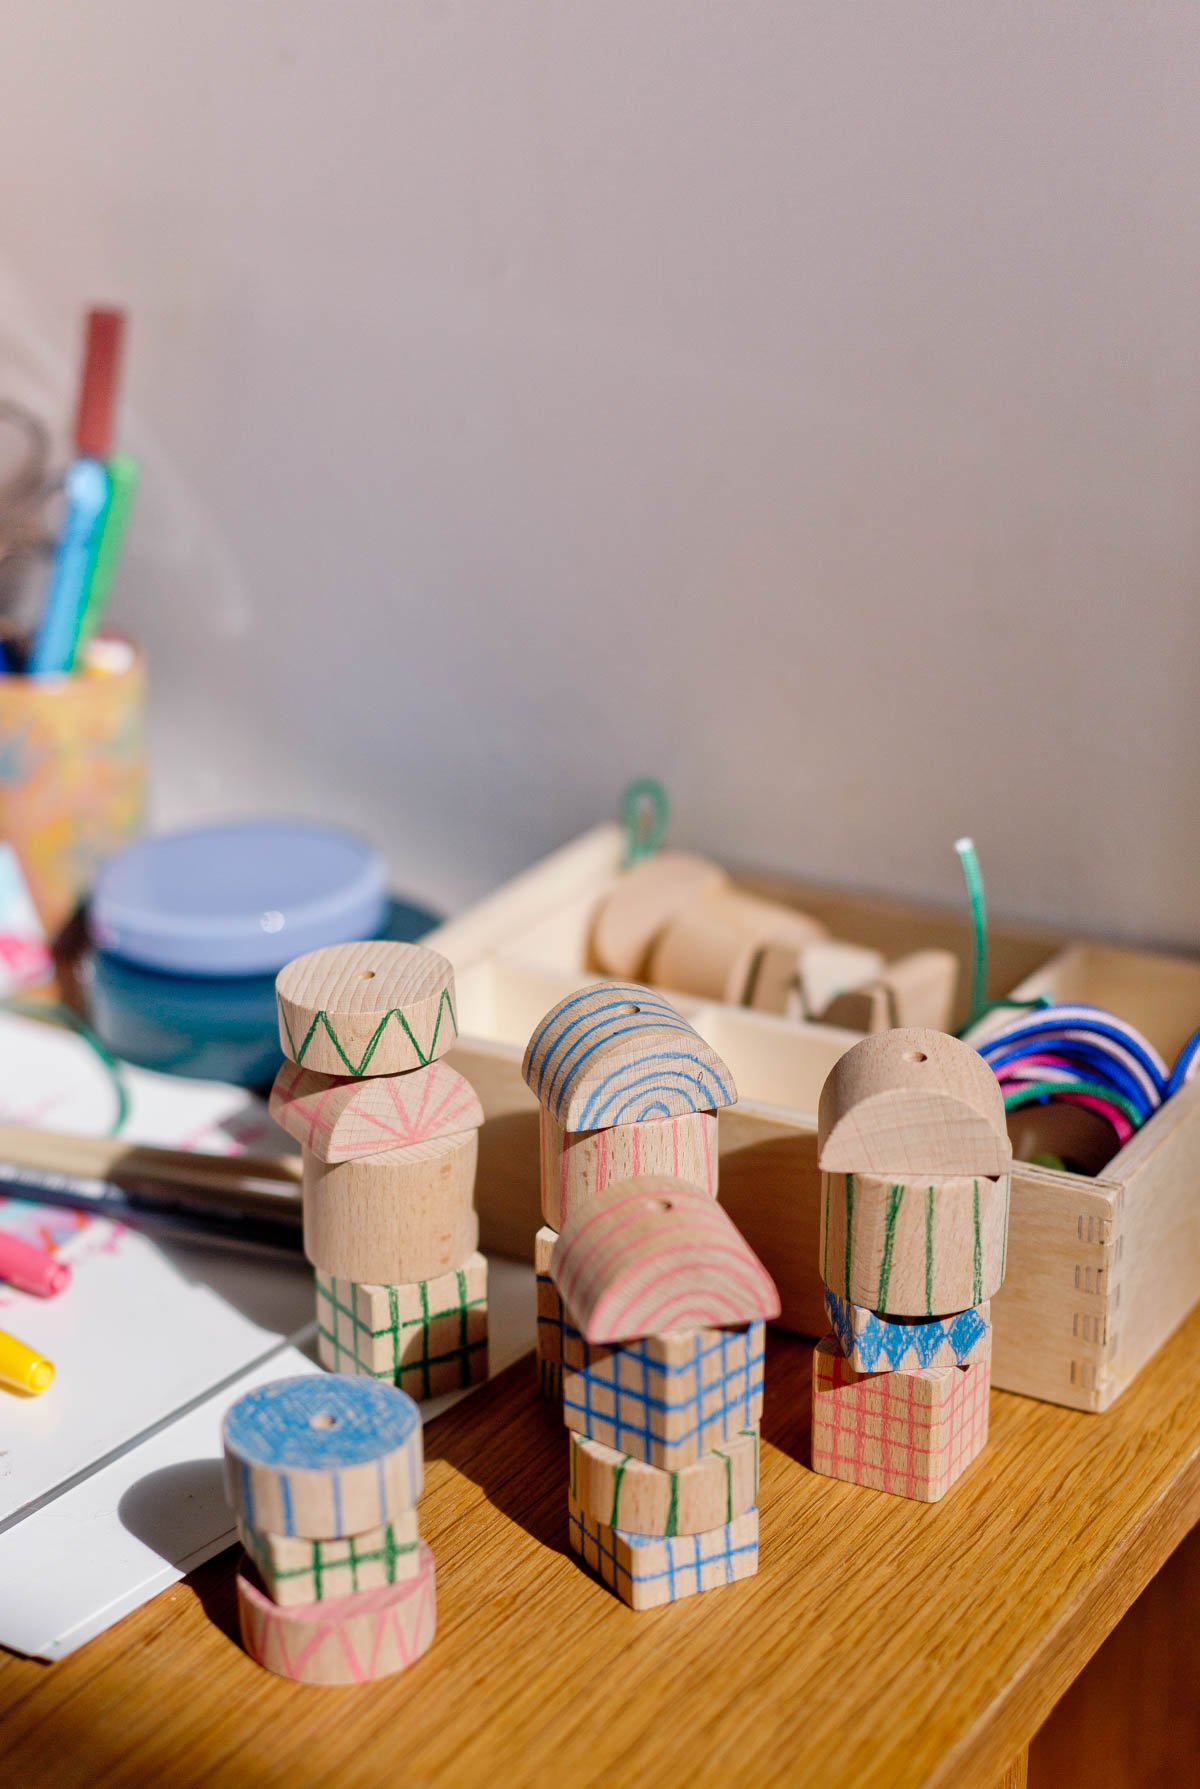
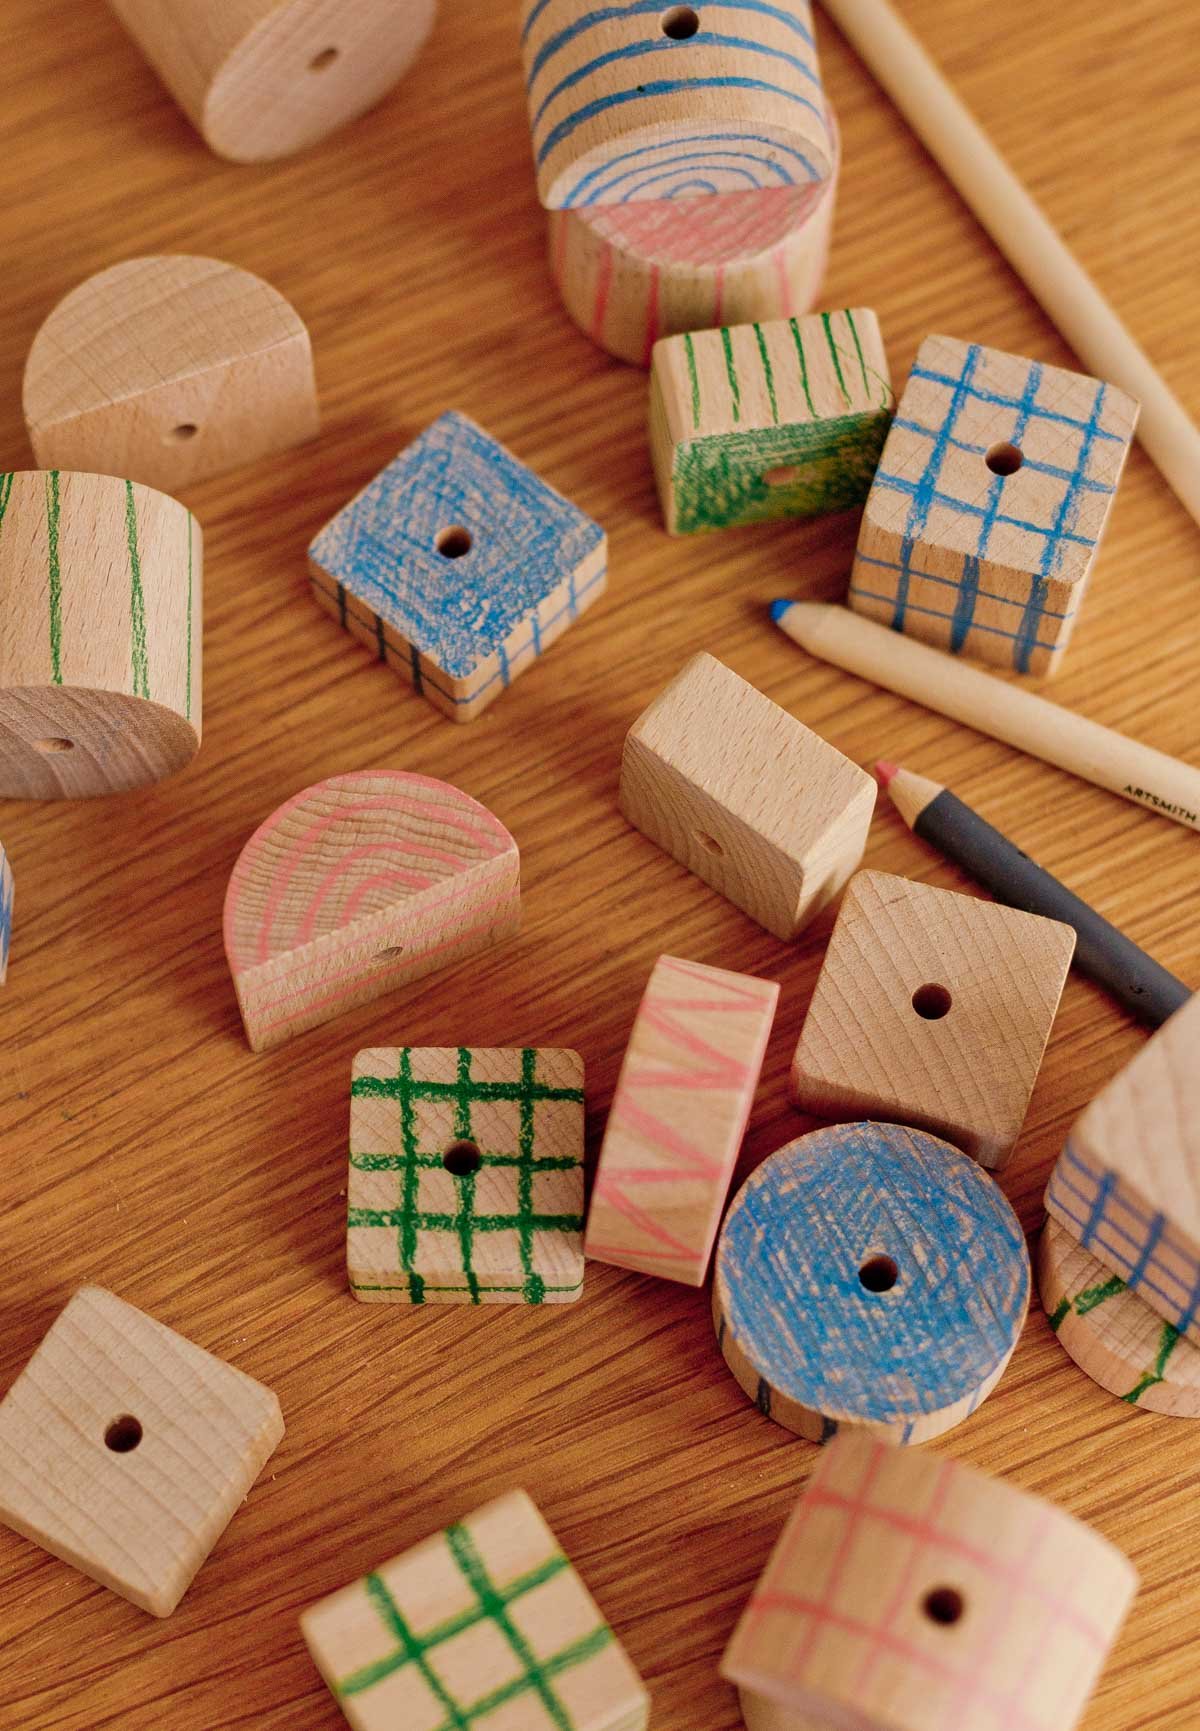
2. Draw or paint on blocks.
I like the shapes of those blocks and I believe they give the impression of being cute on their very own, with none doodles. BUT I additionally suppose it provides a bit extra attraction to have little patterns and doodles on the blocks.
That is the proper job for youngsters. They by no means get uninterested in doodling on all of the issues, proper?
3. Seal the wooden blocks.
In the event you’re utilizing coloured pencils or one thing comparable, you might need to seal the wooden blocks after the drawings are full. You need to use a matte medium, Mod Podge, and even aerosol hairspray (unusual, however it works) to maintain your drawings in place / seal them in.
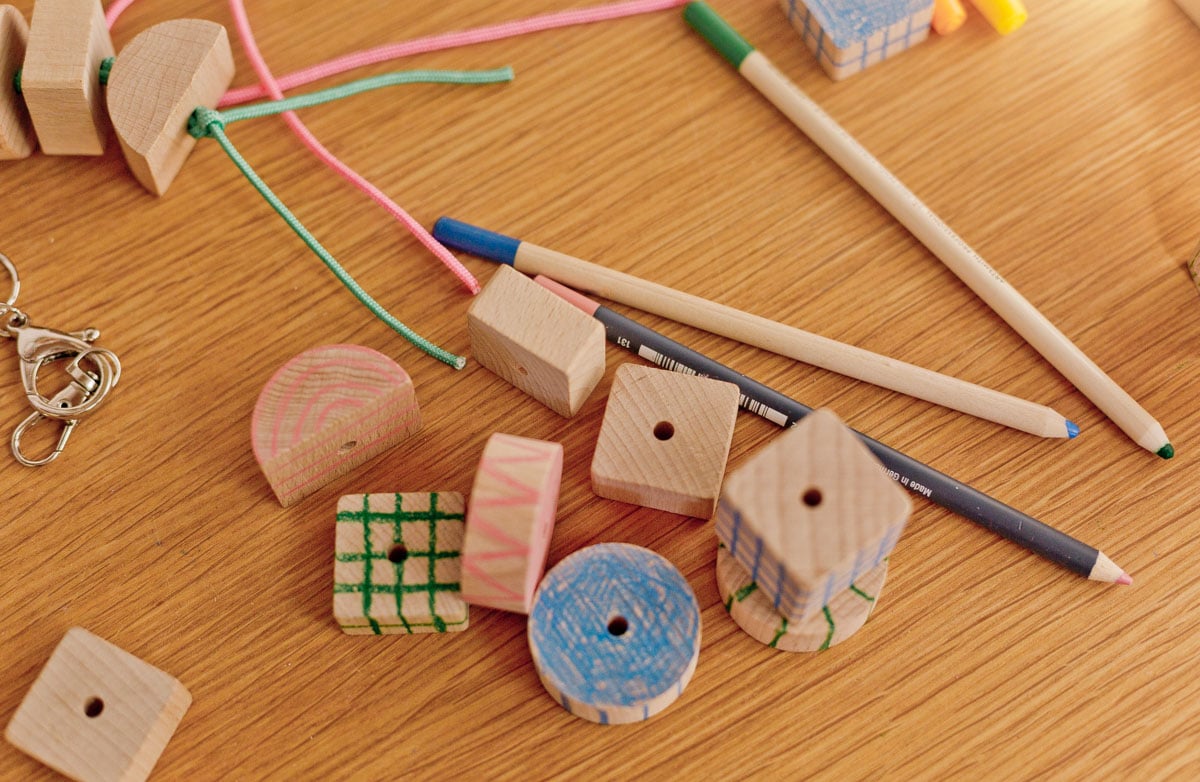
4. String the wooden blocks onto the twine.
String the primary wooden block onto each ends of the cording and push it (nearly) all the way in which as much as the place the clasp is. You’ll need to go away anyplace from a half inch to a full inch on the prime, making a loop.
Then, take the 2 ends of the cording beneath the block that was simply strung on, and tie it in a knot as near the underside of that wooden block as doable.
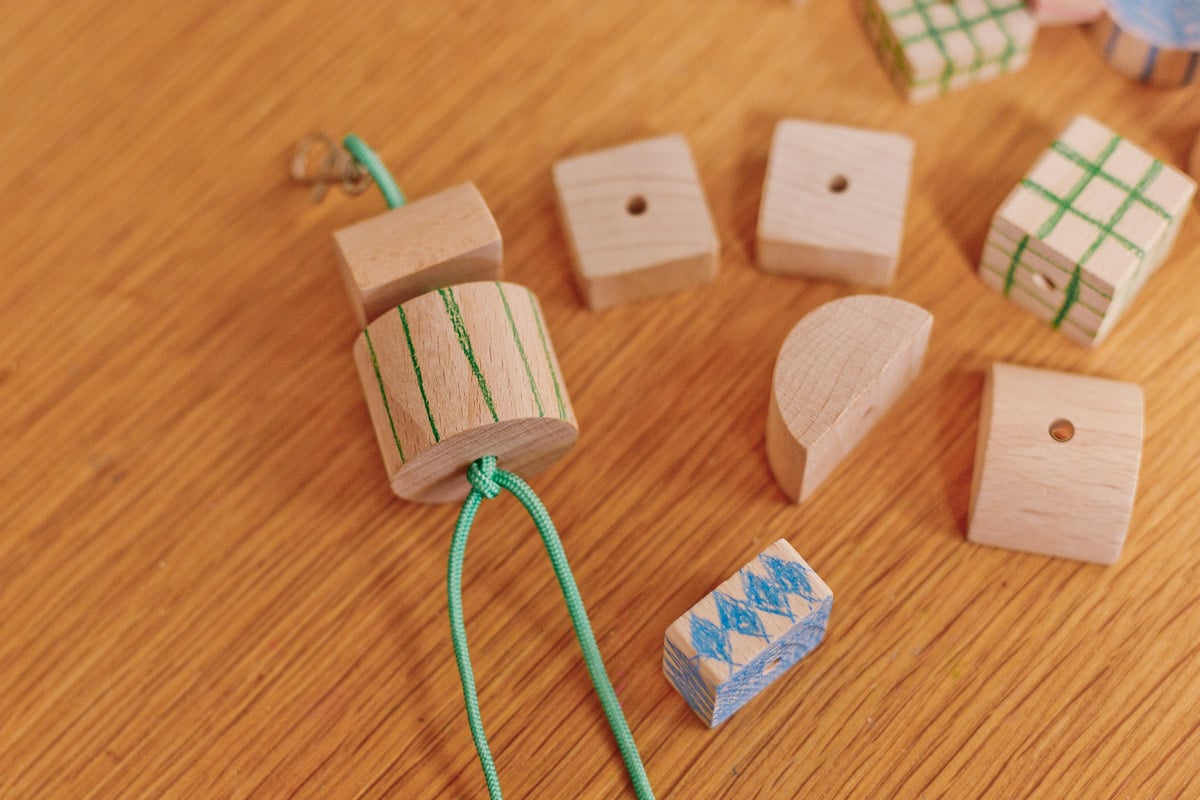
5. Proceed the method and double knot the very finish.
You’ll proceed this strategy of stringing blocks and knotting the twine beneath them till you’ve reached the specified size / variety of blocks. The final knot ought to be a double knot, to maintain the beads from unraveling.
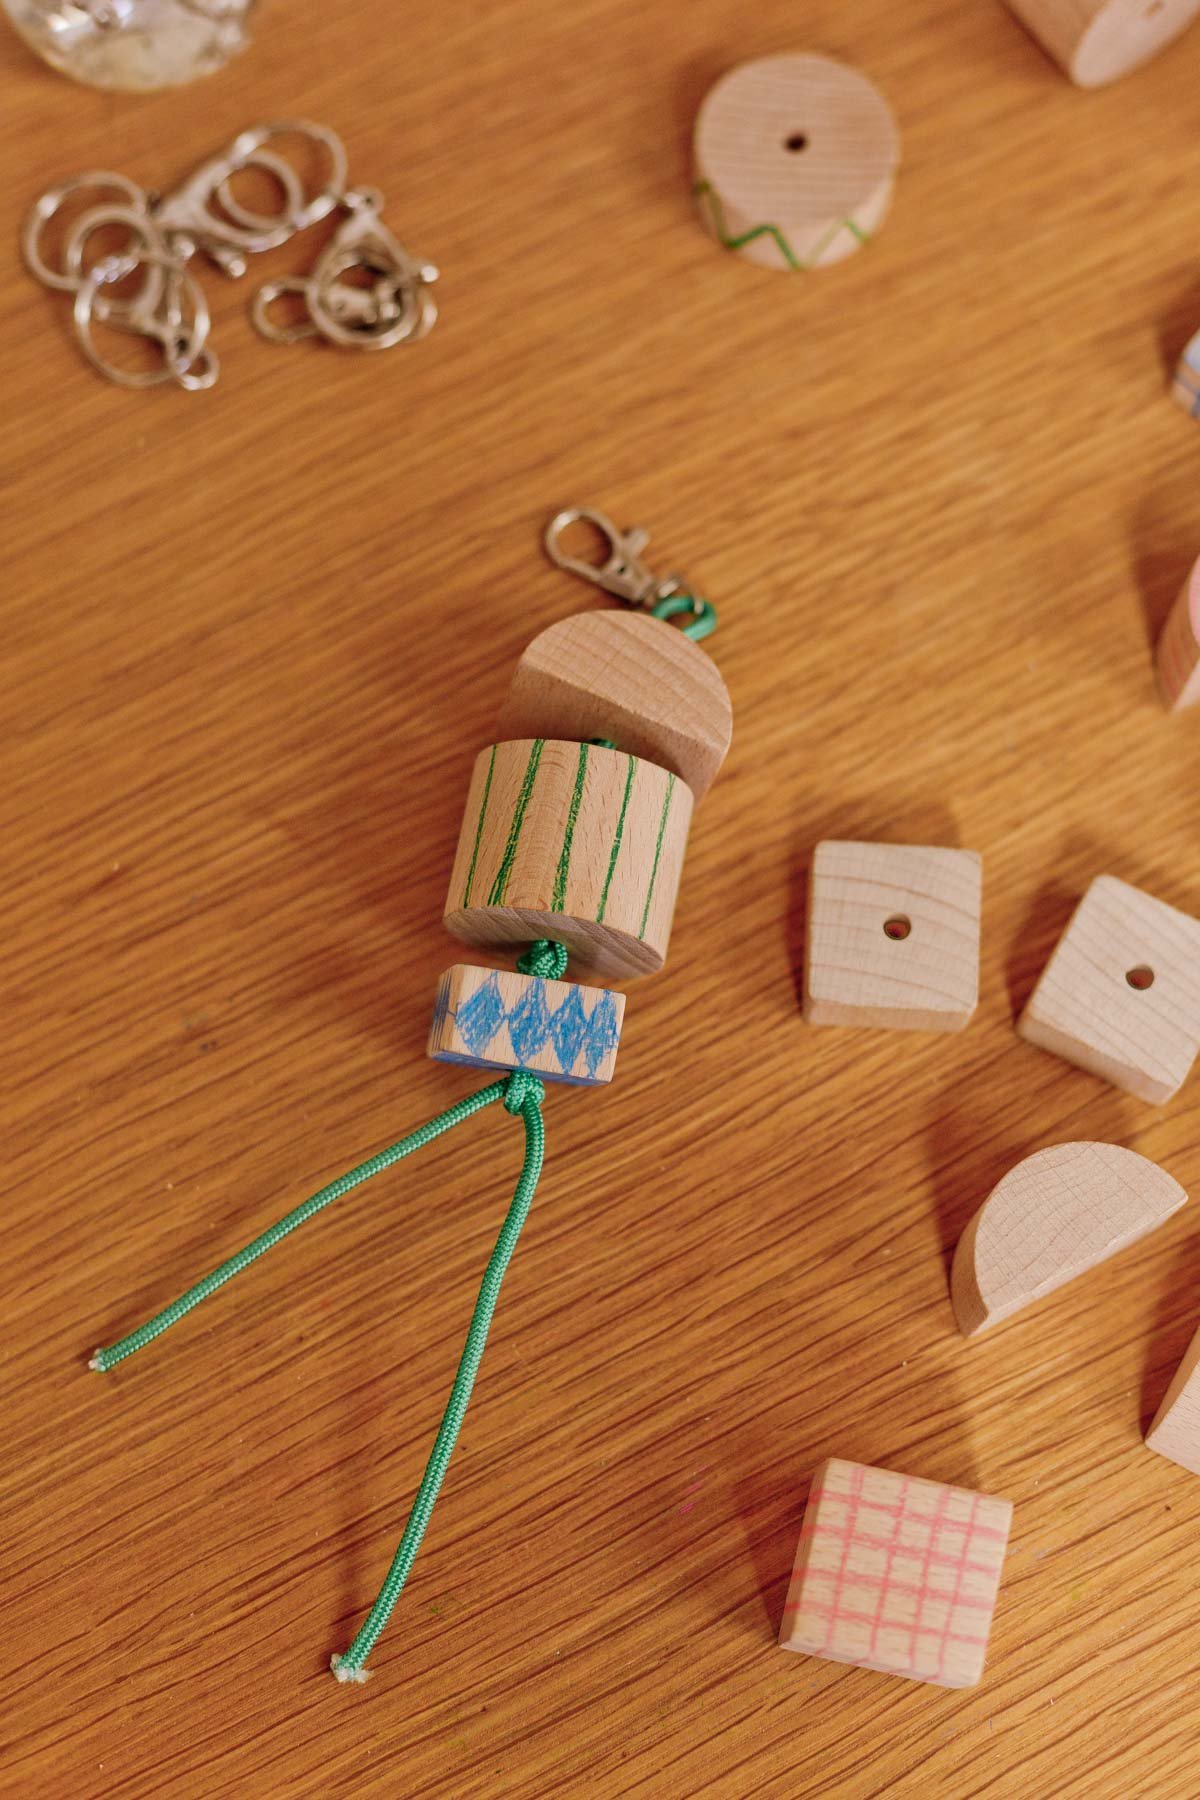
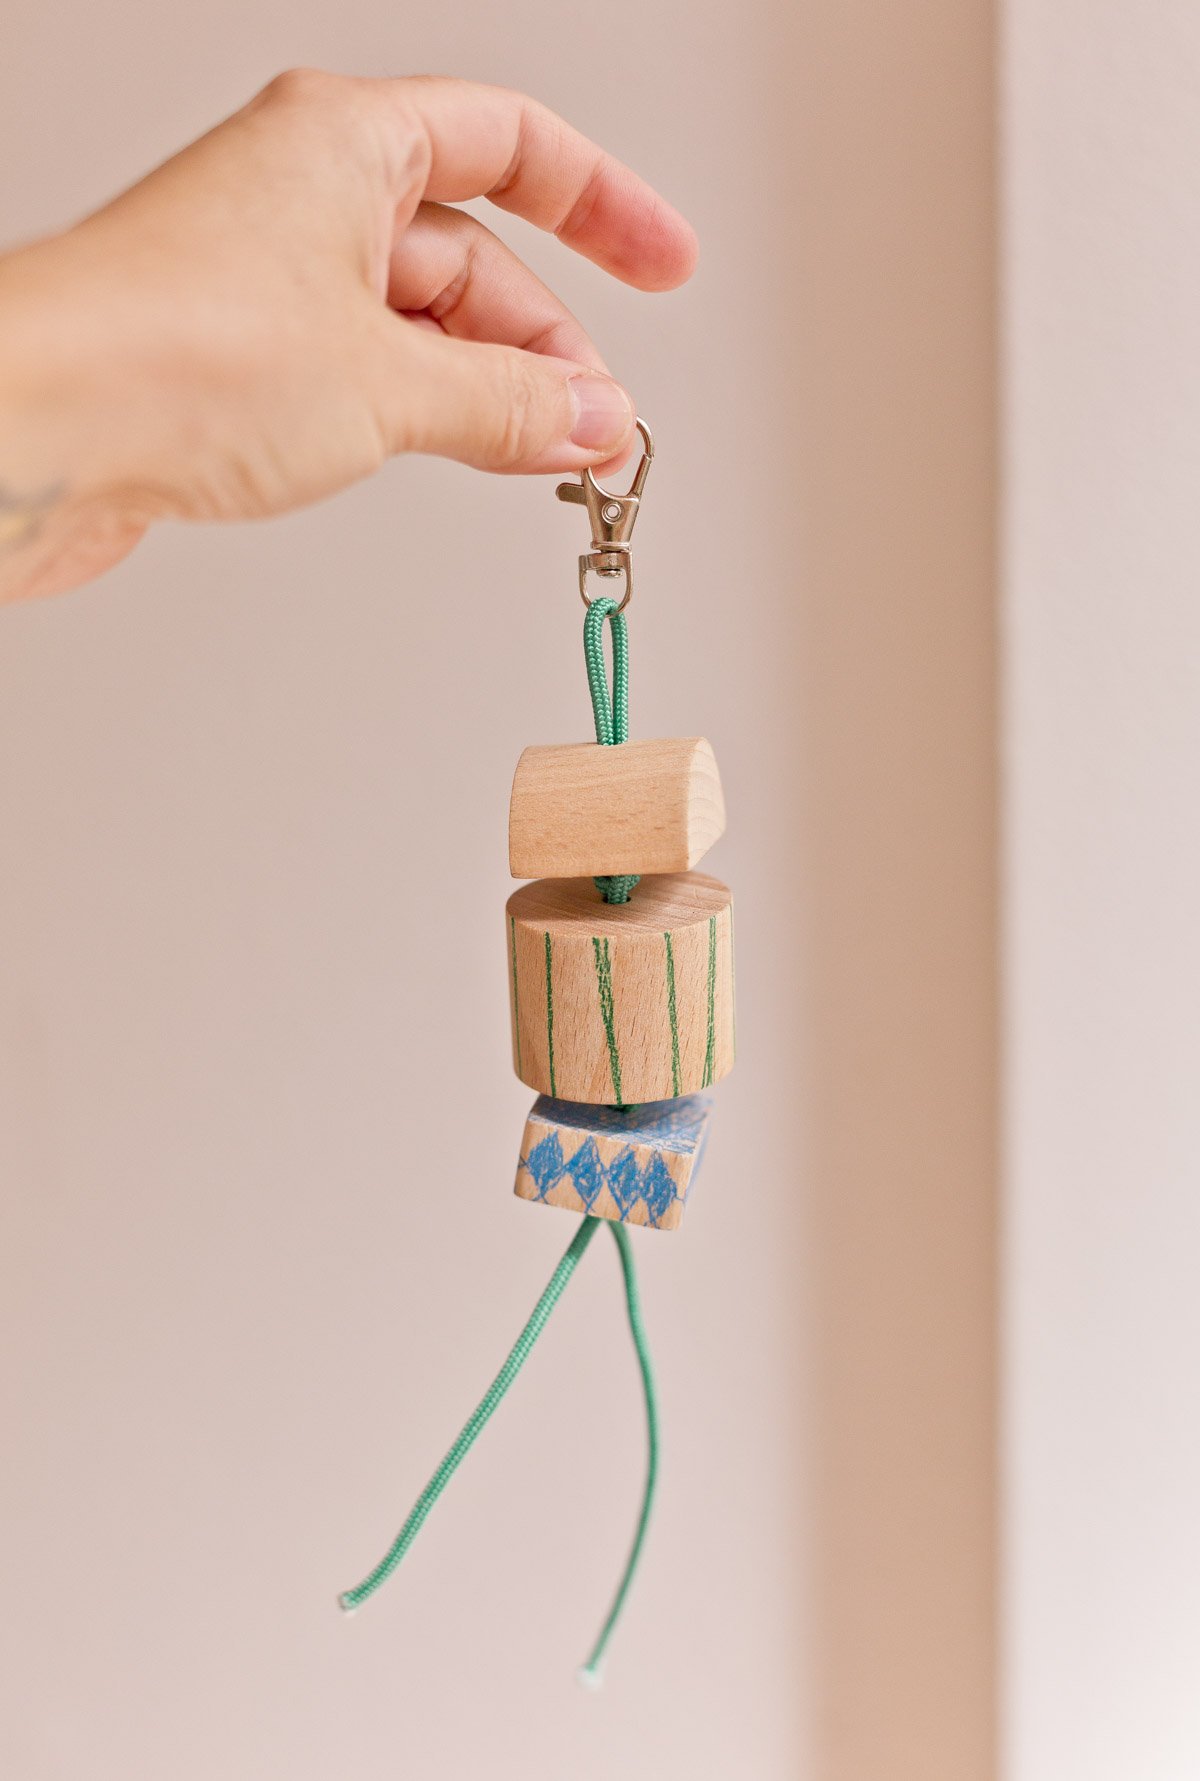
6. Lower off extra cording.
Lower off any extra cording, if desired, and its able to throw into a celebration bag as a cute social gathering favor, onto a backpack as a DIY keychain, and many others.
Extra keychain concepts
In the event you wished to make use of these keychains as presents for a kid’s celebration, you may skip steps 2 and three, hold all of the blocks clean and assemble the keychain.
Then pop the assembled keychains into youngsters social gathering favors, together with some coloured pencils (or DIY colourful crayons), and also you’re good to go. A mini craft exercise for youths to do at residence when the social gathering is over.


Chunky Wooden Keychain DIY
These wooden block keychains are a enjoyable DIY to attempt for again to highschool, Christmas presents, stocking stuffers, even distinctive social gathering bag fillers for birthdays. One thing that youngsters might connect to their backpacks, lunchbox, or tote bag that can truly final!
I ended up making 8-10 of those fairly rapidly (an hour or two) for a fundraiser at my son’s colleges, that includes handmade objects. They had been reasonably priced to get the provides for and really straightforward to make. Win-win!
Alongside those self same strains, I really feel like these keychains can be a cute factor to promote at a craft truthful too. A low-cost merchandise that will get individuals trying out your sales space. Anyway! Here is find out how to make ’em…
- chunky wooden blocks In the event you use wooden blocks that do not have already got a gap by way of the center of them, you will have to drill holes within the blocks first, earlier than getting began with this venture.
- thick keychain cording
- lobster clasp keychain elements
- coloured pencils or paint (non-compulsory)
- sealant (non-compulsory)
String a keychain clasp onto twine.
-
Making your personal keychain is easy. Begin by stringing a keychain clasp onto the cording, on the midway level. So there may be an equal size of twine on both sides of the clasp.
-
I’ve just a few completely different sizes of those lobster clasp keychain elements, however the small ones are those I like most. Put aside.
Draw or paint on blocks.
-
I like the shapes of those blocks and I believe they give the impression of being cute on their very own, with none doodles. BUT I additionally suppose it provides a bit extra attraction to have little patterns and doodles on the blocks.
-
That is the proper job for youngsters. They by no means get uninterested in doodling on all of the issues, proper?
Seal the wooden blocks.
-
In the event you’re utilizing coloured pencils or one thing comparable, you might need to seal the wooden blocks after the drawings are full. You need to use a matte medium, Mod Podge, and even aerosol hairspray (unusual, however it works) to maintain your drawings in place / seal them in.
String the wooden blocks onto the twine.
-
String the primary wooden block onto each ends of the cording and push it (nearly) all the way in which as much as the place the clasp is. You may need to go away anyplace from a half inch to a full inch on the prime, making a loop.
-
Then, take the 2 ends of the cording beneath the block that was simply strung on, and tie it in a knot as near the underside of that wooden block as doable.
Proceed the method and double knot the very finish.
-
You may proceed this strategy of stringing blocks and knotting the twine beneath them till you have reached the specified size / variety of blocks. The final knot ought to be a double knot, to maintain the beads from unraveling.
Lower off extra cording.
-
Lower off any extra cording, if desired, and its able to throw into a celebration bag as a cute social gathering favor, onto a backpack as a DIY keychain, and many others.
In the event you wished to make use of these keychains as presents for a kid’s celebration, you may skip steps 2 and three, hold all of the blocks clean and assemble the keychain.
Then pop the assembled keychains into youngsters social gathering favors, together with some coloured pencils (or DIY colourful crayons), and also you’re good to go. A mini craft exercise for youths to do at residence when the social gathering is over.
")

")


")
