


Creating templates (flat patterns, usually in MDF) and related jigs (units that cradle and information the workpiece by way of a slicing operation) is part of designing and constructing unique furnishings that I take pleasure in. Making the templates is when the preliminary drawings and concepts begin to come to life.
When I’ve arrived at a form that I’m happy with and would need to duplicate, then I make jigs that replicate these templates. These jigs make the shapes simpler to duplicate reliably and lots of instances simpler and safer to carry whereas machining.
Templates assist me work out a design, however additionally they give me a concrete historical past of the piece I’m making. When completed, I’ve a full-size map to simply recreate the piece; if I need to evolve the design, I have already got a spot to leap from. This desk (see “Glass-High Finish Desk”) is the newest in a collection of finish tables, every constructing off and using the templates of the earlier one.
I save all my templates and jigs. After labeling them, I retailer them out of the way in which. As soon as you start working with templates, you notice how rapidly and precisely you may make your elements. Chances are you’ll end up doing it an increasing number of.
Start with a template

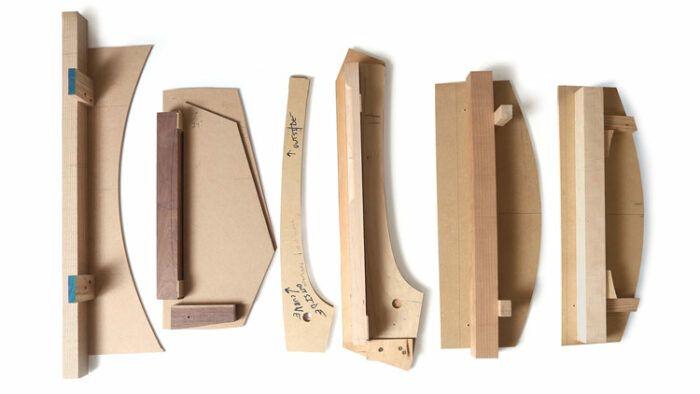
When I’m making an unique piece for the primary time, I rout my elements to form by attaching them to templates with double-stick tape after which flush-trimming them on the router desk. I flip my idea into 3D, precise dimension, on 1/8-in. or 1/4-in. MDF. I draw freehand and with straightedges, and with flexible sticks for curves and features. Then I minimize these shapes out on the bandsaw. After that, I honest the curves to my liking. That leaves me with a tough model of the form that I can run a flush-trim bearing on. As soon as I arrive at a design I need to duplicate into furnishings elements, I make jigs from the templates, both incorporating the template within the jig or by making one other template from the primary to make use of within the jig.
Then come the jigs
With a jig, I can rapidly put an element in, hint the form on it, take the half to the bandsaw to tough minimize, after which pop it again within the jig to flush-trim it on the router desk.
After I make a jig, I want to include a flat reference floor within the jig to match it up with a flat reference floor on the clean. Additionally, I usually lay out the joinery on the jig or template so I can switch places immediately and persistently to the piece. I take advantage of MDF for the jigs (often 1/4-in.), and for the reference fences I seize leftover materials from the store that’s milled flat and sq.. To find the fences to the shapes, I drill pilot holes and fasten with brief screws.
Placing the jigs to work

Though each side of the legs are curved, I have to begin with a straight edge for reference. The skin edge stays straight for now. I tough minimize the elements, joint an edge, and sq. an finish. That squared nook and straight edge are my references within the jig. I set a leg clean into the jig, hint the form onto the clean, bandsaw near the road, after which form the within. I mark Domino facilities on the jig to switch to the piece after shaping.
There are 5 shelf slats: three convex and two concave. These have to get milled straight and sq. throughout for the jigs to work. To form the convex slats, I take advantage of two jigs; one holds the rectilinear clean and the opposite cradles the clean after one facet is formed. The concave slat is made with only one jig.
The desk’s prime quantities to a sq. with a gap within the center. The placement of the nook joints in relation to the skin corners is extra fascinating than a standard mitered nook. Once more, the blanks start with a straight edge and a sq. finish. The straight edge is the reference for the angled joinery floor, and the sq. finish is the reference for slicing all 4 elements to the identical size.
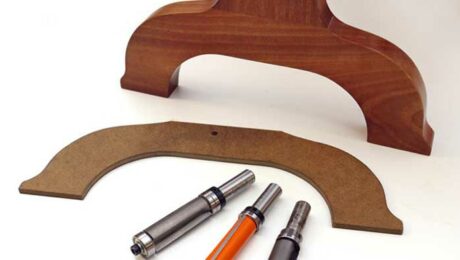
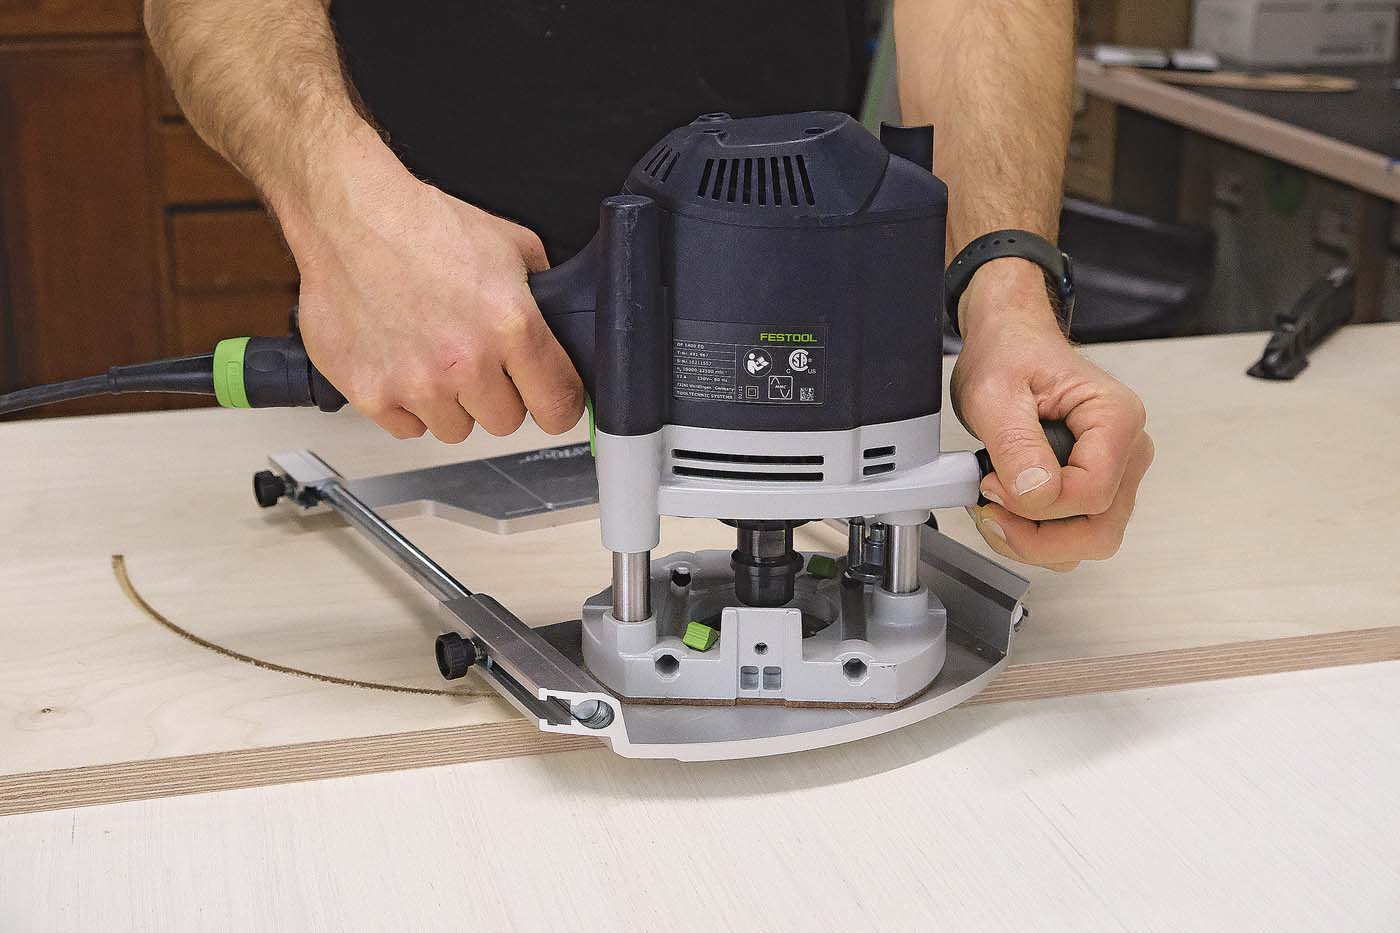
As soon as that sq. body is glued, I middle the circle jig by lining up crosshairs on each the circle and the sq.. I tough minimize it with a jigsaw and template-rout it with a handheld router. Use a template to attract the skin curves, bandsaw near the road, and do a closing template-routing on the router desk.
Doug King is a customized furnishings maker in Missoula, Mont.
| From High-quality Woodworking #321
To view your entire article, please click on the View PDF button under. |
 |

High-quality Woodworking Beneficial Merchandise
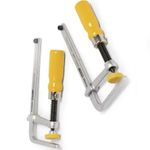
MicroJig Matchfit dovetail clamps
These distinctive clamps have angled suggestions that maintain templates and fences in place with out getting in the way in which.
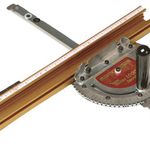
Woodriver Circle Chopping Jig
The WoodRiver circle jig, which produces cuts as much as 32-1/2 in. dia., and I can confidently suggest it. Not like comparable jigs that may pop off of their pivots mid-cut, ruining a panel within the course of, this one has a strong pivot level that registers securely within the jig and workpiece.
Incra Miter 1000HD
One in every of many extraordinarily correct Incra miter gauges, this mannequin presents 180-degree adjustment to 1/10 of a level, and a protracted, straight fence with a telescoping cease system.
Join eletters at this time and get the newest strategies and how-to from High-quality Woodworking, plus particular presents.
Obtain FREE PDF
once you enter your e mail tackle under.
")

")


")
