


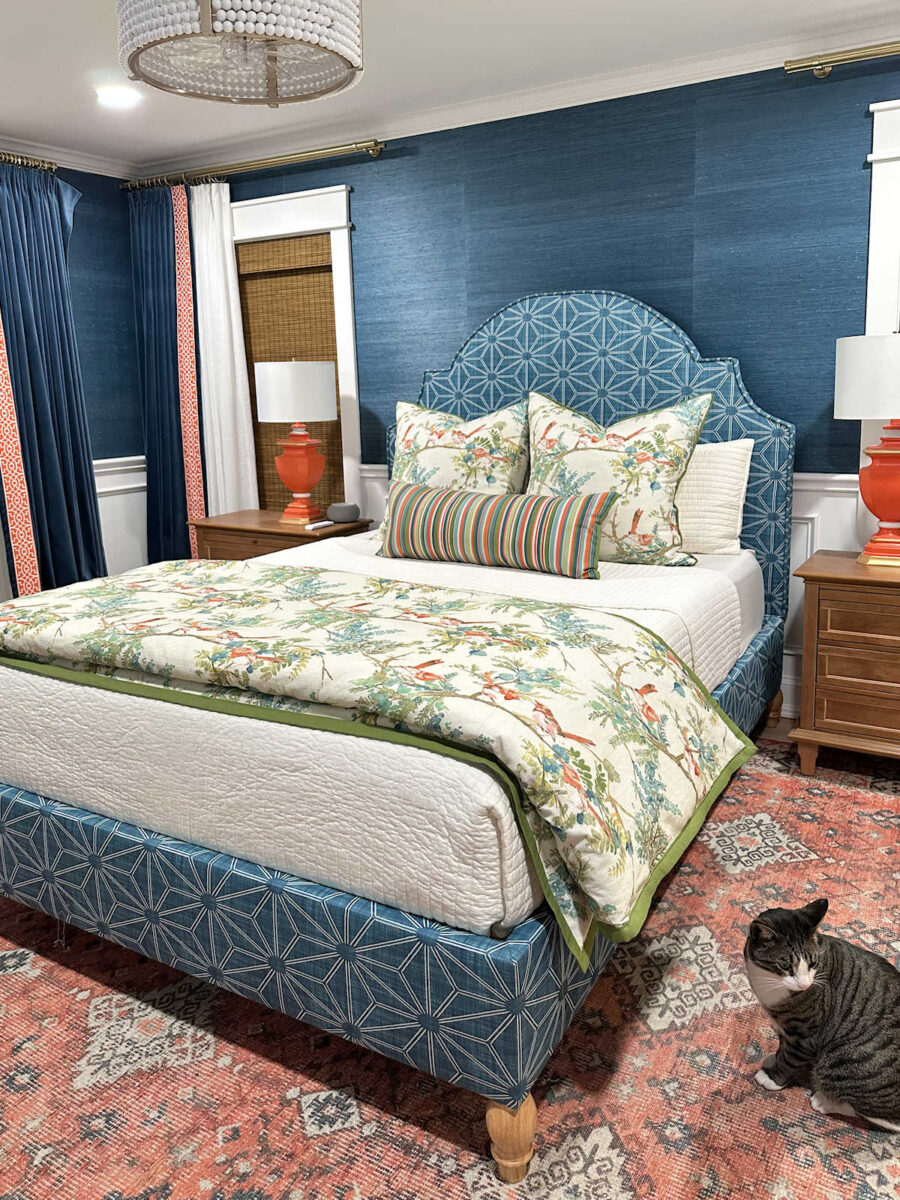
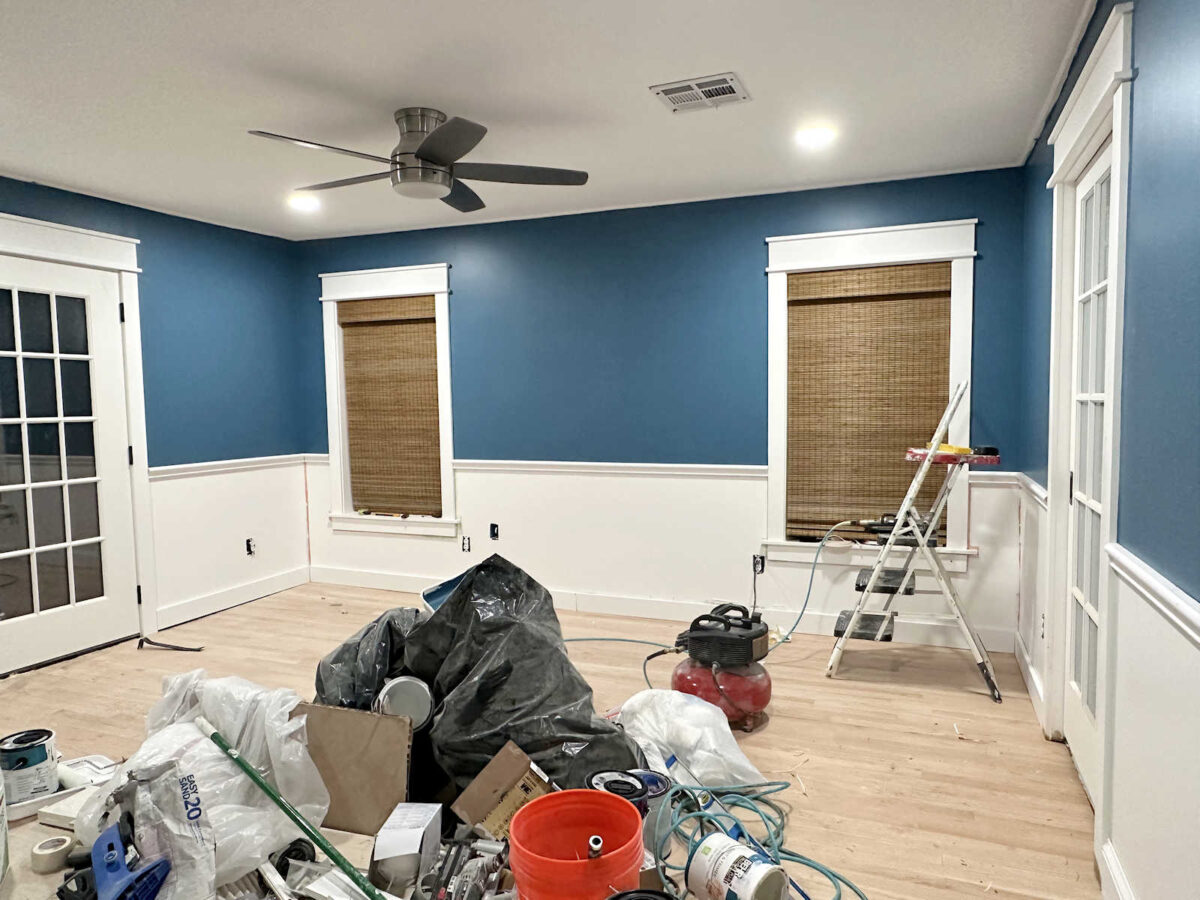
Final night time, I crossed an enormous mission off of my “to do” checklist for the bed room. I completed stitching the quilt cowl for the mattress. So now, all the bedding is formally completed, and my stunning hen cloth has a a lot greater presence within the room.
The method of stitching a quilt cowl is de facto fairly easy. It’s principally an enormous pillow cowl, so in the event you can sew a pillow cowl, you may sew a quilt cowl. In fact, what makes them a bit more difficult than a easy pillow cowl is that they’re enormous, so that you’re having to cope with a complete lot of cloth. And one other problem is that decorator cloth usually is available in 55″-60″ widths, so in the event you’re stitching a queen or king measurement quilt cowl, the material should be items collectively earlier than you may even begin stitching the quilt cowl collectively. So let me present you methods to sew a quilt cowl with a distinction edge trim.
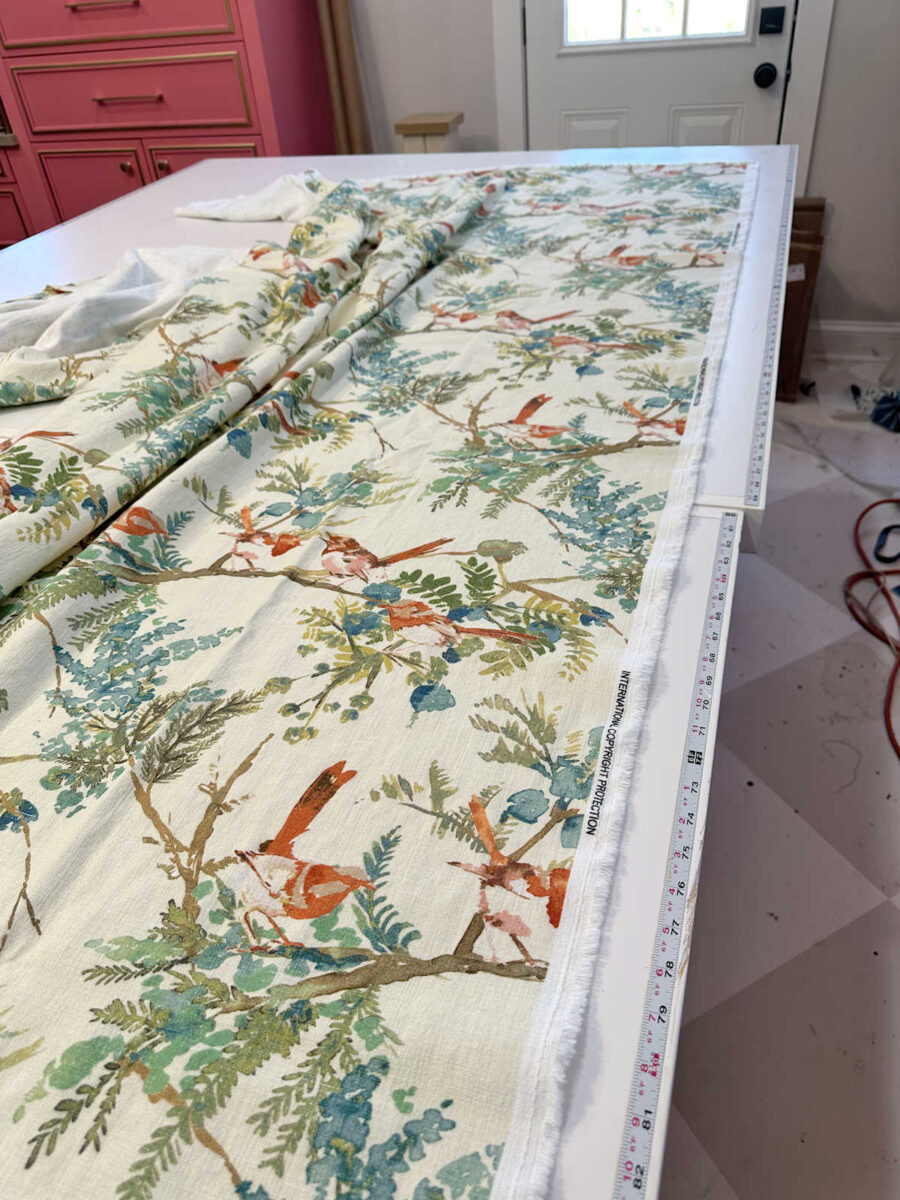
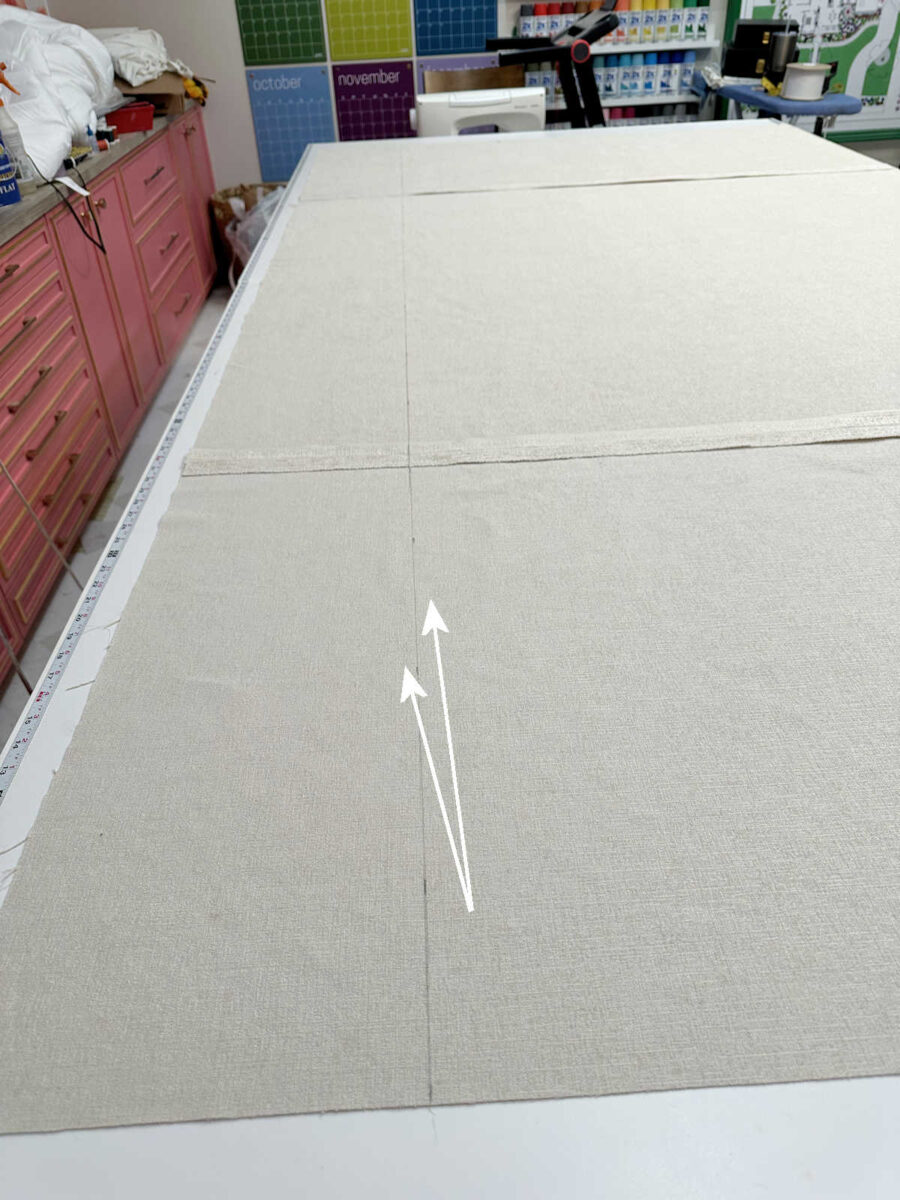
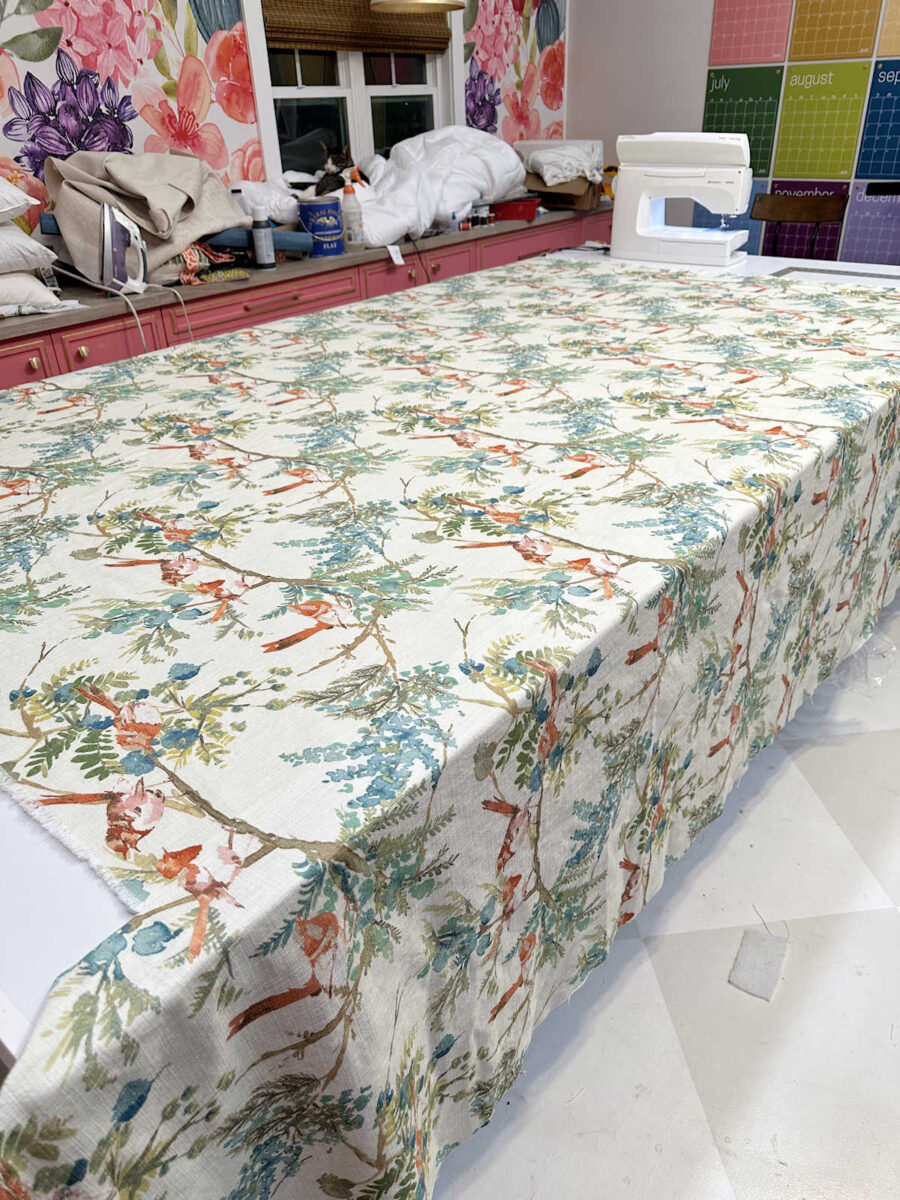
I began with my face cloth — the hen cloth. I minimize two lengths of cloth to 100″ for my queen-sized quilt cowl. I minimize them for much longer than I wanted for the completed size, however I needed to permit loads of further as a result of I needed to match the patterns once I sewed these collectively, and also you all the time lose a bit of cloth when matching patterns. One piece remained entire. On the second piece, I needed to minimize it in half lengthwise.

After which I positioned the entire piece face up on my work desk…
After which I pinned one of many half items to every aspect, ensuring to match the patterns. (Tiger had little interest in letting me work. He needed consideration, so he made this a bit more difficult for me. 😀 )
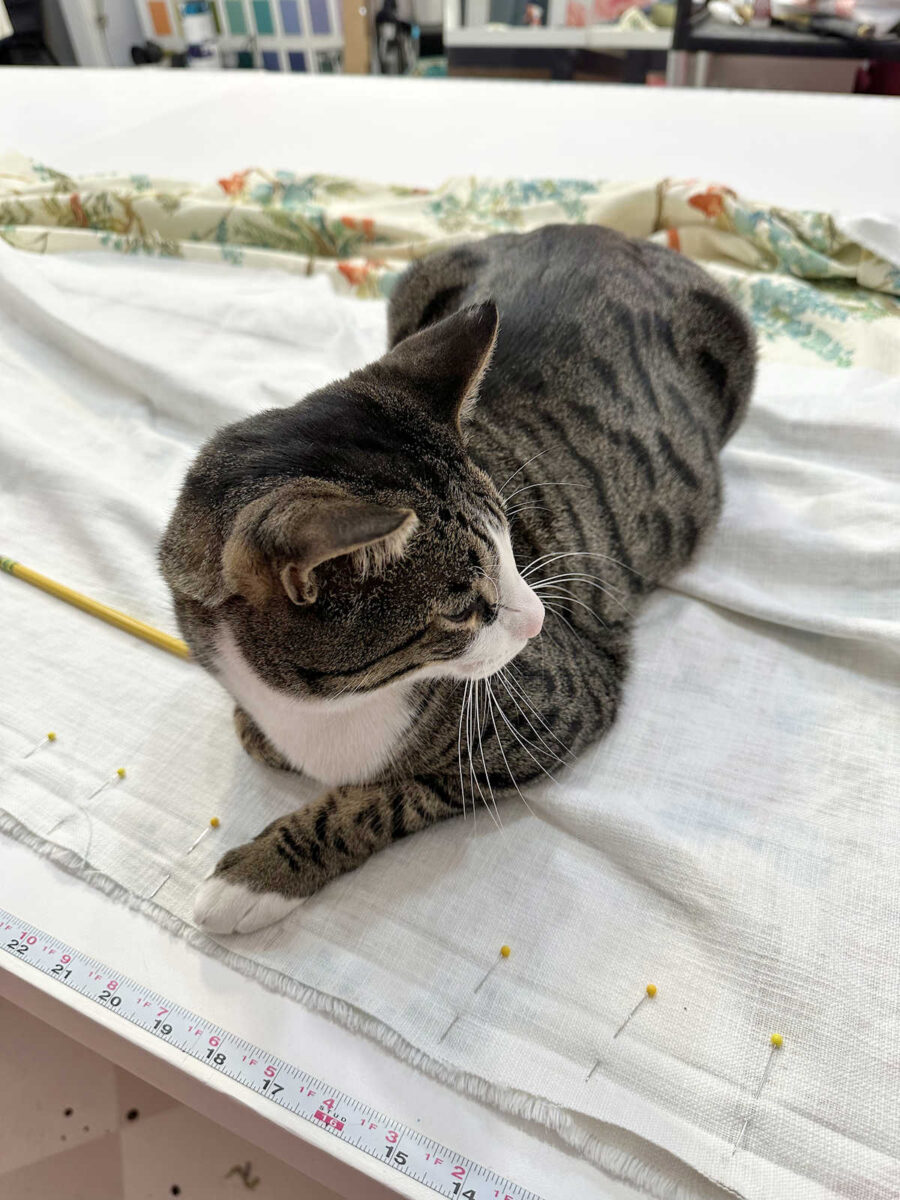
I received’t go into element about methods to match patterns as a result of there are various movies on YouTube exhibiting the method of matching patterns. As soon as I had them pinned collectively, I sewed these three items along with the required sew width to match the patterns. Once more, I’ll refer you to YouTube to learn to match patterns in patterned cloth.
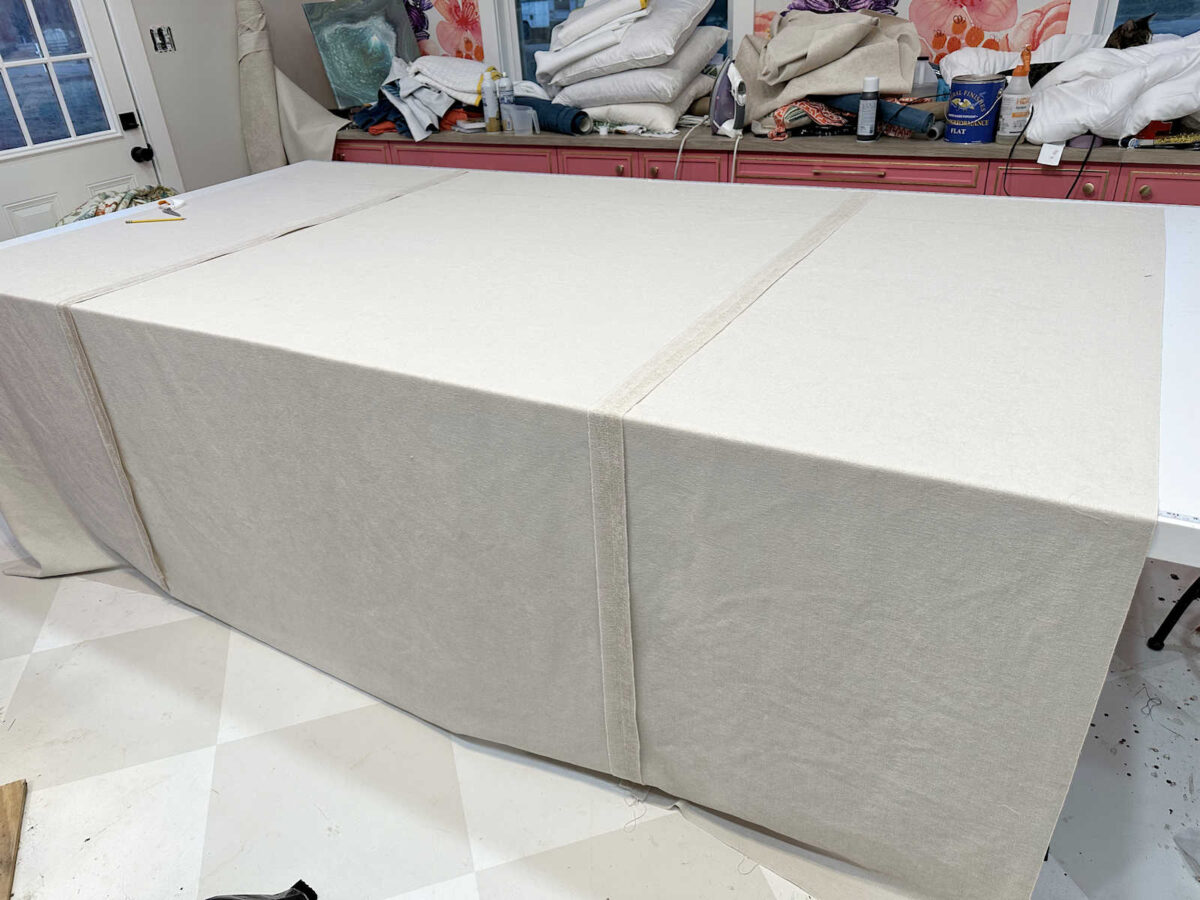
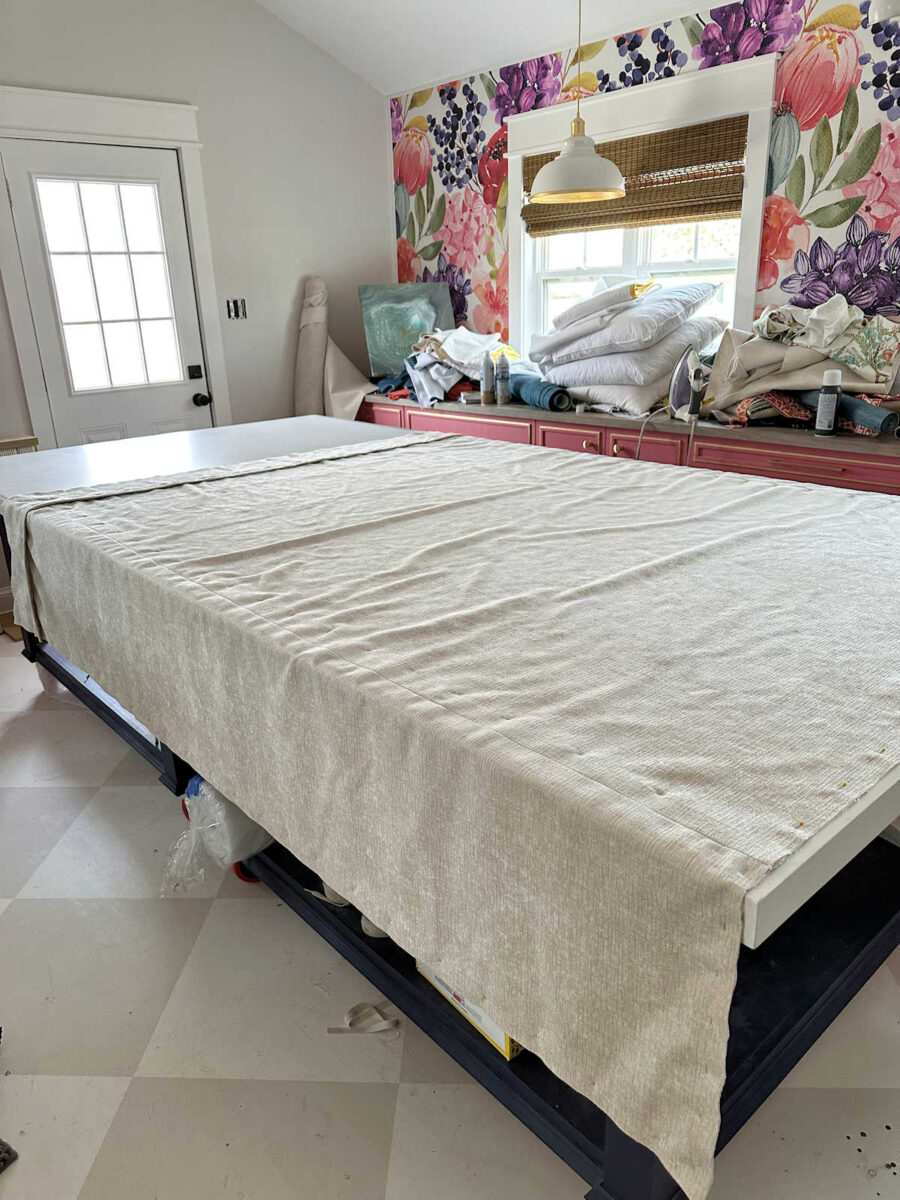
I repeated that very same course of with the material for the again of the quilt cowl. This one was simpler as a result of it’s a stable cloth, so there was no have to match patterns. As soon as I had each the highest and the underside items of the quilt cowl sewn, I used my steam iron to iron the seams open and flat.
On the again piece, I measured 10 inches from the underside and drew a line. After which I minimize alongside this line. This could create the opening for inserting the quilt into the completed quilt cowl.

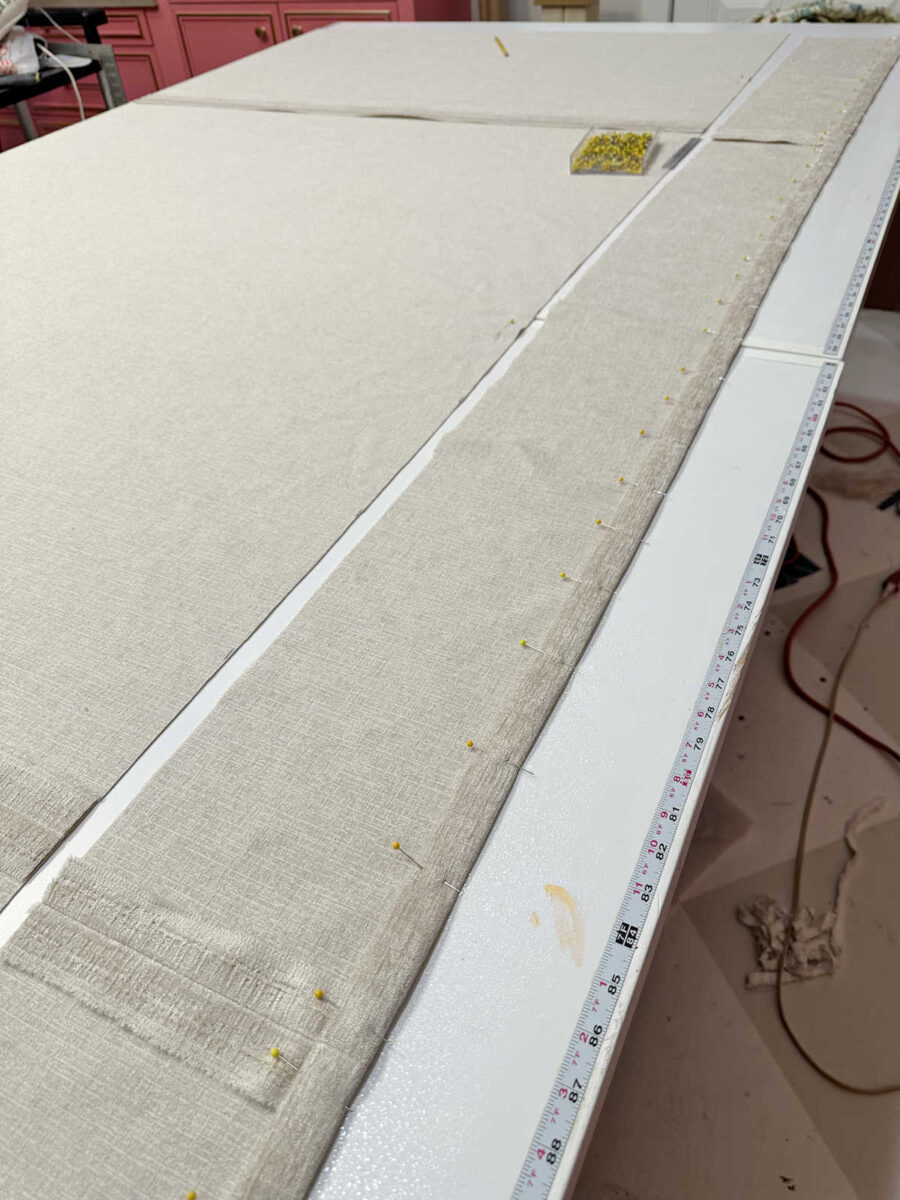
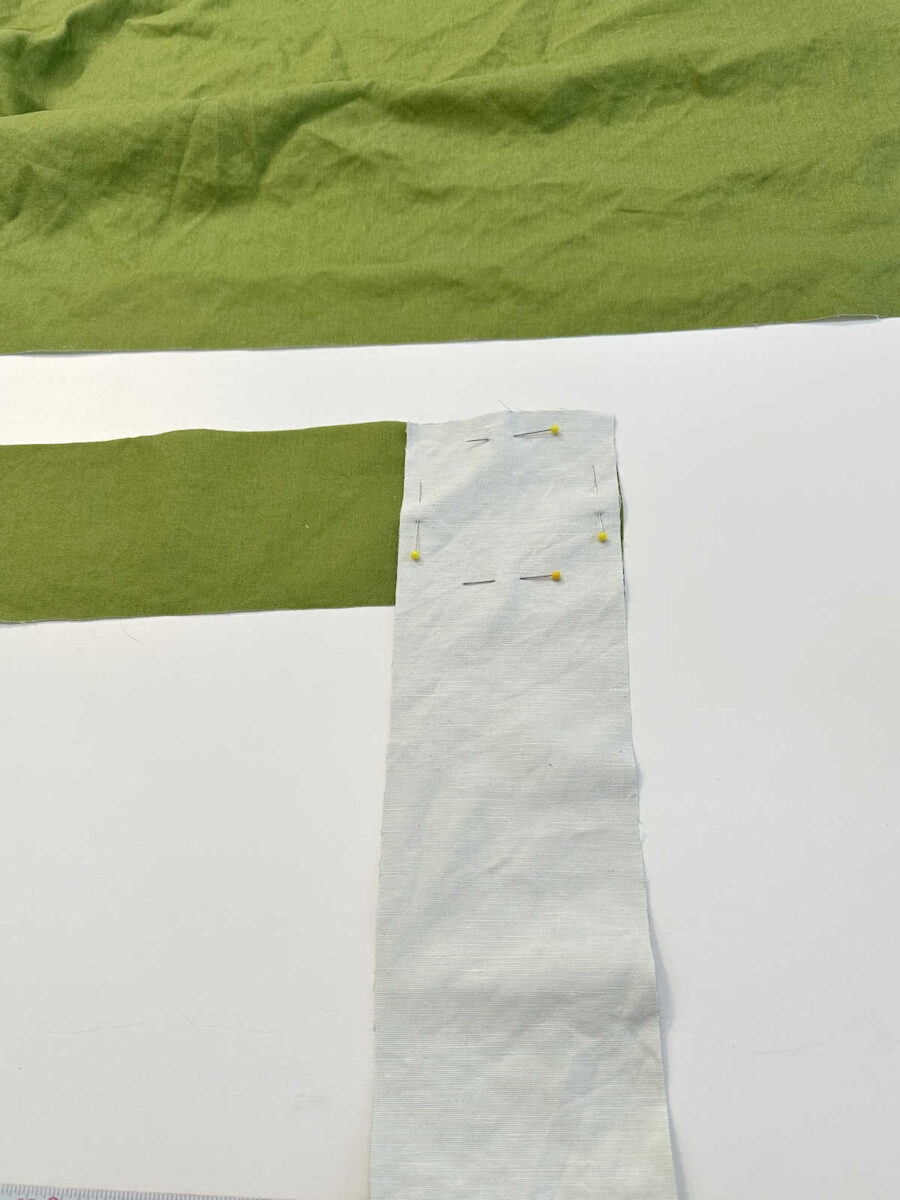
After which after I minimize alongside this line, I put a double 3/4″ fold in every bit the place they met and sewed that double fold into place.
Right here you may see the place I pinned that double fold into place on the slender piece, however I had flipped it in order that it was simpler to measure, pin, and iron with that edge nearer to me.
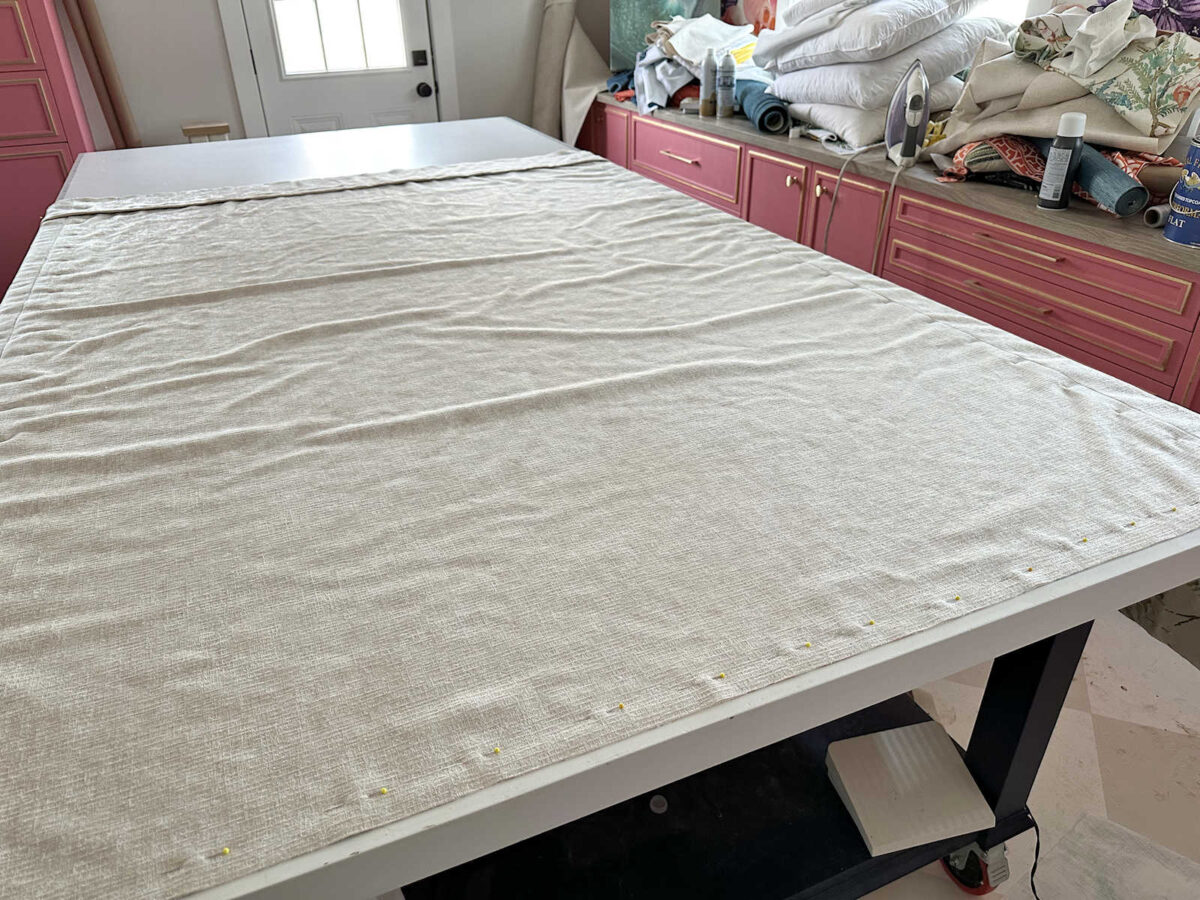
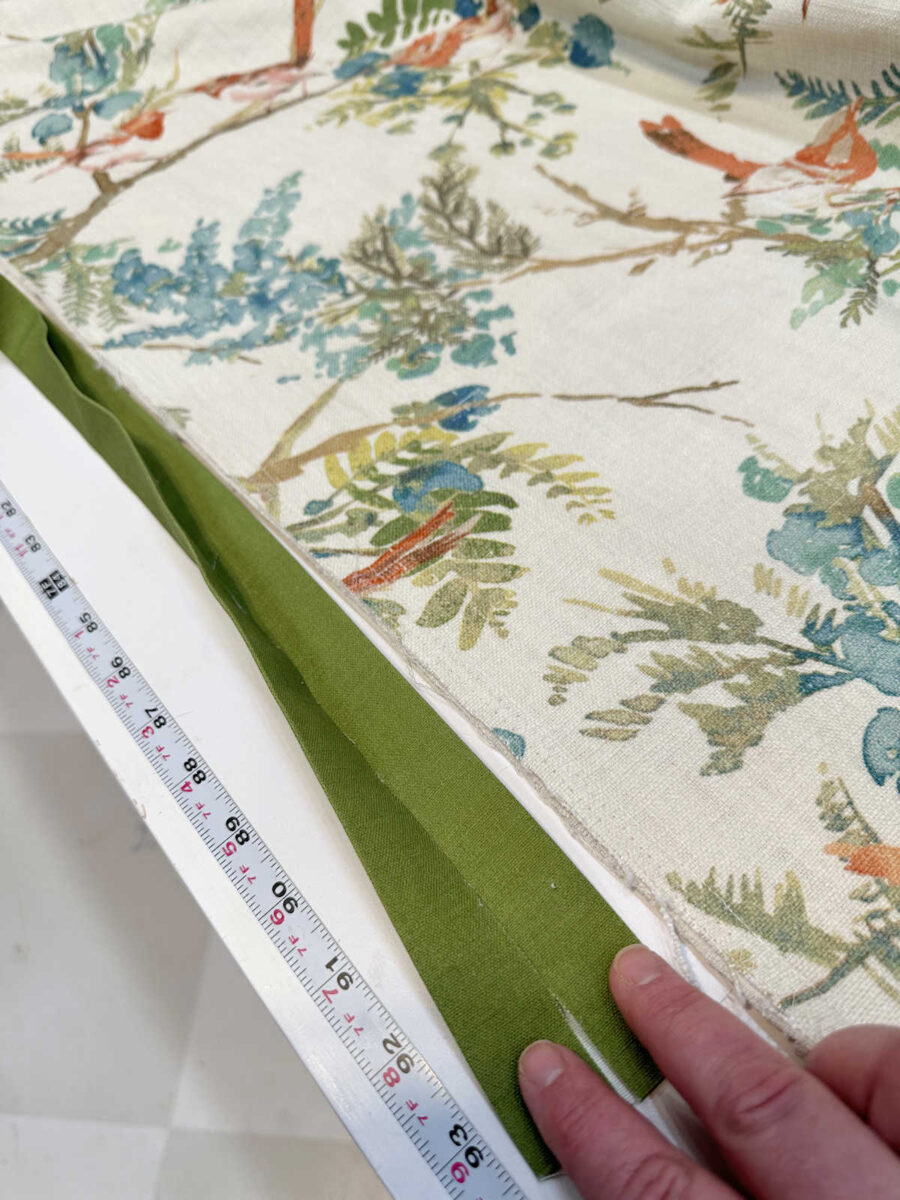
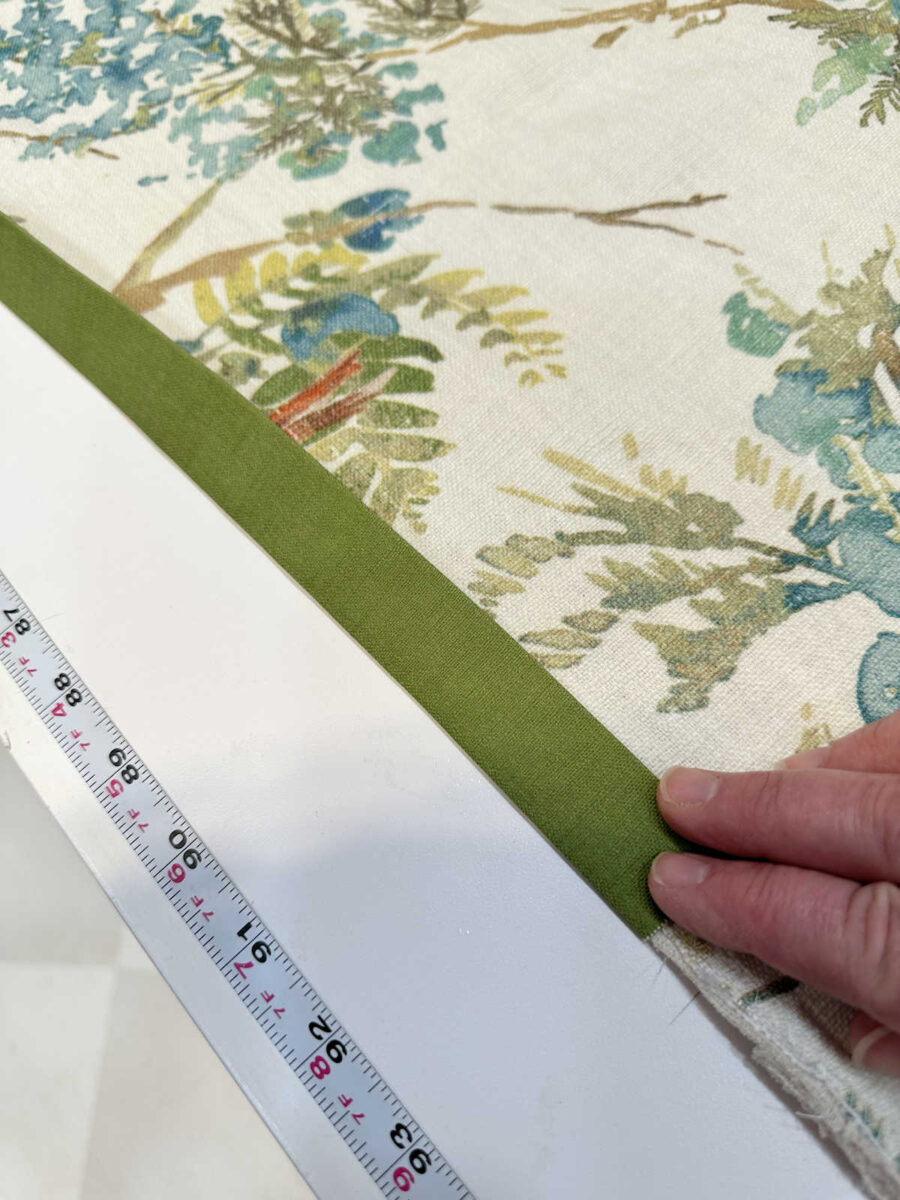
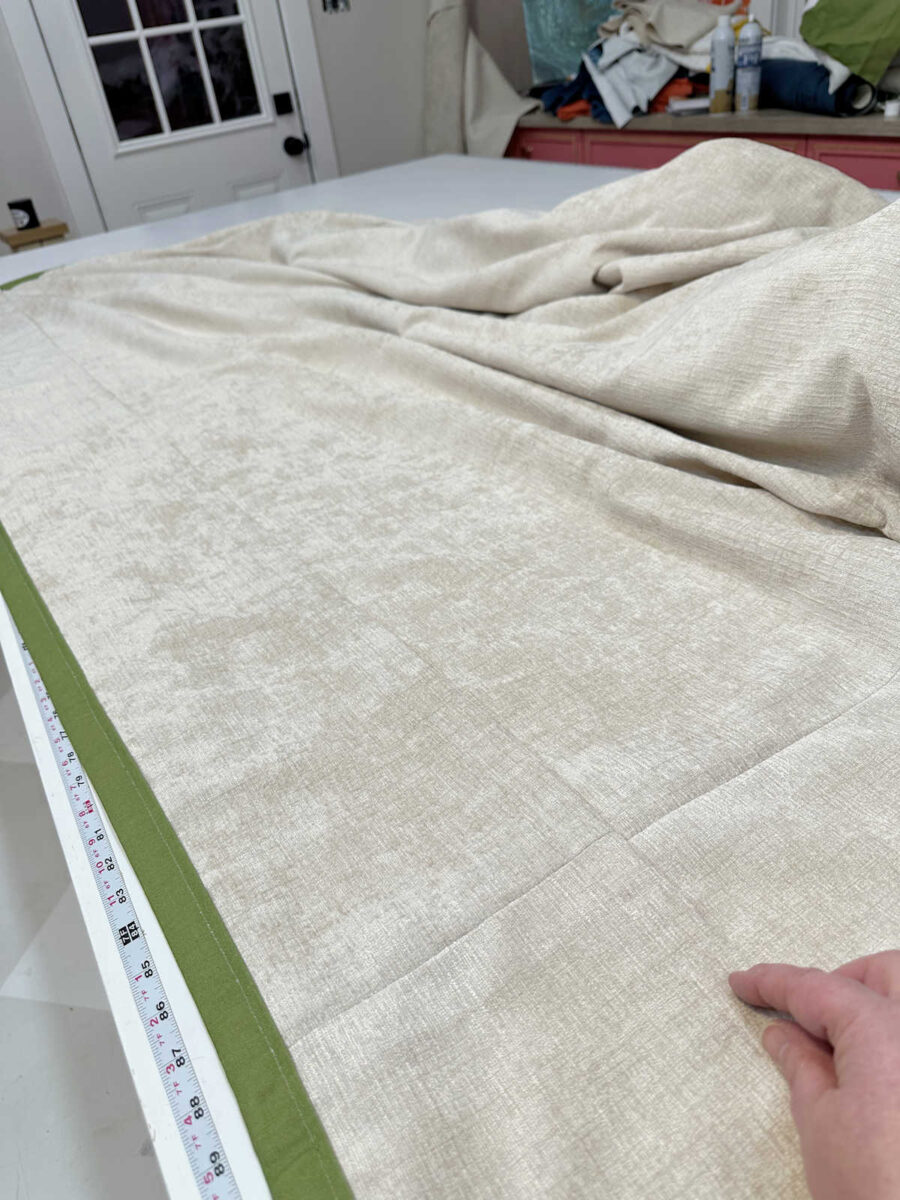
I ought to have carried out this subsequent step earlier than I minimize that high 10 inches off, however I meausured and marked for my completed width. I didn’t want the entire two widths of cloth for a queen measurement quilt cowl. My quilt was 88″ vast, so I minimize the underside of the quilt to 90″ vast to depart room for my distinction trim on the sting, which might be 1″ vast.
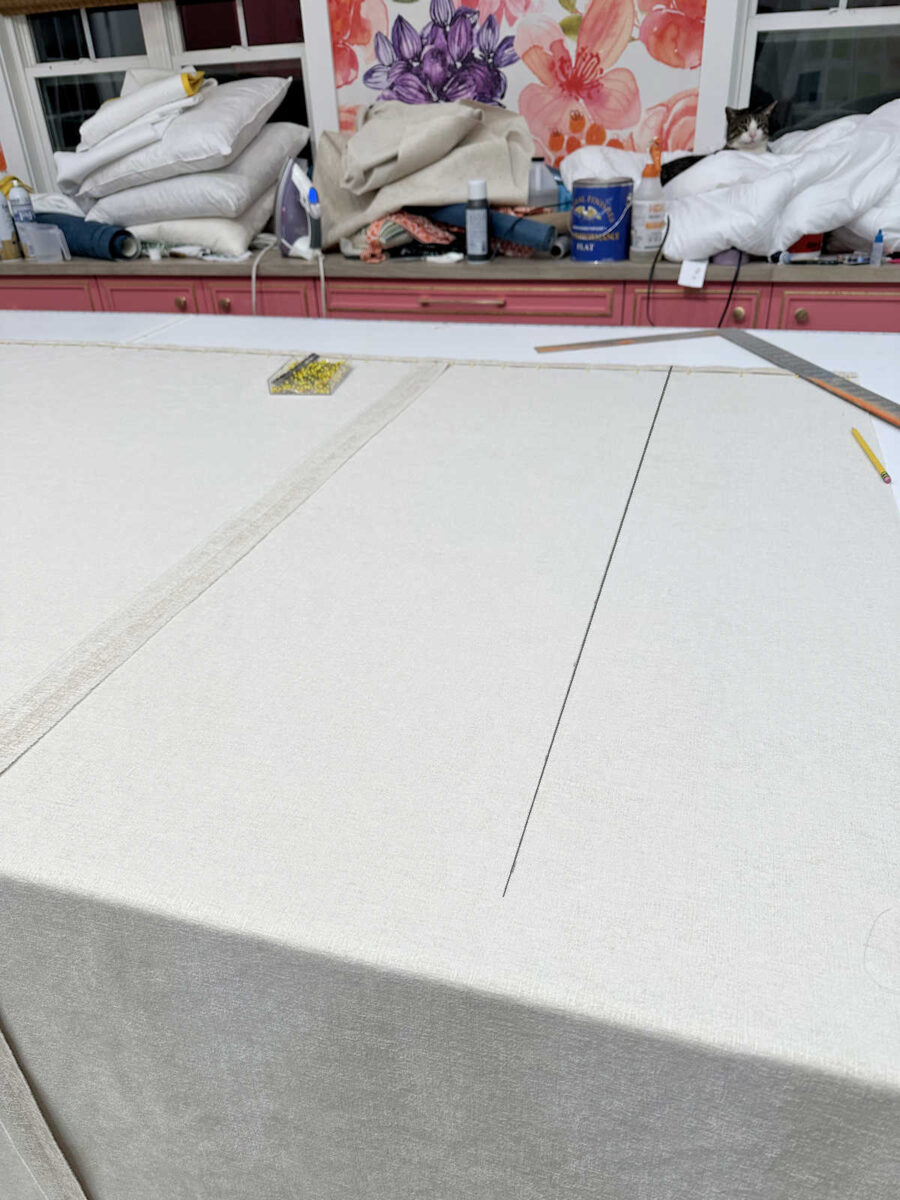
I repeated that on the opposite aspect, after which minimize off the surplus cloth.
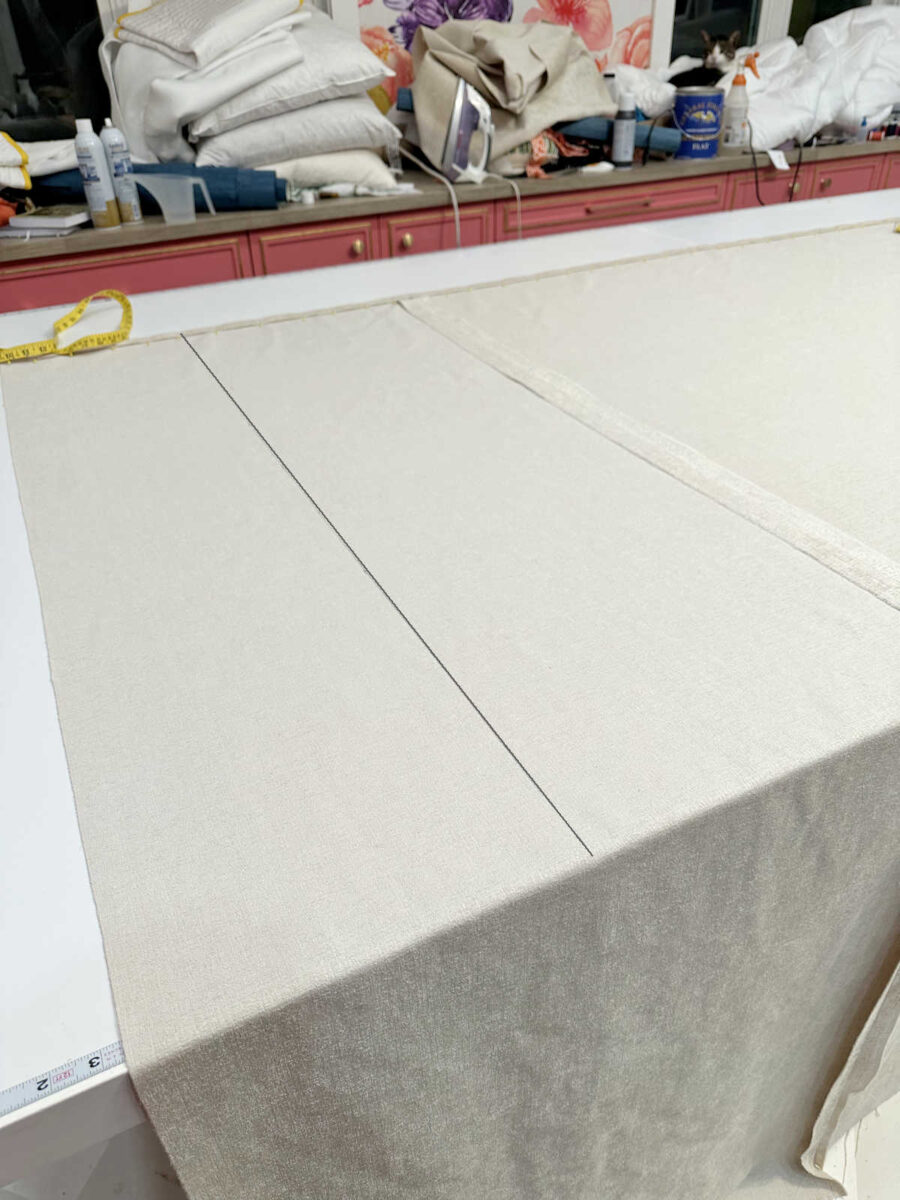
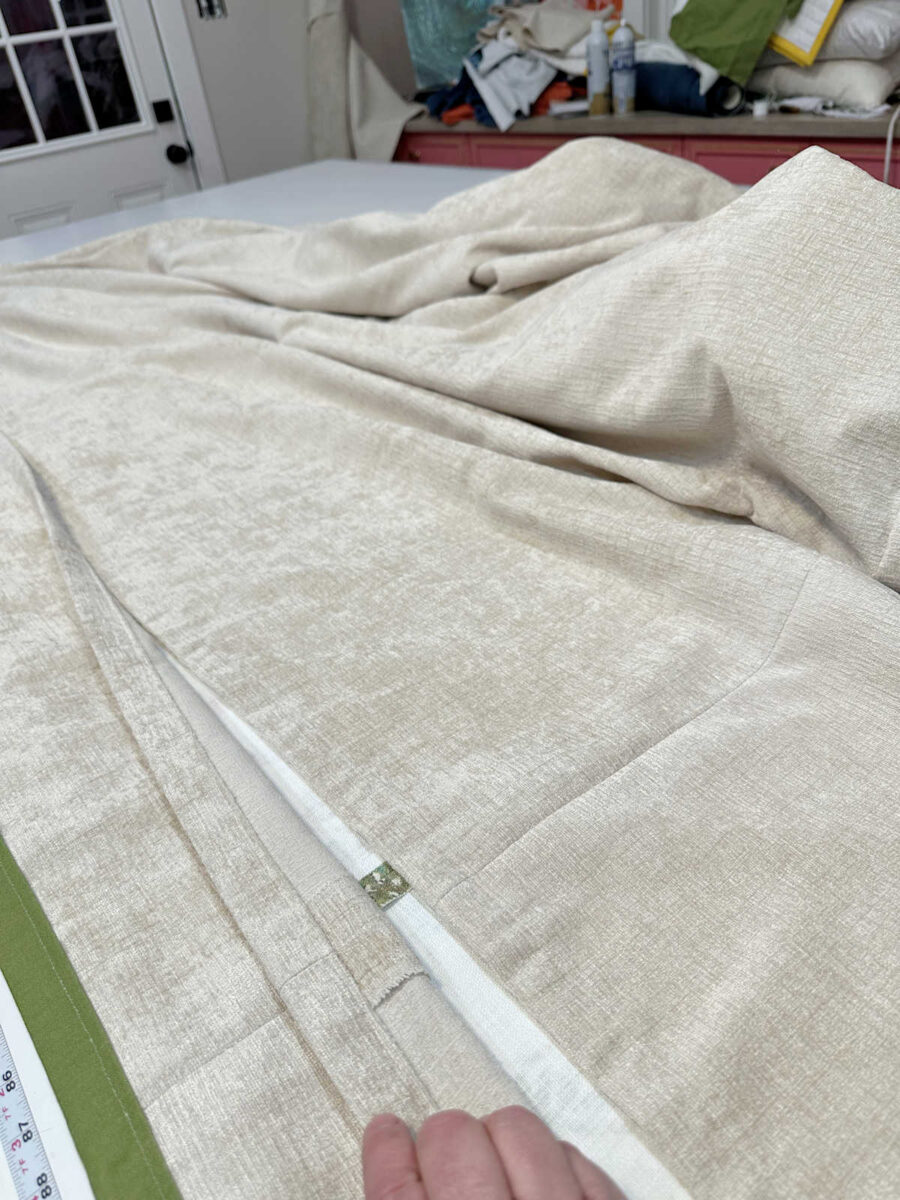
After stitching the hem in each items the place the opening on the again piece could be, I overlapped them about 1.5 inches and pinned them collectively, after which I minimize the completed size of the again piece. My quilt was 88″ sq., so I minimize the size to 90″ as nicely. After which I positioned that piece face down on my work floor.
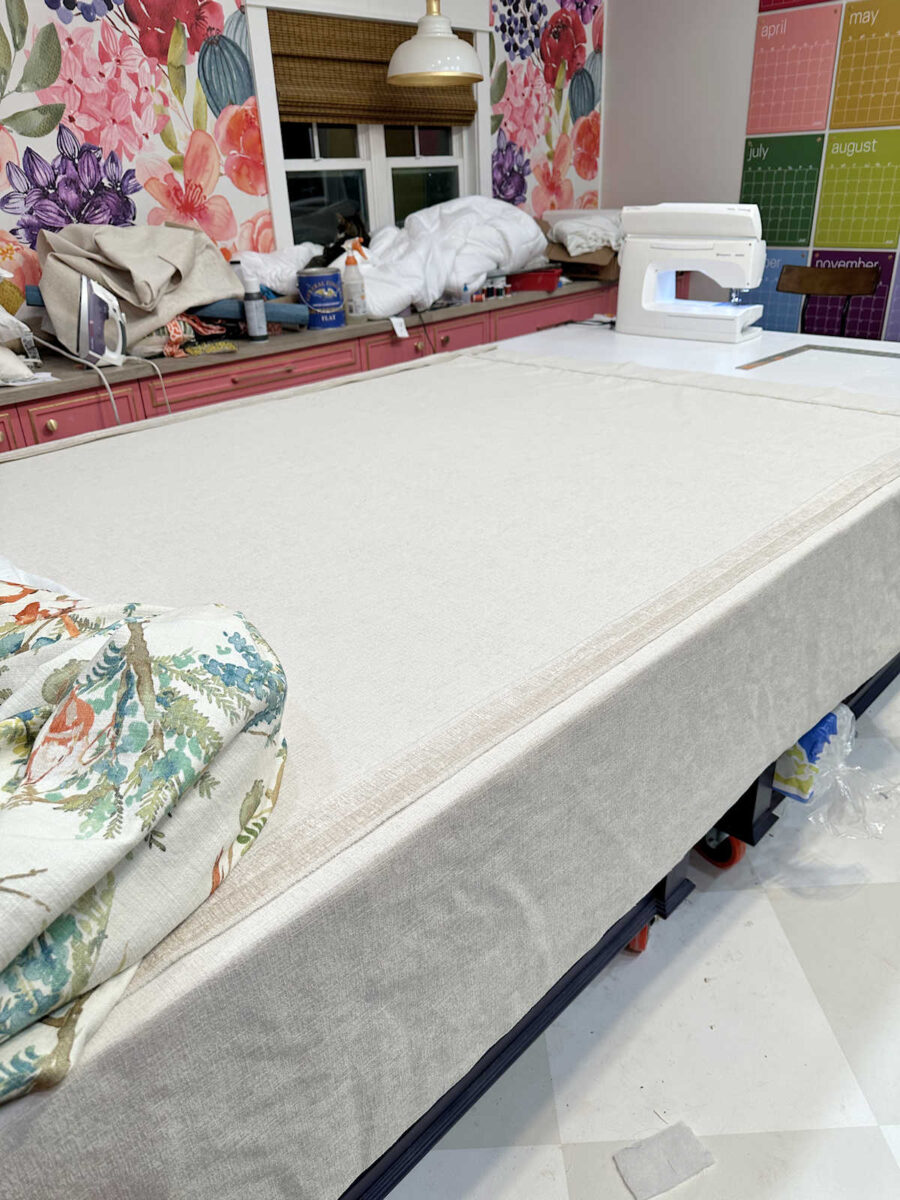
After which I unfold out the highest piece of my quilt cowl over that backside piece, ensuring that it was straight, and pinned the 2 items (backside and high) collectively alongside the seams and round all 4 edges.
After which I used the underside piece, which had already been minimize to measurement, to chop the highest piece to the right measurement. I needed to flip the whole lot over so as to do that, so I ought to have laid the whole lot out with the hen cloth on the underside and the again cloth on high from the start. That will have saved me a variety of work.
I by no means may get the whole lot to lie completely flat, however with quilt covers, there’s a bit little bit of wiggle room, so I didn’t fear about it.
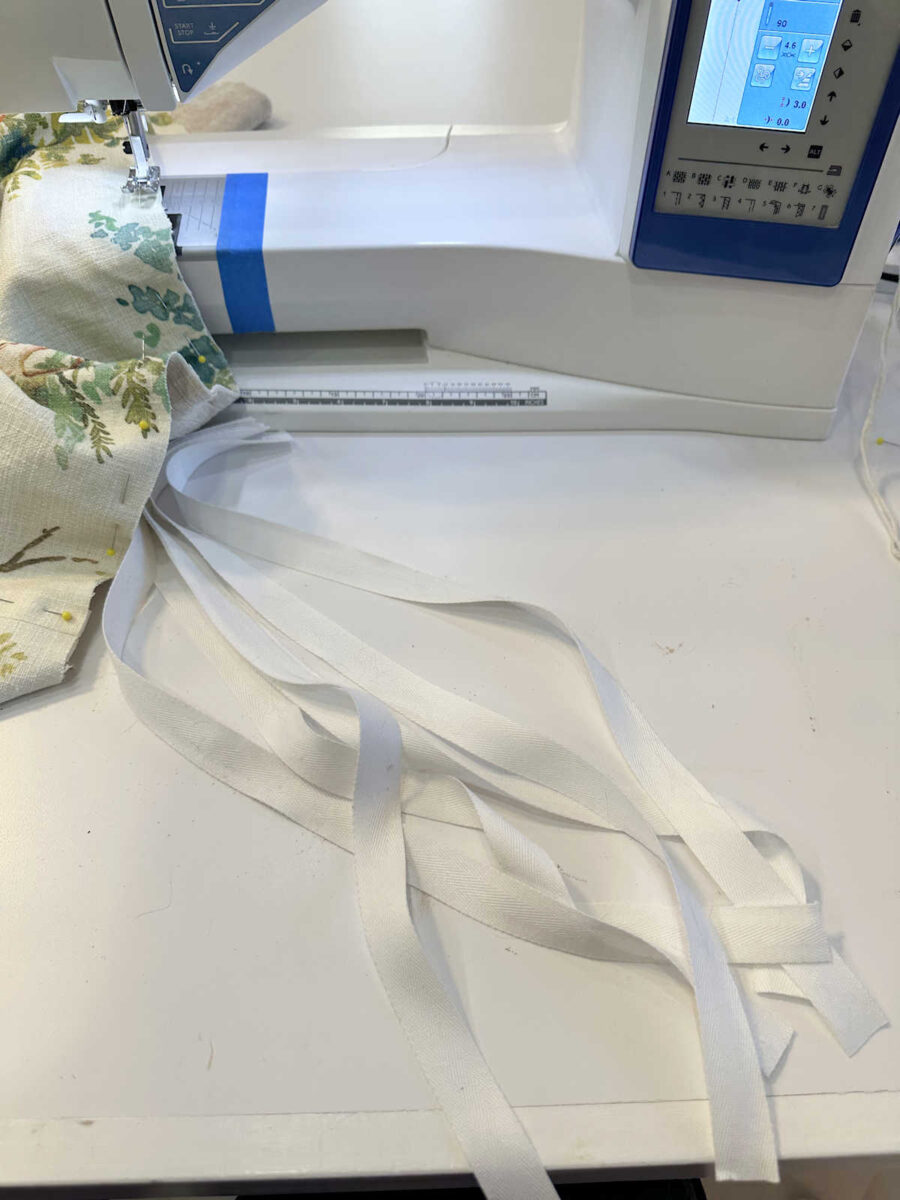
Earlier than I sewed these items collectively, I added ties to all 4 corners and the center of the perimeters, the highest, and the underside. I used cotton tape trim for this, and minimize about 10″ strips for every tie.
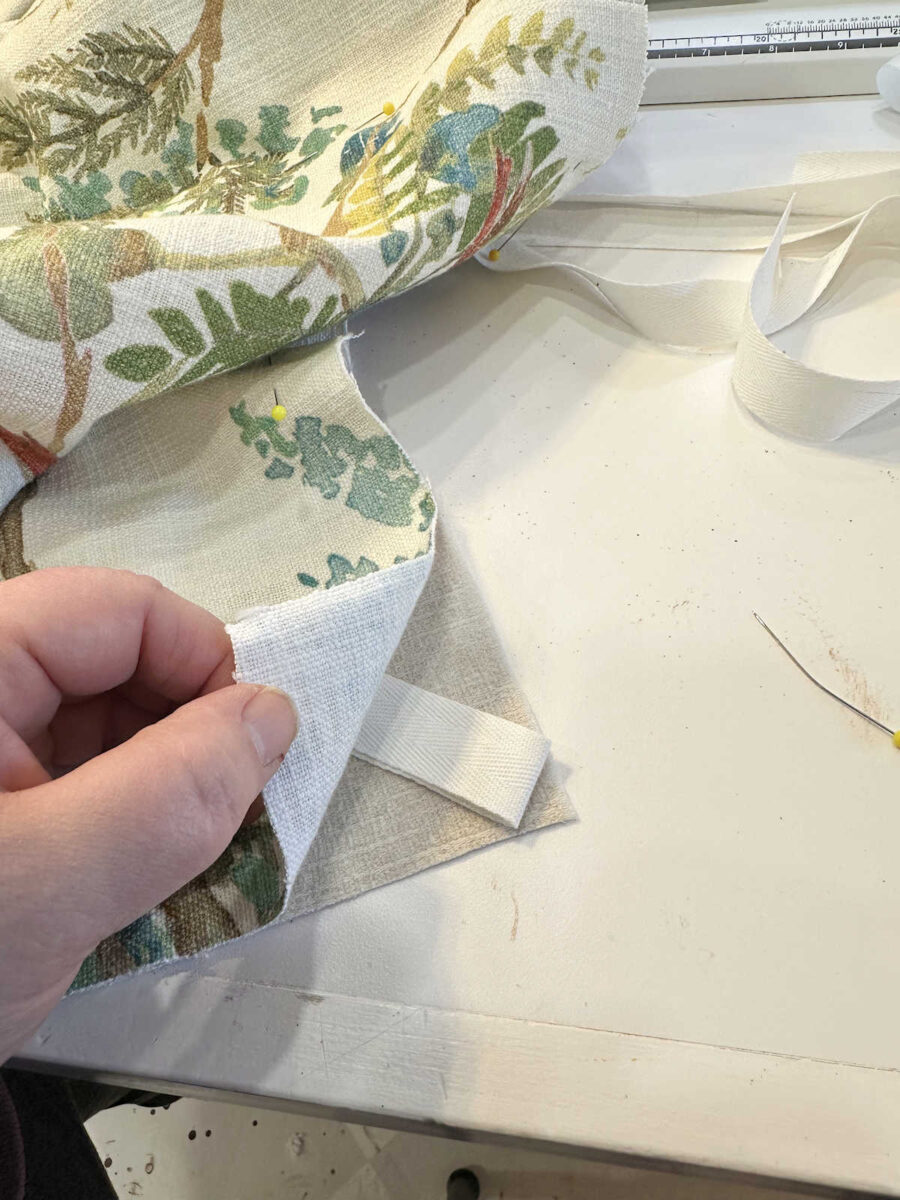
Then I folded every bit in half and pinned it between the layers of cloth.
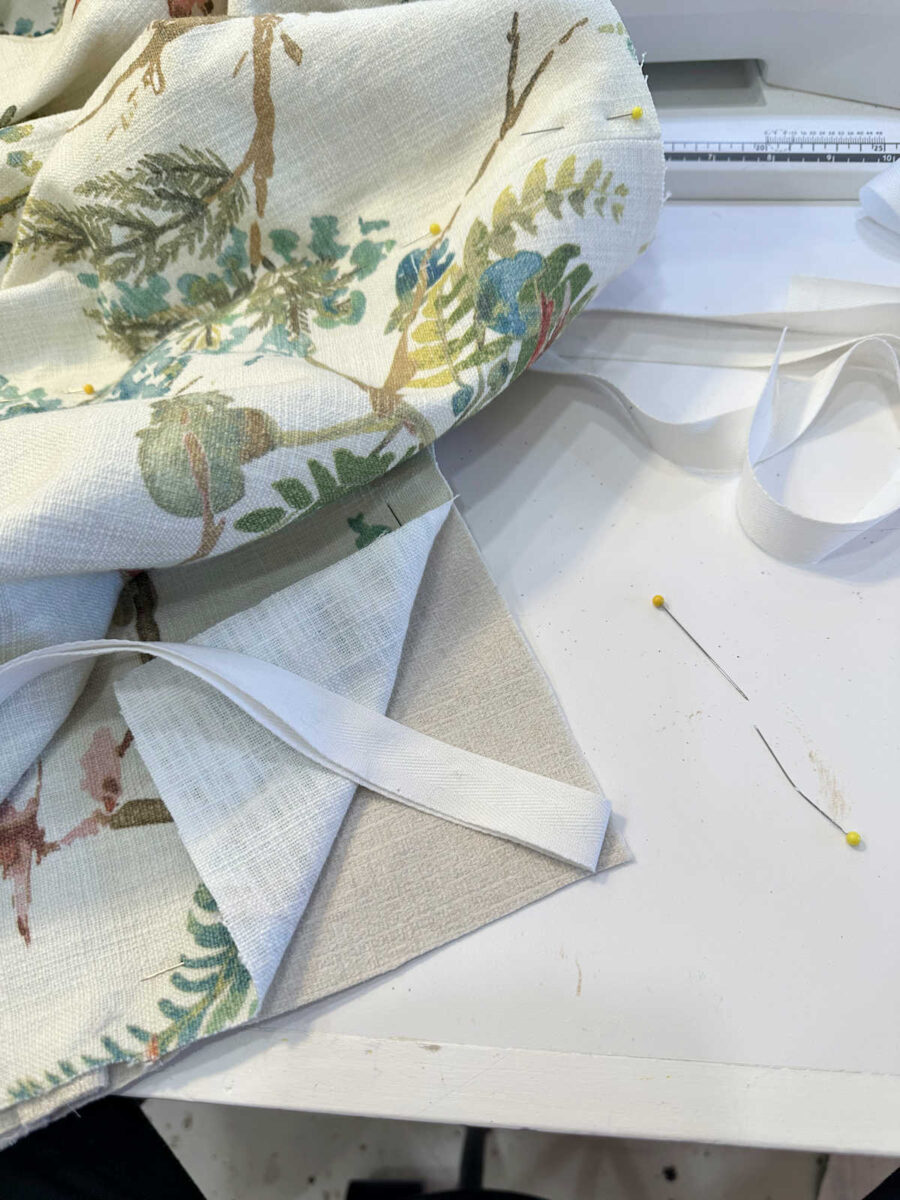
I tucked the tie in between the 2 layers of cloth after which repinned the material collectively.
As soon as I my ties in place, I sewed the 2 materials collectively all the way in which round all 4 edges with a 1/2″ seam.
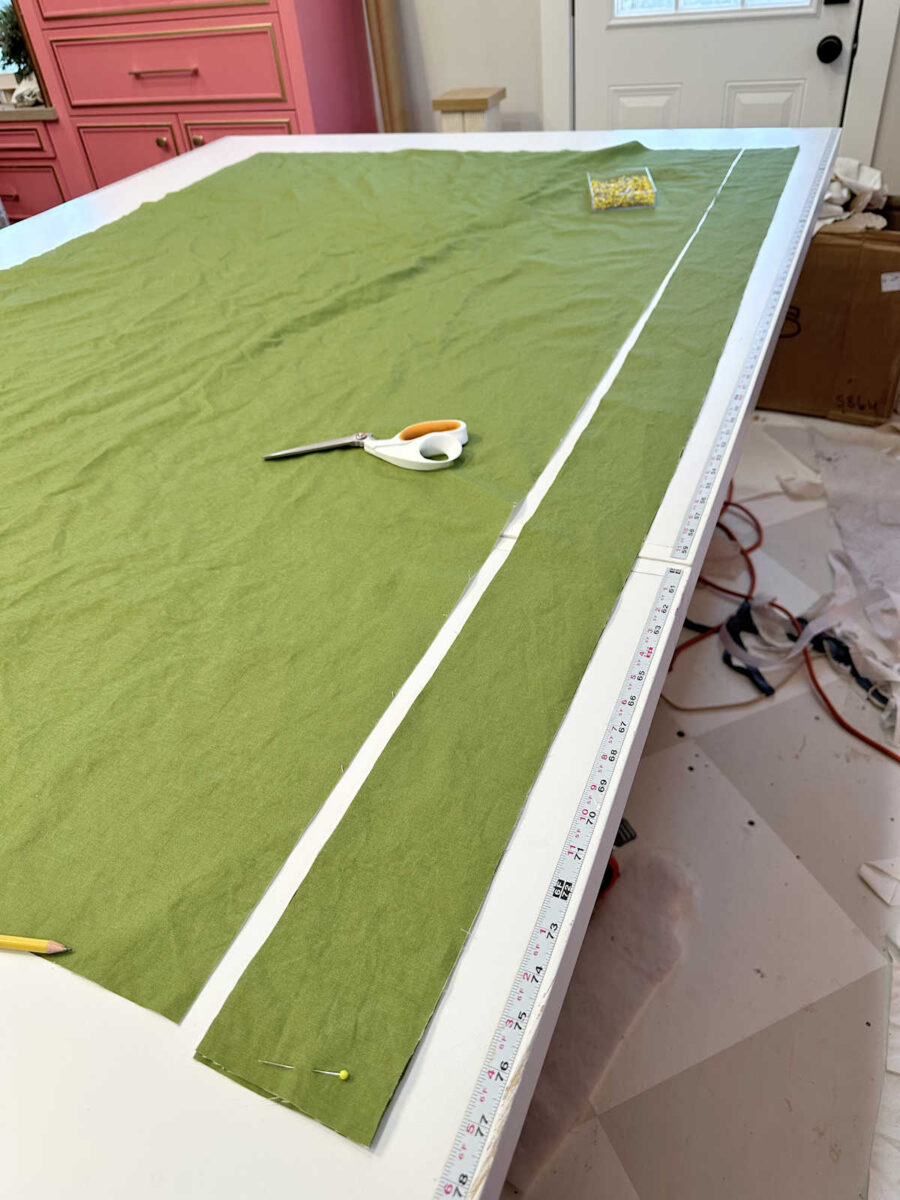
Subsequent, I minimize the material for my distinction edge trim. I wanted simply over 360″ to go all the way in which round my quilt cowl, so I minimize as many strips as I wanted for that size. I minimize these strips 4″ vast.
As soon as I had all of my strips minimize, I pinned them collectively as proven under.
After which I sewed them collectively at a diagonal.
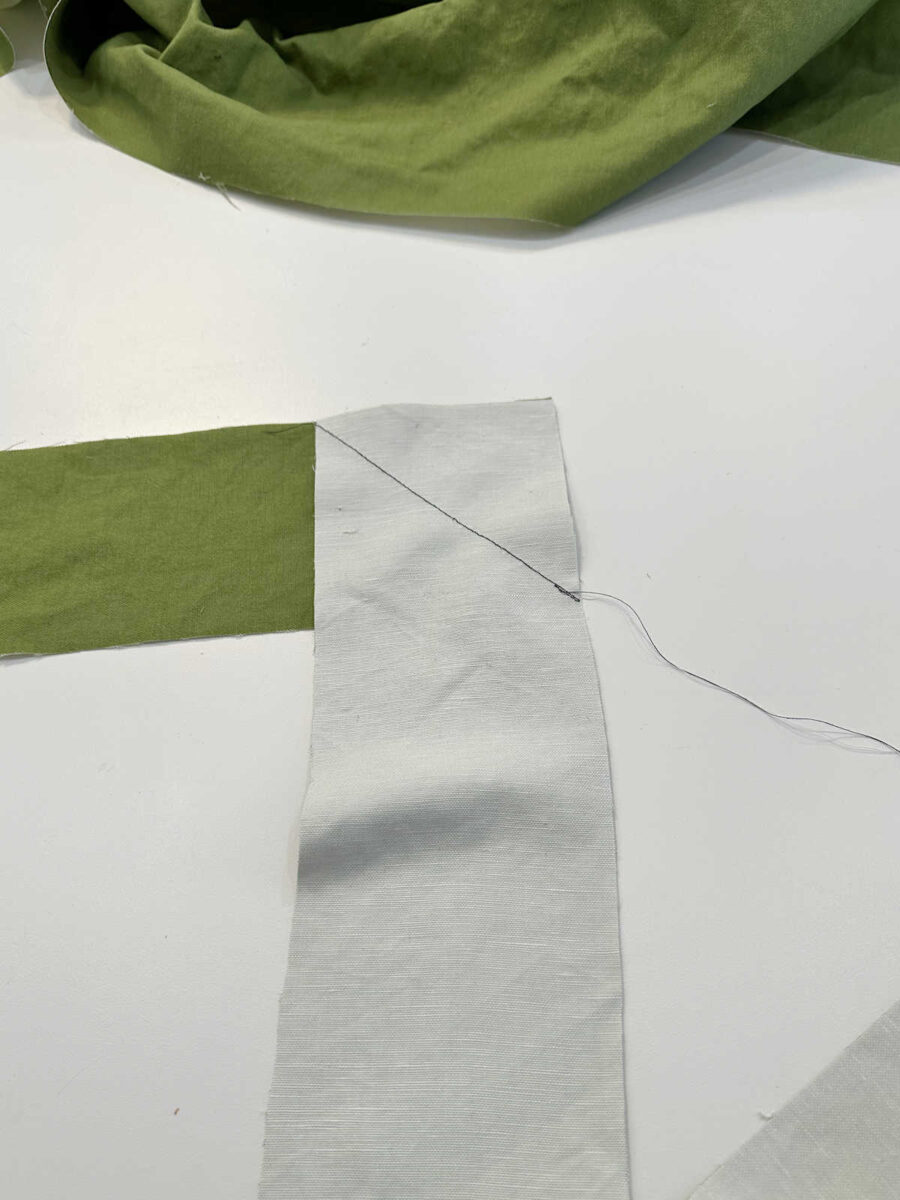
This can be a horrible image. I didn’t notice that my digital camera didn’t focus. However when you open up that seam, that is what that seam appears to be like like.
The rationale they’re sewn collectively at a diagonal as a substitute of a straight 90-degree seam is as a result of this reduces the majority. A diagonal seam will unfold the majority of that seam out over a wider space relatively than having all of these layers of cloth confined to a a lot narrower space, which is able to give a a lot cleaner look on the completed piece.
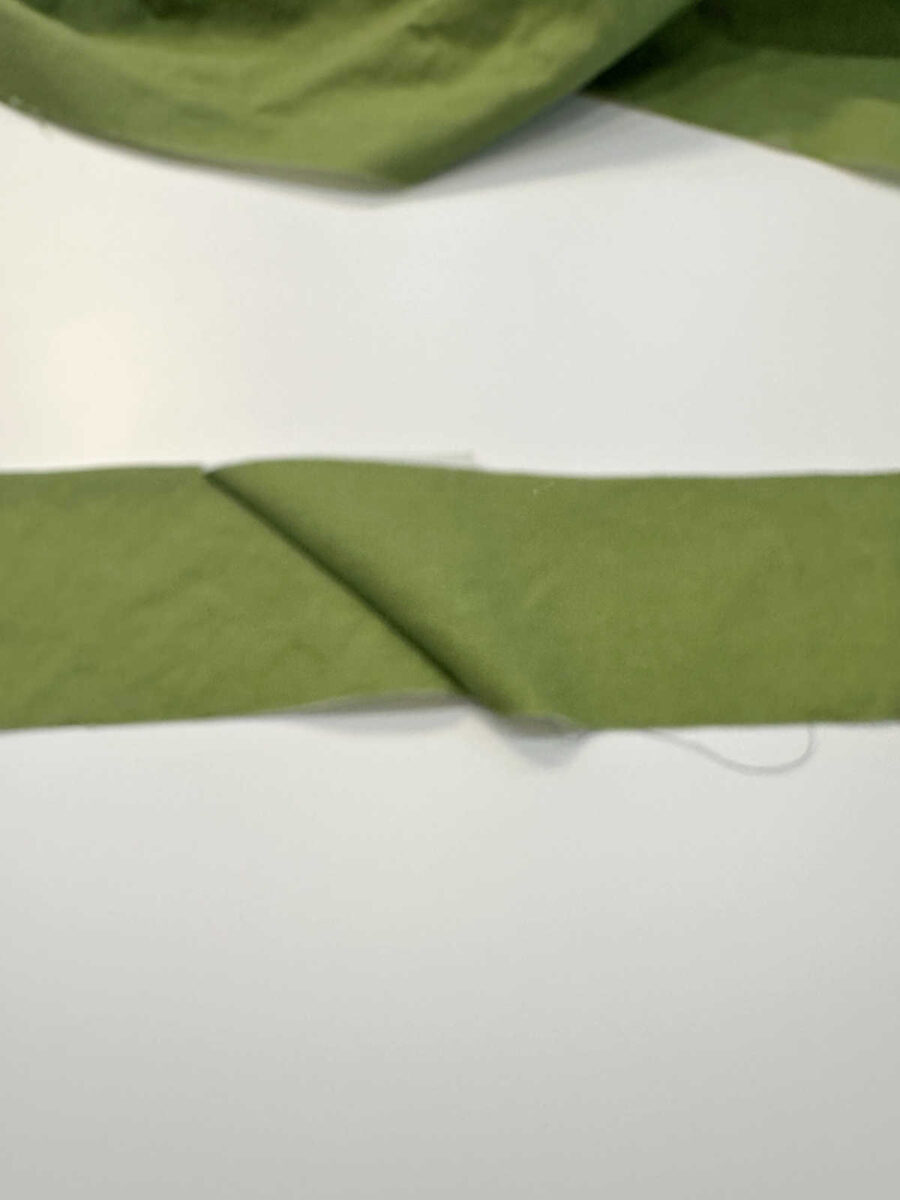
As soon as I had all of my strips sewn collectively, the seams pressed open, and the surplus cloth trimmed, I used to be able to iron within the folds. I positioned the material face down on my work floor…
After which I folded the material in half lengthwise and used my steam iron to get a extremely crisp fold.
After which I opened up the material and folded the underside edge as much as that center crease and pressed it into place.
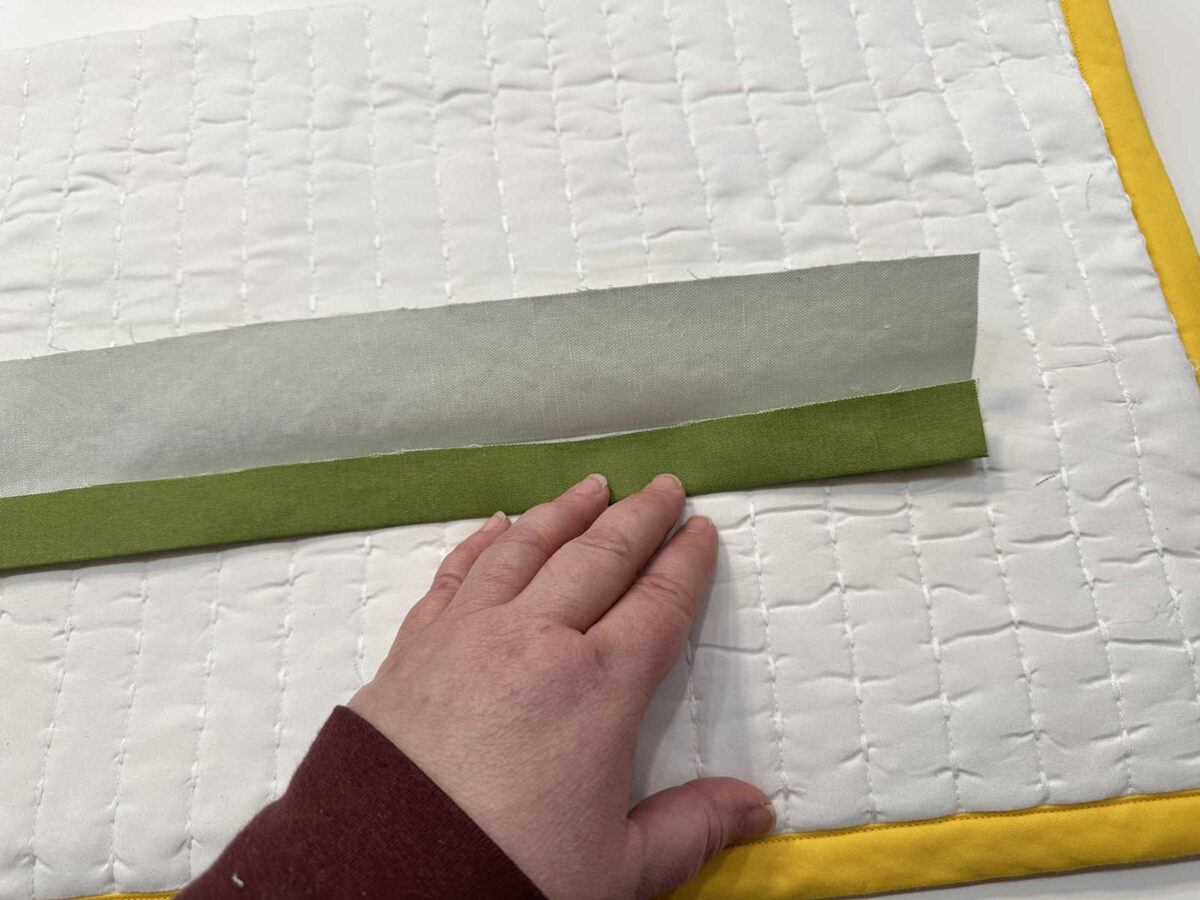
After which I repeated that course of on the highest edge.
After which I refolded it alongside the middle crease and pressed it once more to provide me my completed 1″-wide completed trim.
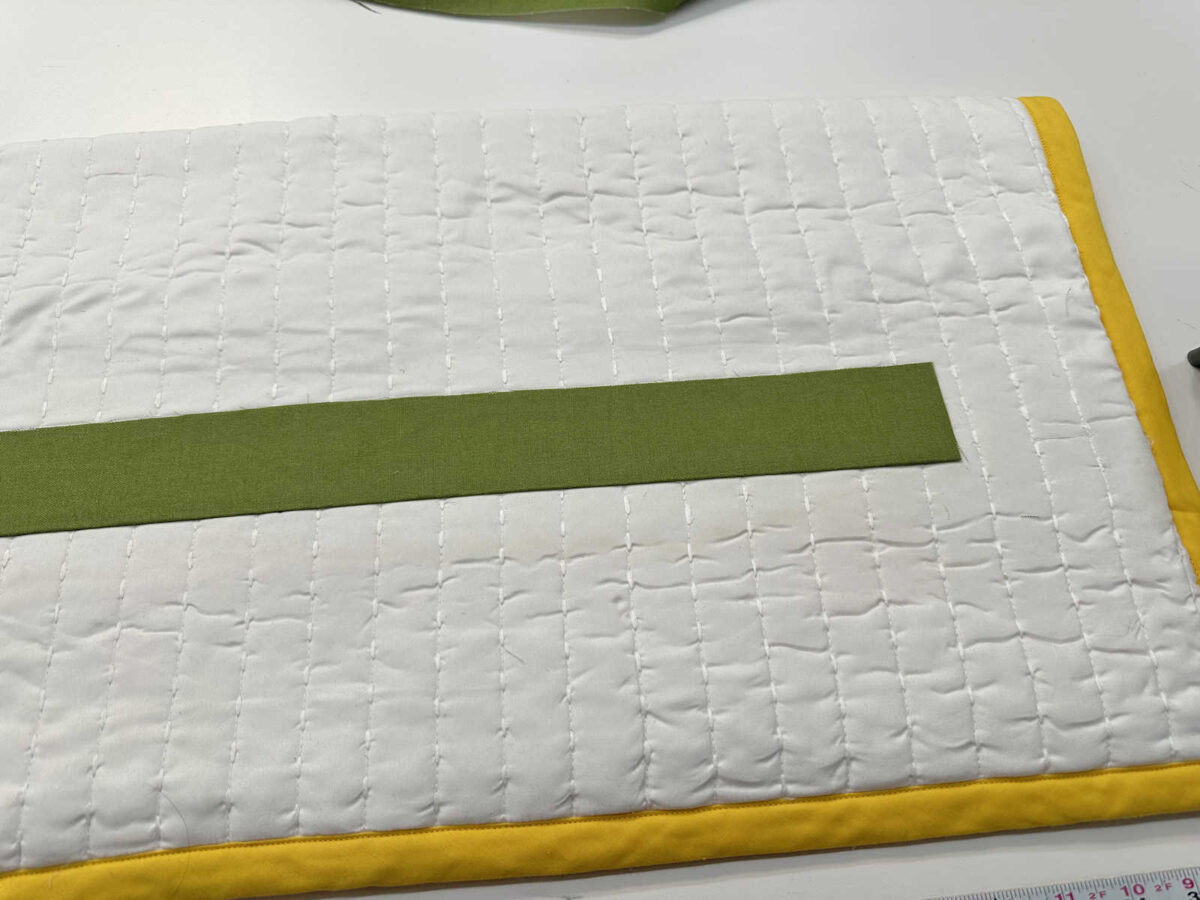
To connect it to the quilt cowl, I merely opened up that trim…
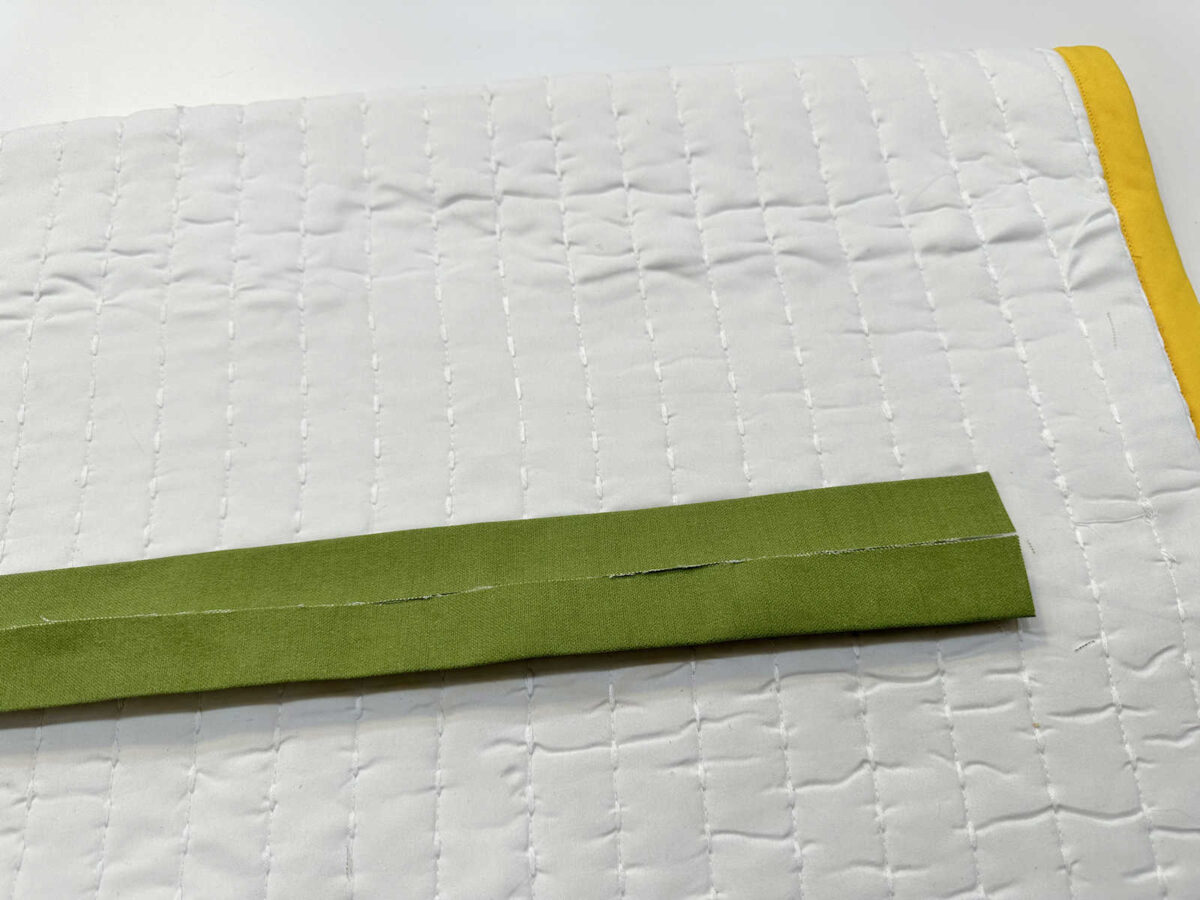
After which I wrapped it across the fringe of the quilt cowl…
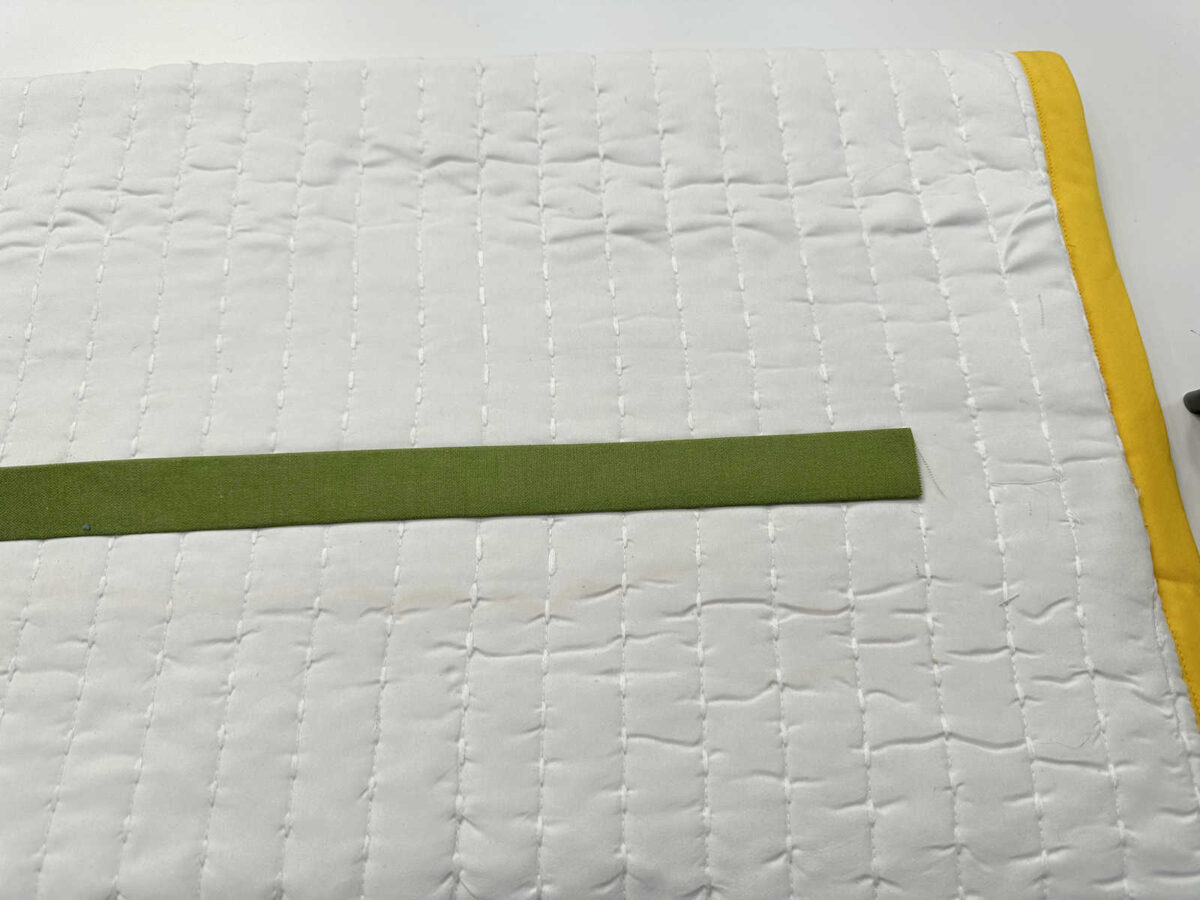
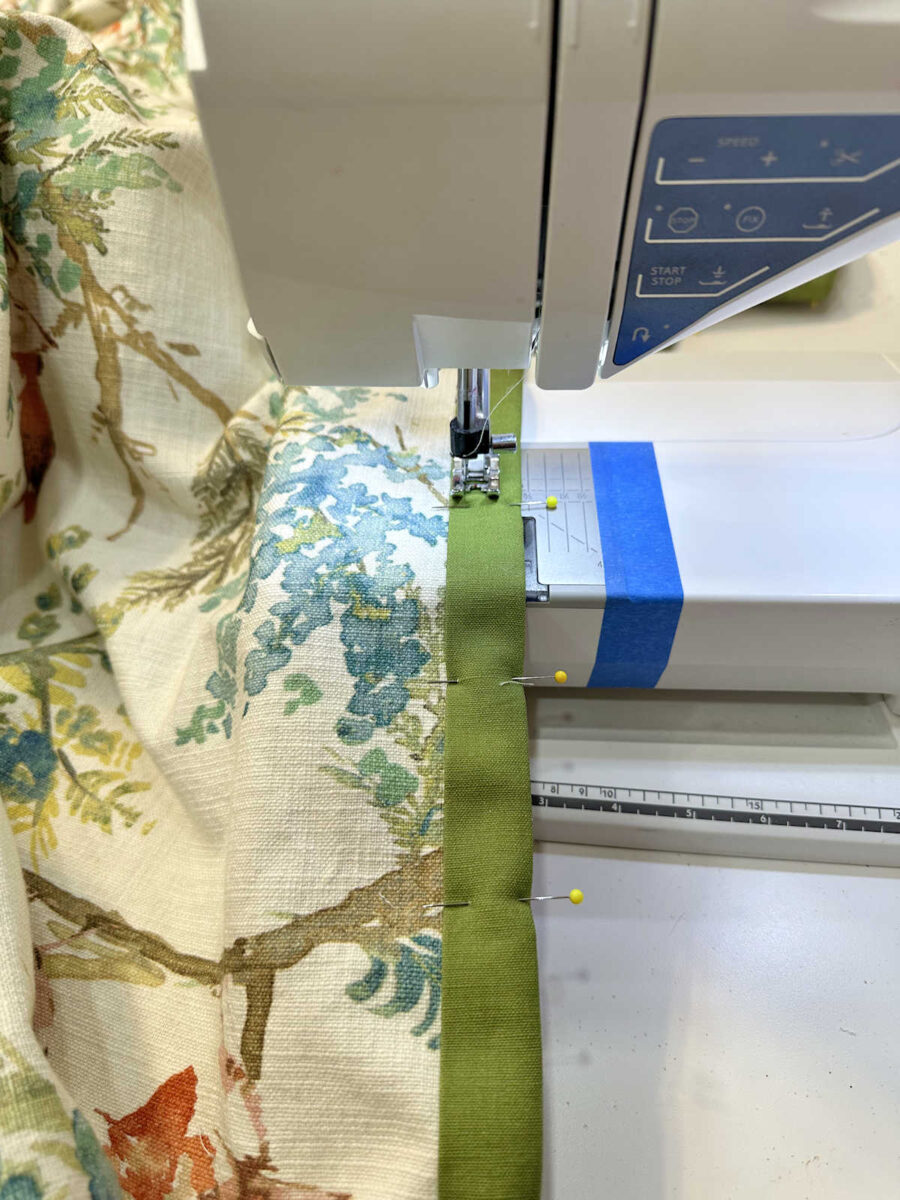
After which I pinned it into place. I continued this course of across the complete quilt cowl till I bought again to the place to begin. As soon as I reached the place to begin, I minimize the trim about two inches previous the place to begin, folded it underneath, and pinned it on high of the place to begin trim in order that it over lapped about 1 inch.

As soon as it was pinned all the way in which round, I sewed the trim into place. I sewed about 1/8″ from the within fringe of the trim.
The final step, which I haven’t carried out but, is so as to add buttonholes and buttons to that overlapping flat on the again piece of the quilt cowl. The rationale I haven’t carried out that but is as a result of, now that we don’t have any cloth shops left in our metropolis (R.I.P. Joann Materials), there’s no handy place the place I can simply go purchase some buttons. So I needed to order buttons on-line, and so they haven’t gotten right here but. I don’t wish to sew buttonholes on this till I even have these buttons in hand.
However as soon as I’ve these buttons in hand, I can end up this flap in order that the 2 items will connect to one another and maintain the quilt contained in the quilt cowl.
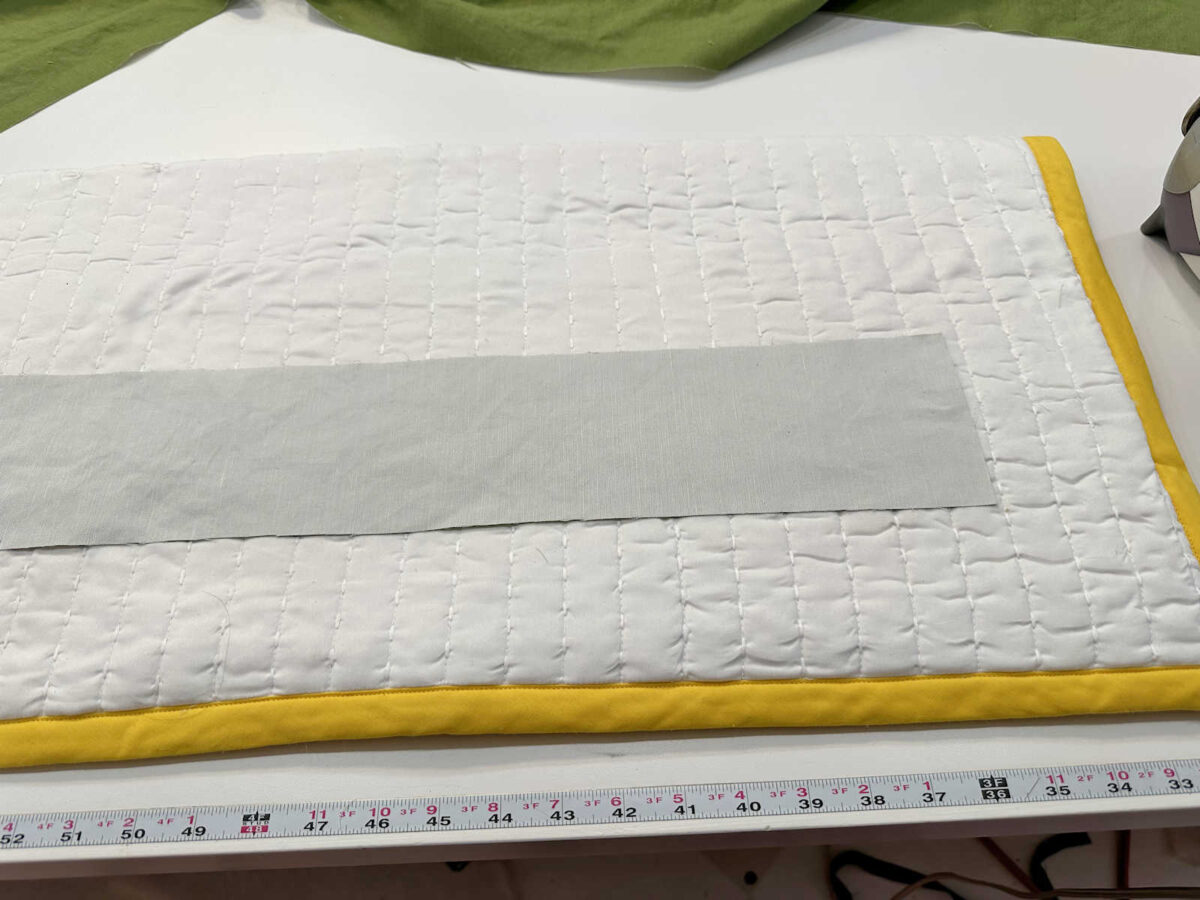
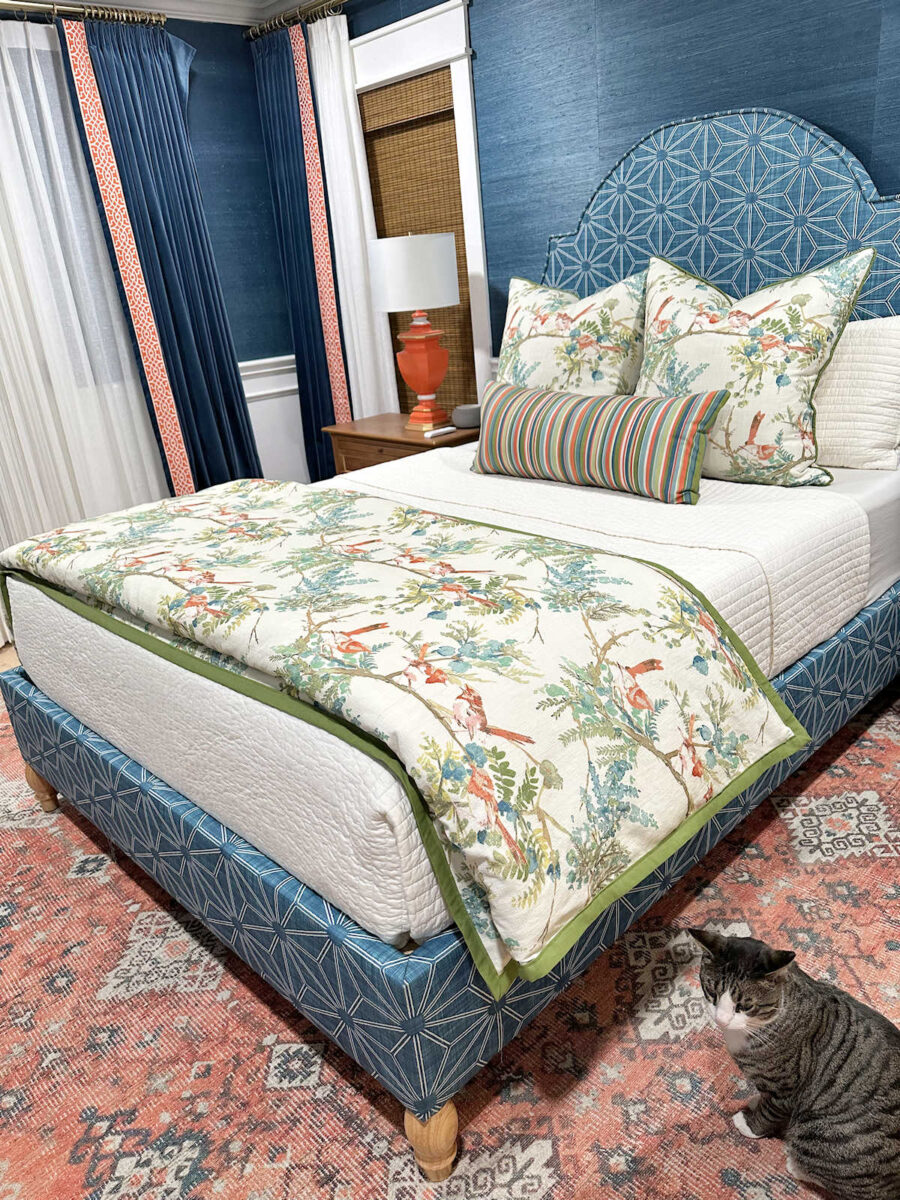
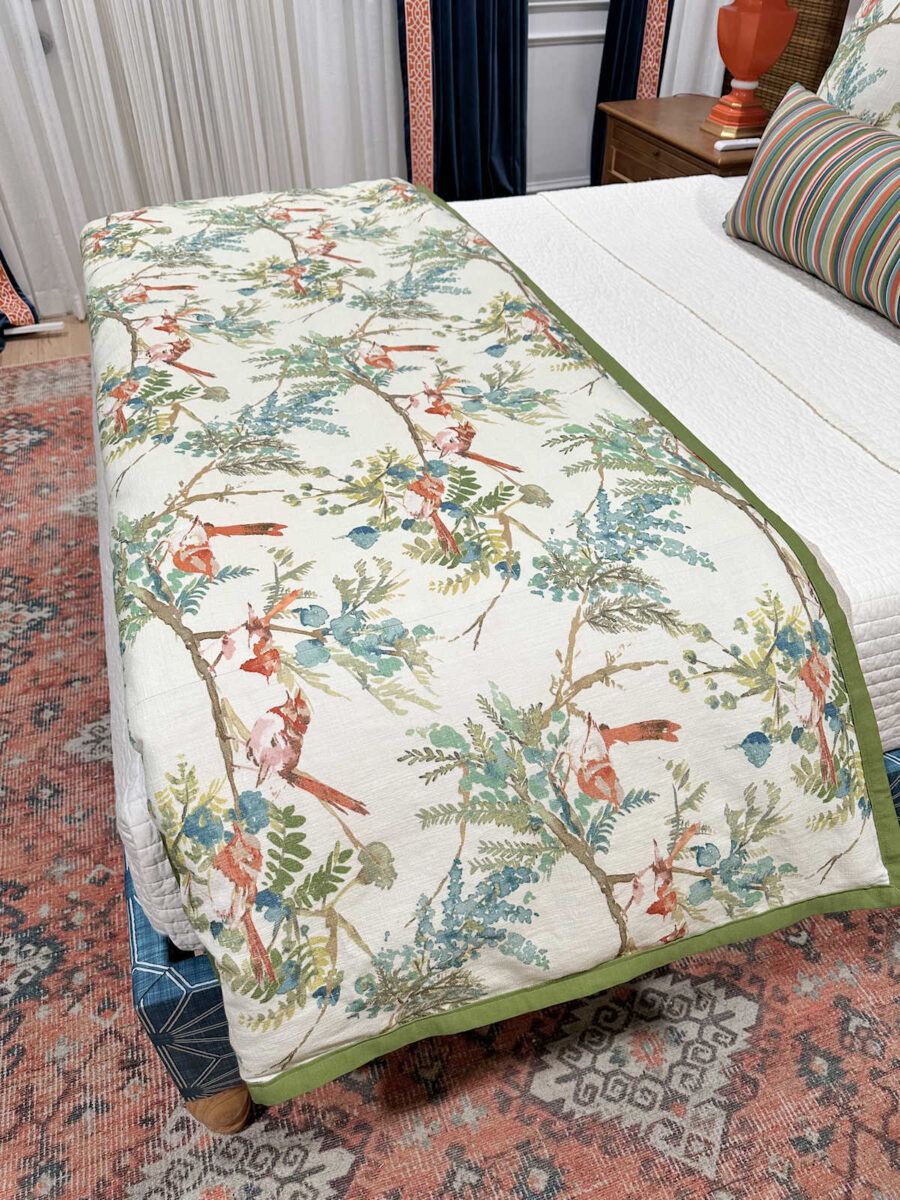
However till then, I went forward and put the quilt contained in the quilt cowl and simply pinned that flap closed. And right here’s the (nearly) completed quilt cowl.
I completely love how this turned out, and I’m so glad that the hen cloth has a a lot greater presence within the room now.
And with that, the bedding is now utterly completed.
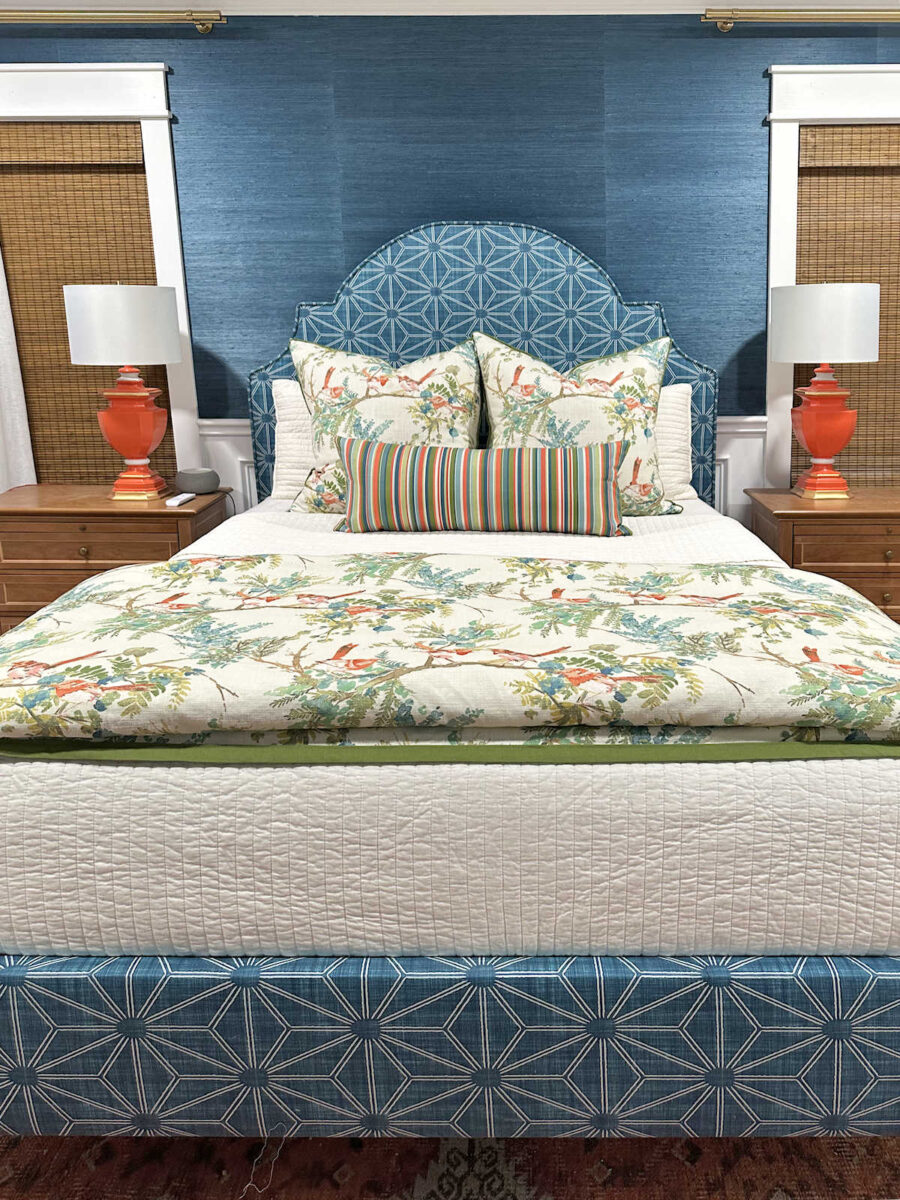
I simply love this cloth a lot, and I’m so glad that I may use extra of it within the room.
Extra About Our Grasp Bed room
see all grasp
bed room diy initiatives
learn all grasp
bed room weblog posts

Addicted 2 Adorning is the place I share my DIY and adorning journey as I transform and enhance the 1948 fixer higher that my husband, Matt, and I purchased in 2013. Matt has M.S. and is unable to do bodily work, so I do the vast majority of the work on the home on my own. You possibly can be taught extra about me right here.
")

")


")
