

")
I made a ton of progress yesterday on sanding the crimson oak hardwood flooring in our bed room suite! I didn’t get them completed. I’d guess that I’m about midway by way of with the entire course of. I began with 36-grit sandpaper since I’m eradicating a extremely darkish end, and I didn’t even get by way of that complete course of yesterday. However that’s the toughest half (I’ll present you why in a bit), so the remainder ought to go a lot sooner. As soon as all the authentic end is off, I’ll comply with up with 60-grit, 80-grit, after which finish with 100-grit.
This sort of feels anticlimactic at this level. In spite of everything, it was simply over two months in the past that I had these hardwood flooring put in, and at the moment they seemed like this…
After which I stained and polyurethaned them, they usually seemed like this…
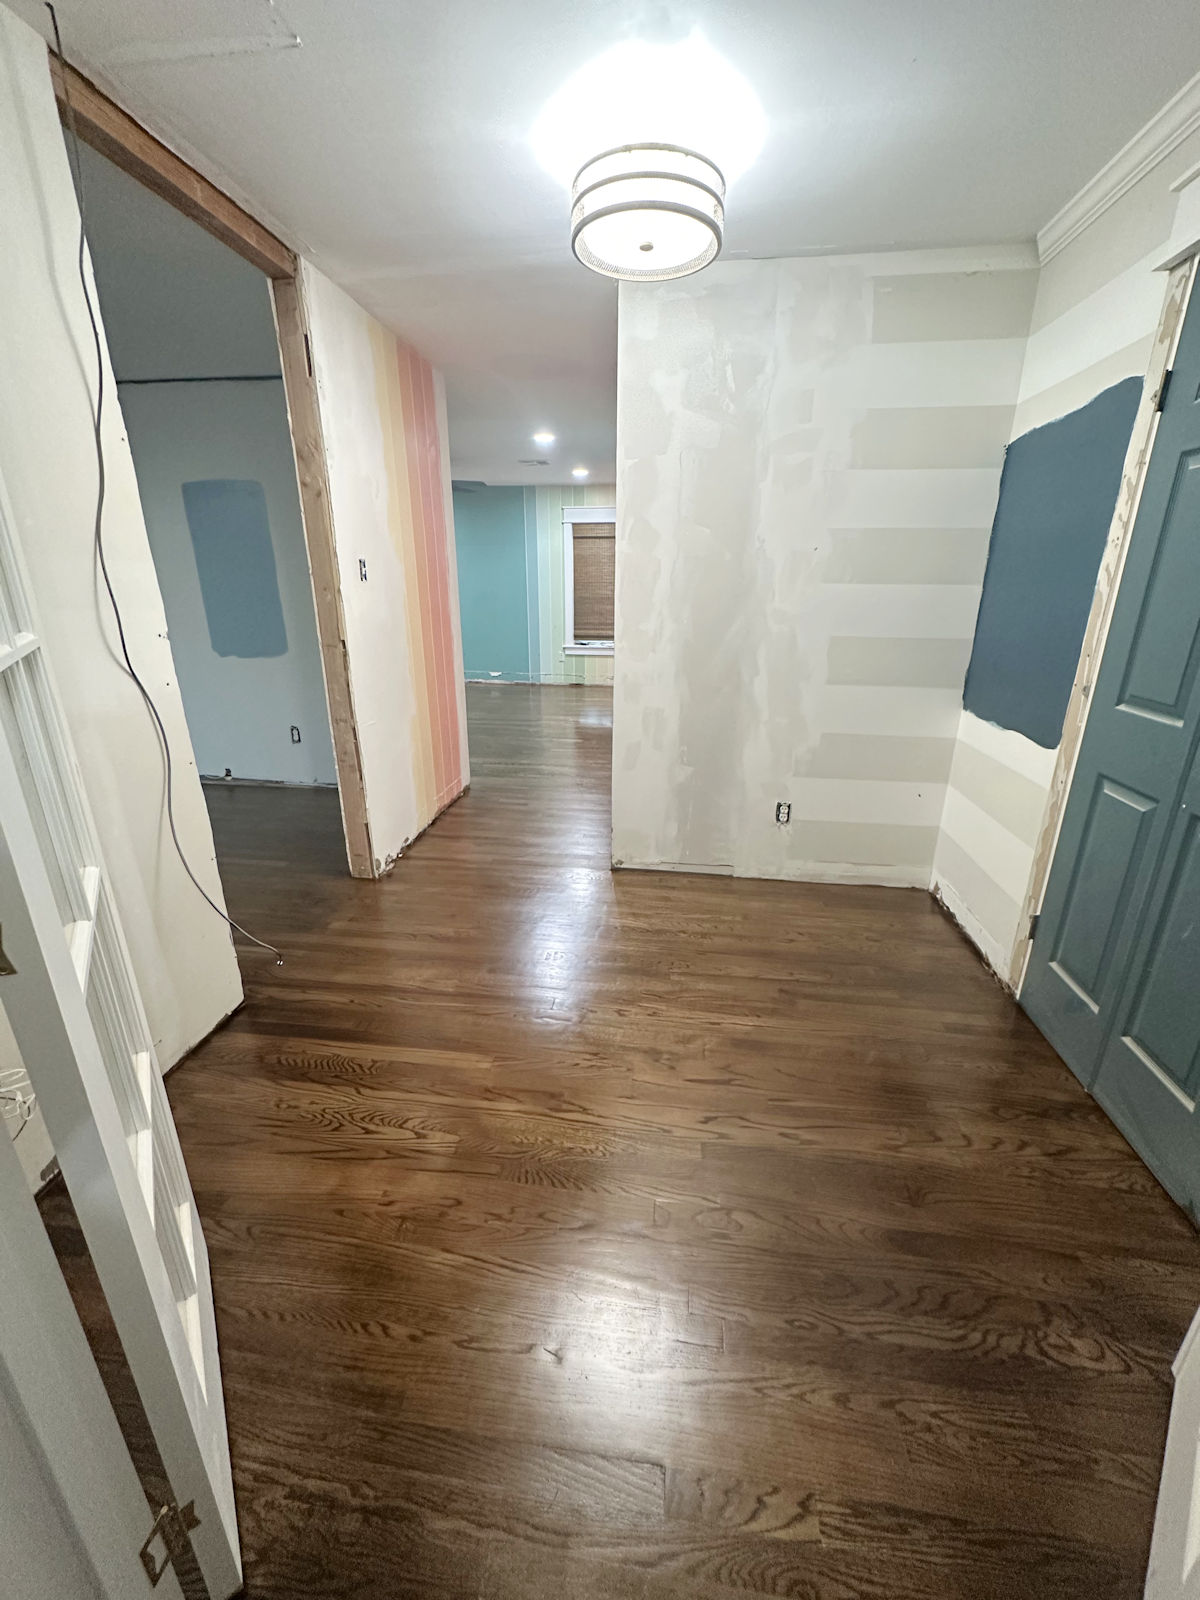
So undoing all of that onerous work and going again to the purpose the place I used to be simply over two months in the past doesn’t actually really feel like progress. However I do know when all is alleged and carried out, I’ll be so completely happy that I took this chance to alter the ground coloration, not solely in our bed room suite, however all through our whole home.
Anyway, I rented two ground sanders from House Depot. Our House Depot rental division is pretty new, so this was my first time to lease from House Depot. And I’m so glad I did! The explanation I didn’t sand my very own flooring the primary go ’spherical (when the flooring was put in earlier this 12 months) is as a result of I remembered sanding the flooring in the remainder of the home years in the past, and it not a enjoyable course of. I rented these sanders from a spot referred to as Sunbelt right here in Waco, and the drum sander was laborious to make use of and created a ton of mud that was thrown into each nook and cranny in each room. The sting sander was terrible and nearly unattainable to make use of, with the sanding disc flying off and throughout the room after going just a few ft. I keep in mind being in tears over that edge sander.
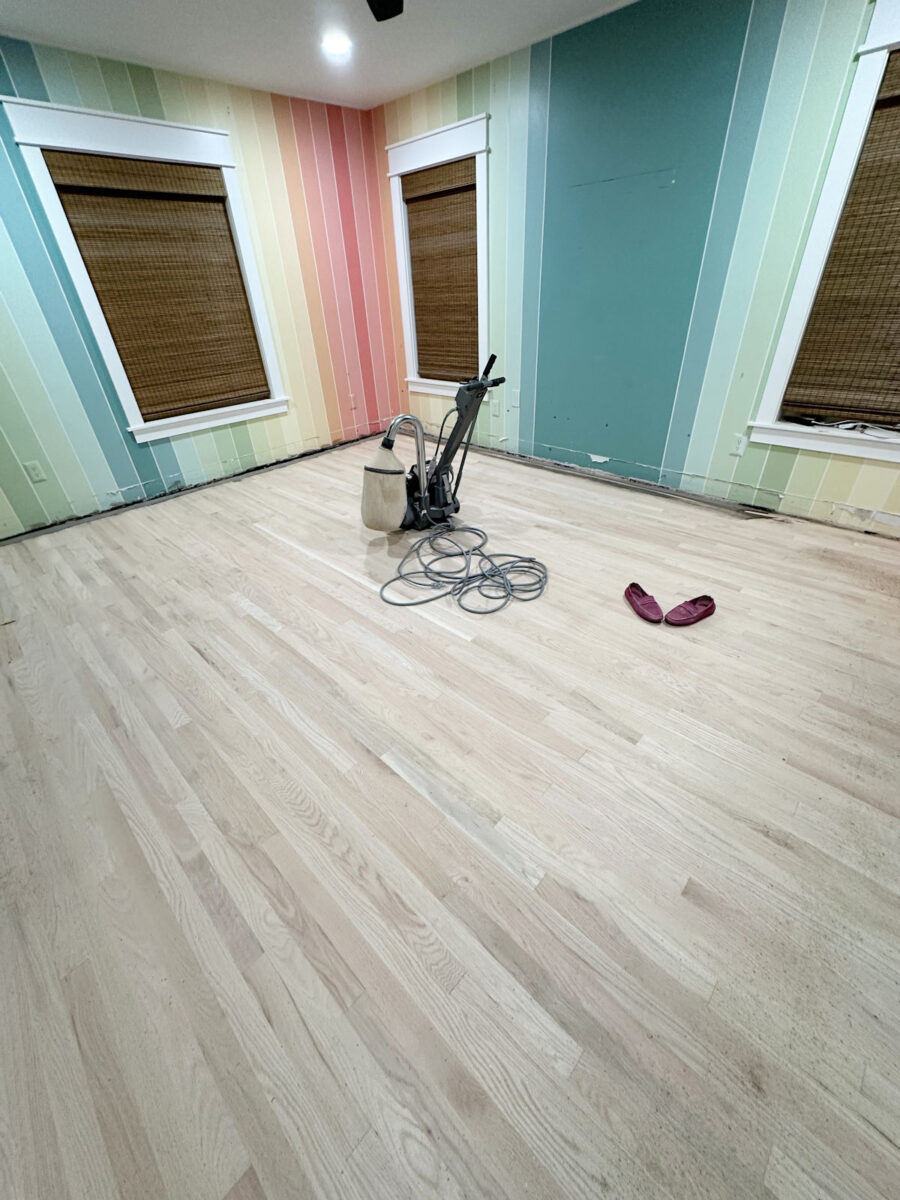
I didn’t need to undergo that once more, so earlier this 12 months, I employed out the sanding of the hardwood flooring. However had I recognized how superior House Depot’s sanders had been, there’s no manner I might have employed out that job! These American Sanders ground sanders are straightforward to make use of, and I used to be particularly impressed with the sting sander. (Tiger appeared impressed as nicely. 😀 )

Talking of Tiger, he’s doing very well. I put a collar with an air tag on him in order that I can hold tabs on him. 😀 He just about spends all of his time in our again yard, and I’m on the market fairly often to provide him numerous love and cuddles.

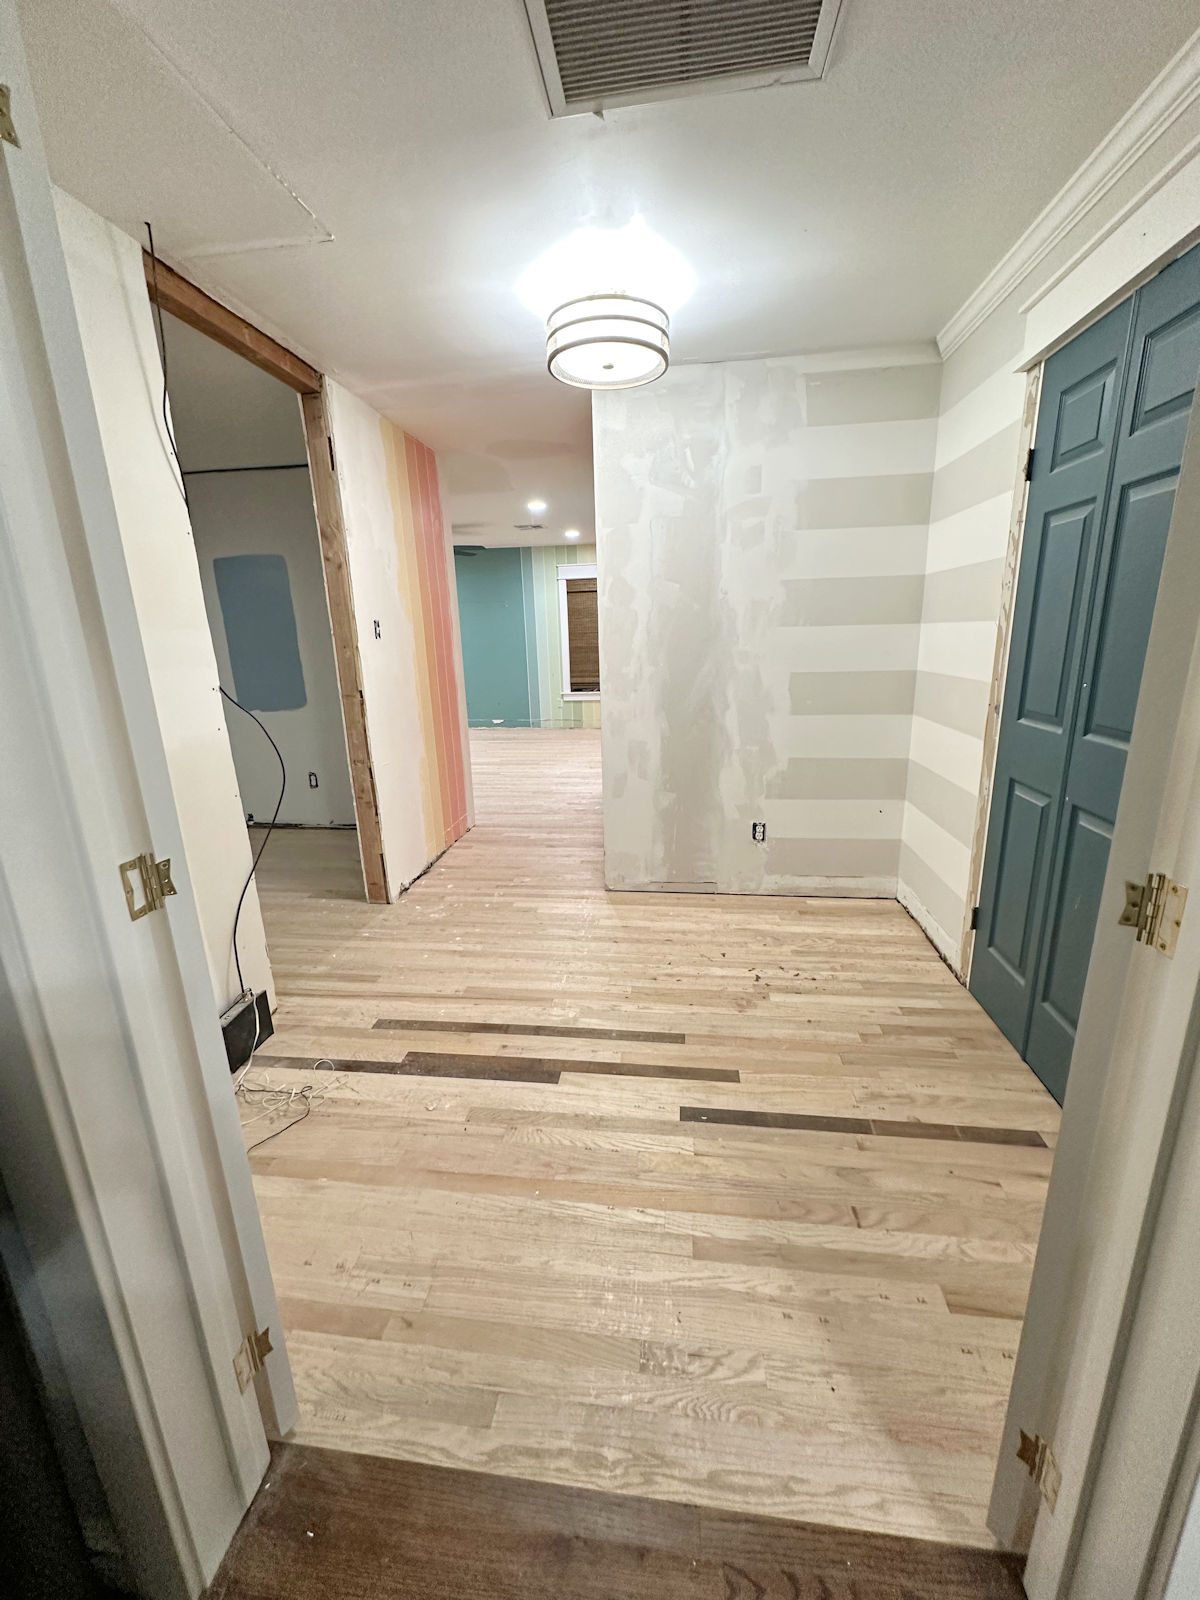
Anyway, right here’s the sanding progress. I obtained all the sanding with the 36-grit sandpaper on the drum sander carried out in all the areas. After which I obtained about midway carried out with the sting sanding with the 36-grit sandpaper.
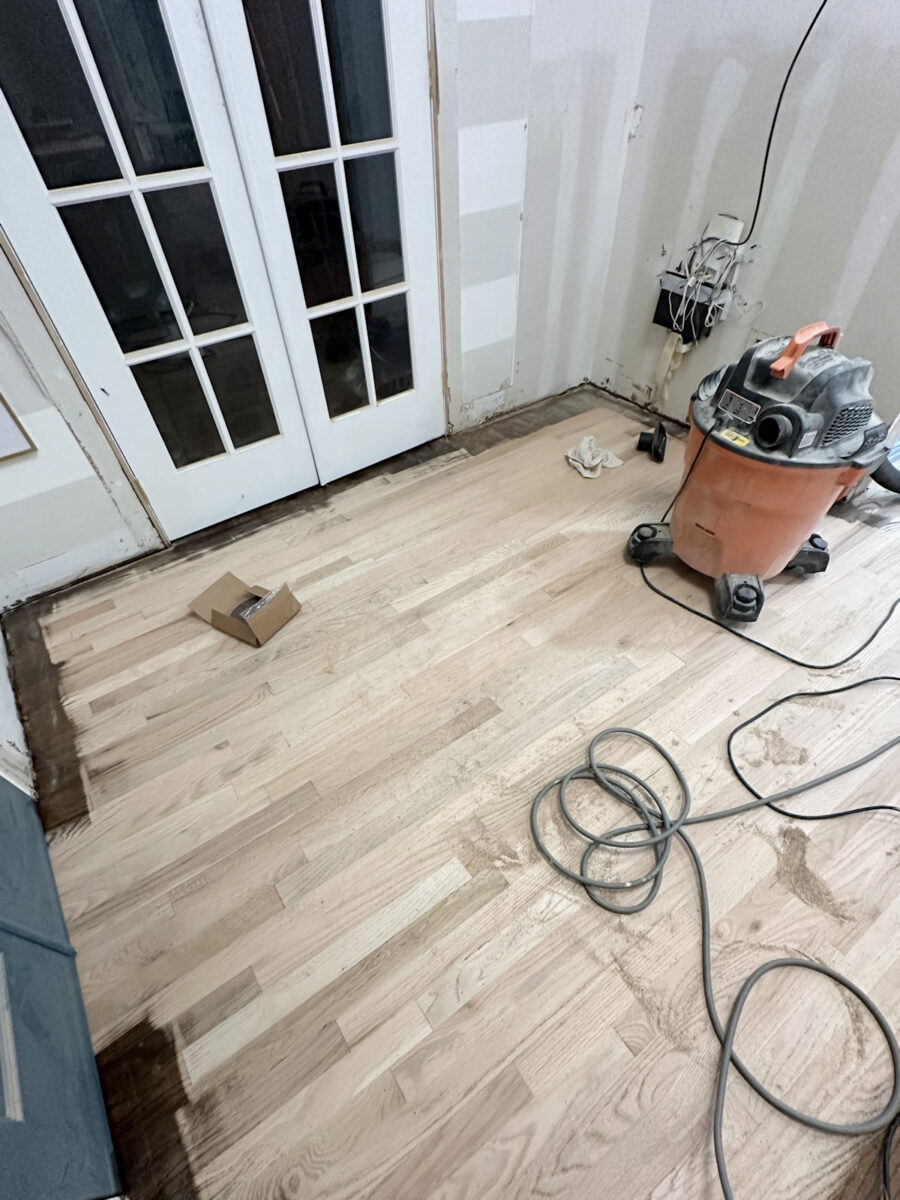
The areas across the doorways are clearly essentially the most difficult elements, and I might want to get new blades for my ground scraper in an effort to get proper as much as the door jambs. Since I’m going from actually darkish flooring to a extremely mild end, I clearly need each single little bit of that darkish end gone as a lot as potential. And I’d like to do this with out eradicating any further trim items, if potential.

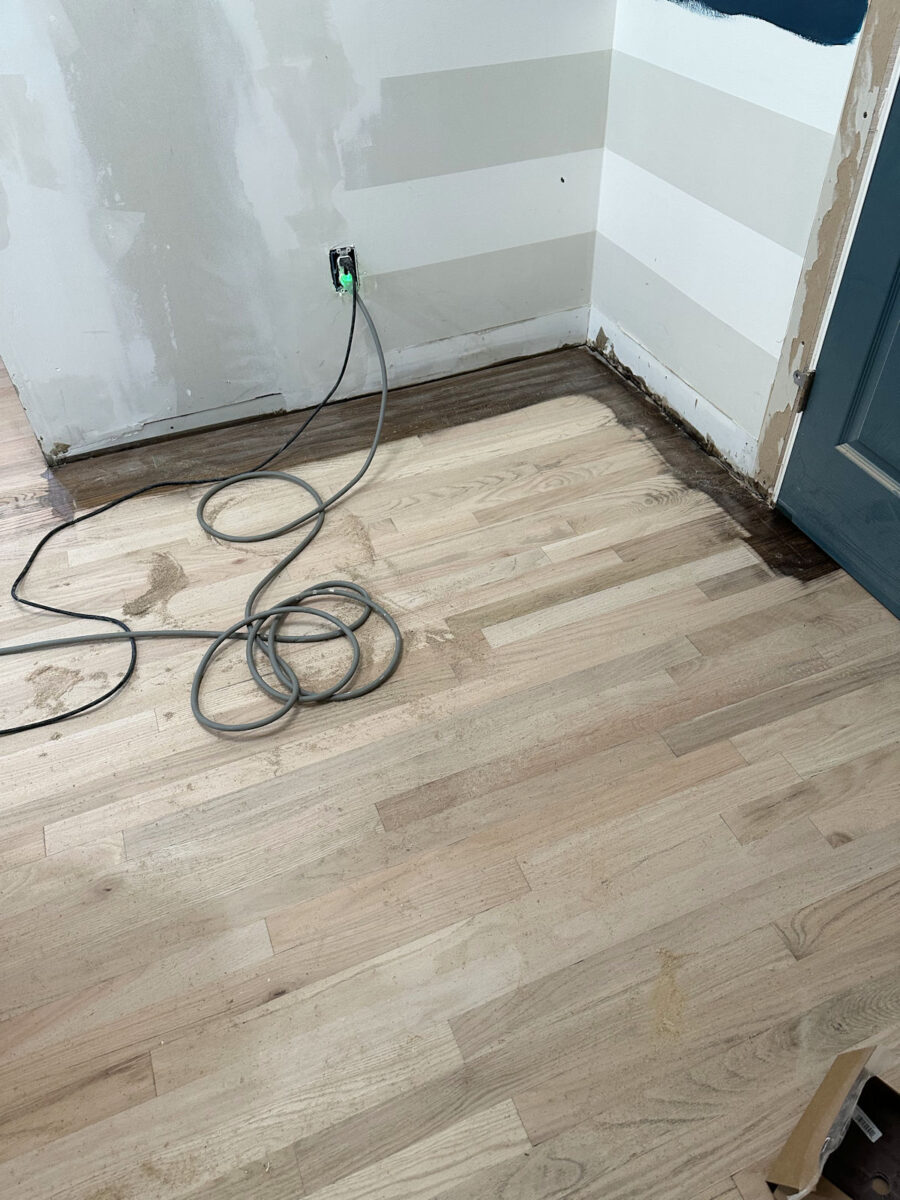
Fortunately, with the superior edge sander, the areas proper up towards the partitions are a lot simpler than I anticipated. I’ll nonetheless have to make use of a ground scraper within the corners, although, because the spherical edge sander can’t get into these corners.
However I obtained all the foremost space of the lobby carried out. My largest concern is the transition between the bed room suite lobby and the music room. That must be a clear, straight line for now (till I refinish the remainder of the flooring sooner or later), and I’m not fairly so assured in my capability to get a clear, straight line, even with a ground scraper. I’ll do my finest, clearly, however I may need to dwell with a not-so-perfect transition for some time.
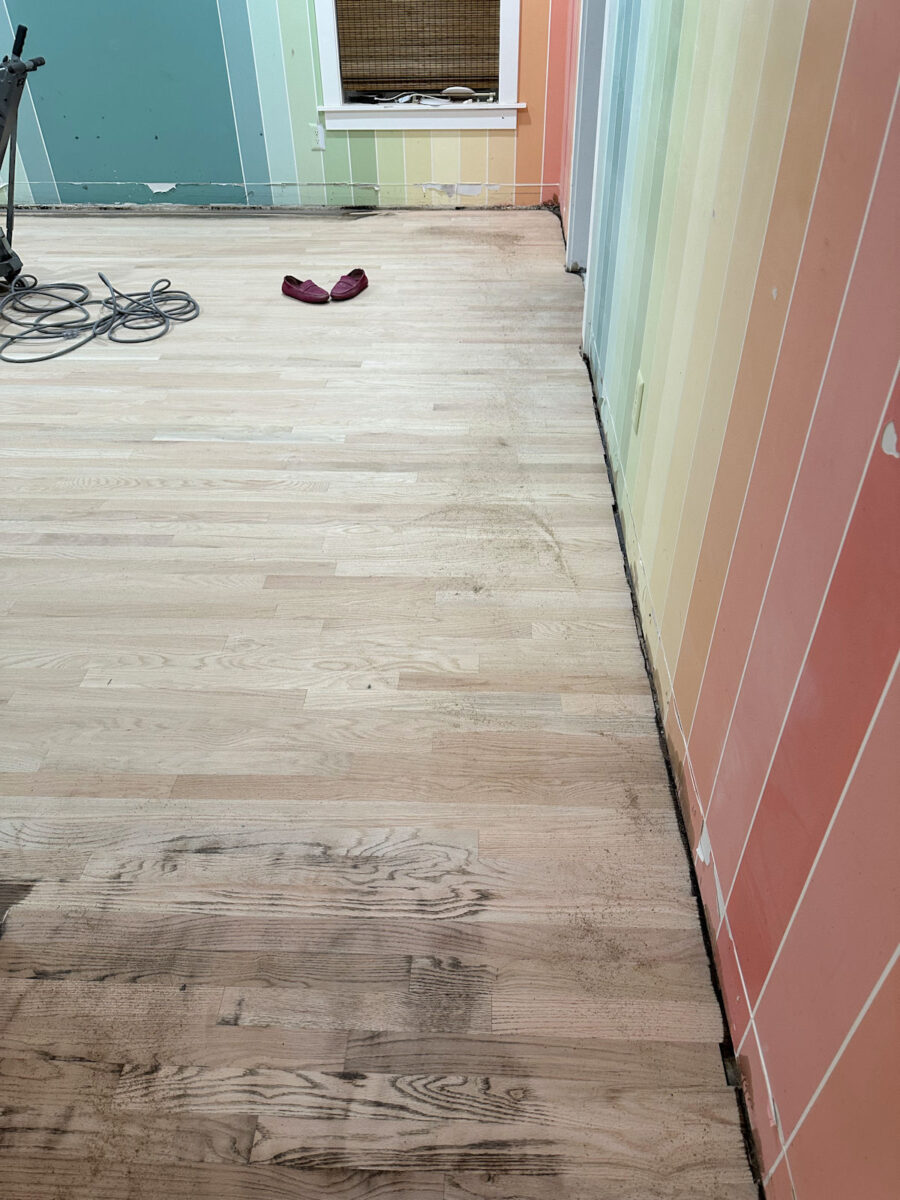
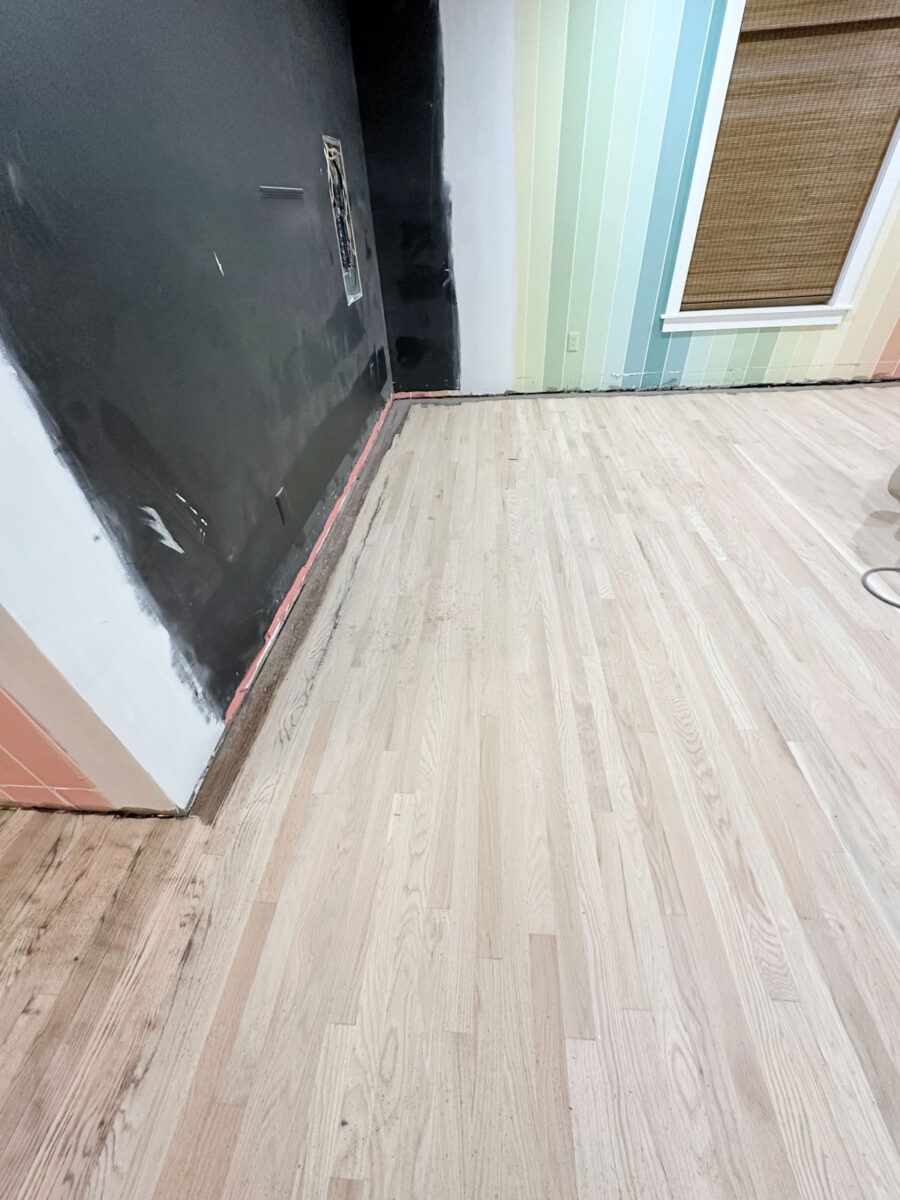
Anyway, the rationale that the primary sanding takes so lengthy is as a result of that darkish end needs to be faraway from all the wooden grain. With only one cross, it seems like this…

And clearly, that gained’t do. Once I was making an attempt to determine what end and which merchandise to make use of to get a lightweight end on crimson oak hardwood flooring, I watched as many movies as I may discover on YouTube, Instagram, and TikTok. I got here throughout one video of a younger girl who DIYed her flooring, and she or he didn’t sand sufficient to take away all the end from the grain. The outcome wasn’t nice. I assumed possibly she simply didn’t know what crimson oak flooring had been speculated to appear like once they’re totally sanded. Possibly she thought that crimson oak flooring simply naturally have actually darkish grain, however they don’t. In the event that they’re sanded correctly, crimson oak flooring have fairly light-colored grain. Any actually darkish grain is leftover stain, and it must be eliminated.
So getting all of that up is the most important problem on the primary sanding. As soon as all of that’s up, the remainder of the sanding (the 60, 80, and 100-grit sanding) ought to go fairly rapidly.
I’ll be utilizing Bona NaturalSeal on the flooring, and that sealer has a little bit of white pigment added to it. So as soon as they’re utterly carried out, the completed flooring must be only a bit lighter than they seem of their utterly pure, unfinished state.
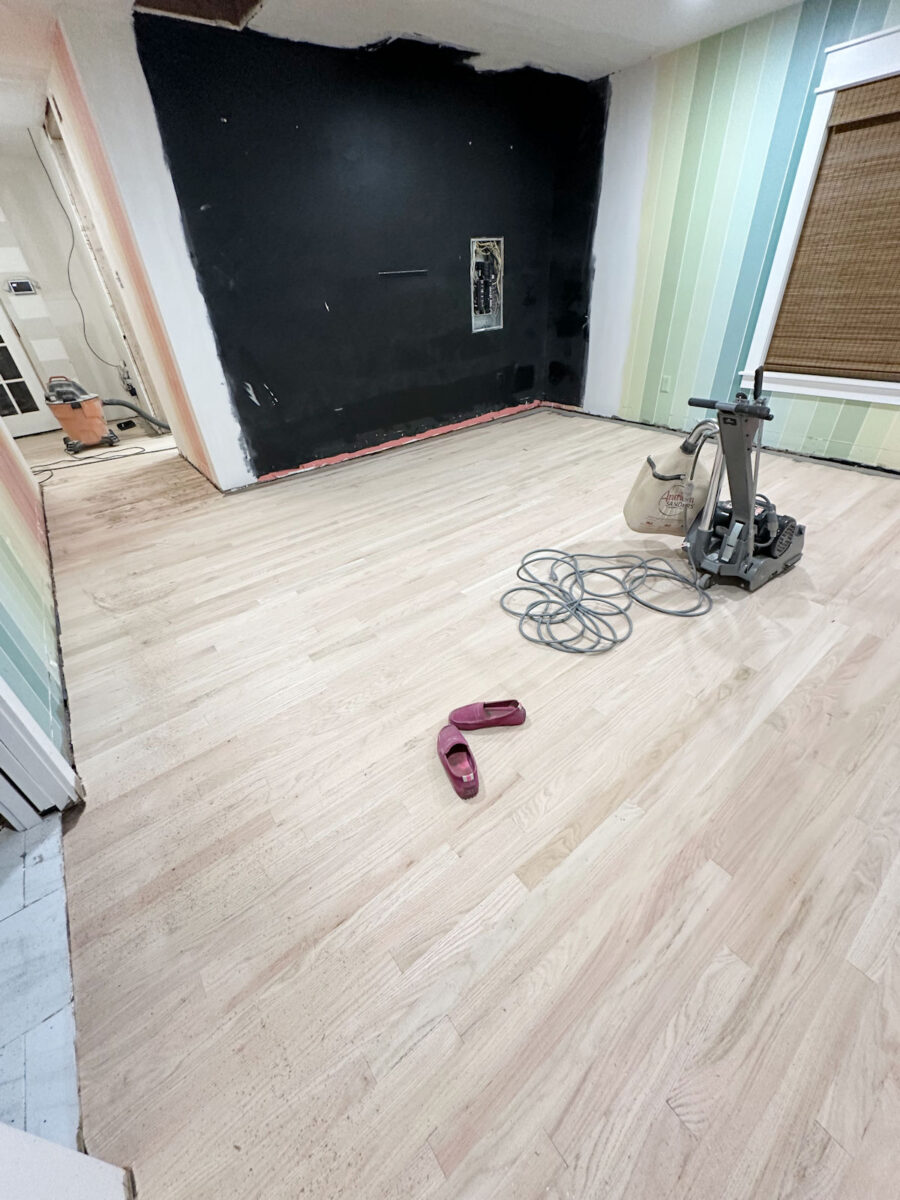
One other problem is that this complete little hallway between the lobby and the bed room needs to be carried out with the sting sander as a result of there’s not sufficient room to make use of the massive drum sander there since I’ve to sand with the grain of the wooden. That doesn’t look like a giant hallway in any respect whenever you’re it, however whenever you’re bending over and utilizing a strong edge sander to sand the entire thing, it appears a lot larger than it’s. 😀

I additionally observed that I’ve a number of areas that I already sanded, however clearly I didn’t do sufficient. So as soon as I end up with the 36-grit sanding, I’ll give all the flooring a once-over and return and hit the areas that I missed earlier than shifting on.

I estimate that I can get by way of all the sanding with the opposite three grits of sandpaper, as much as 100-grit, in the identical period of time that it took me to do all the flooring with the 36-grit. So the toughest half is nearly over.
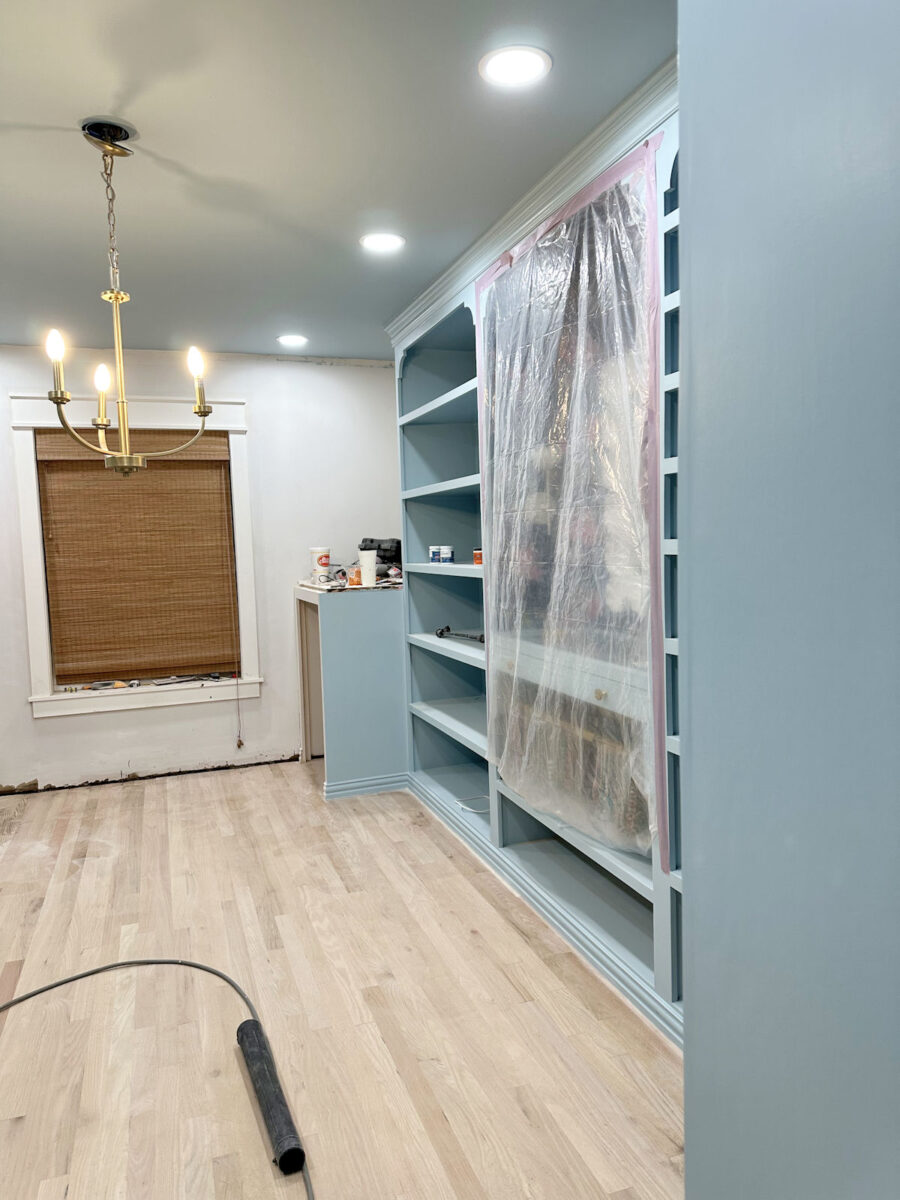
However right here’s the enjoyable half. We are able to lastly get an thought of what my blue walk-in closet will appear like with mild hardwood flooring. Once more, the completed flooring will probably be a tiny bit lighter than what they appear like right here, however simply have a look at this big distinction the sunshine flooring make!
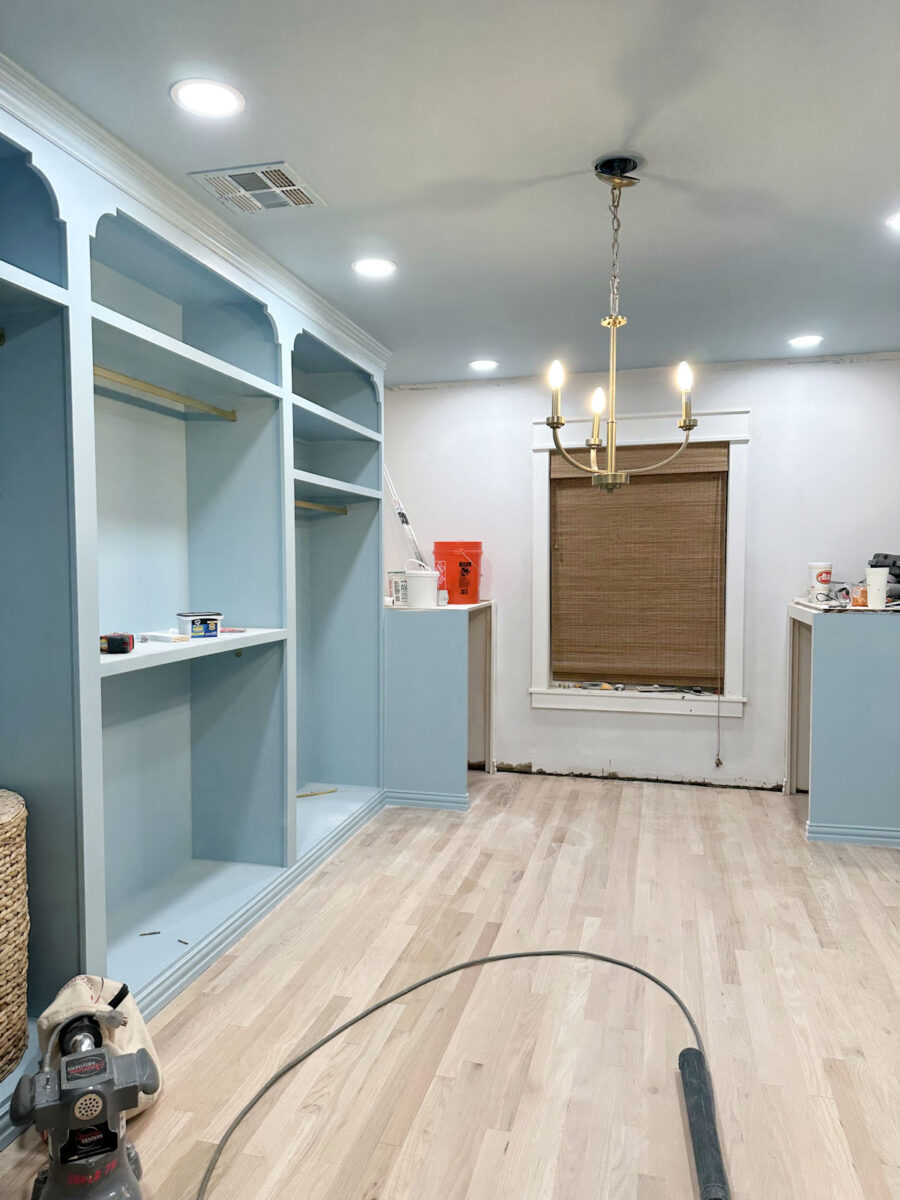
Isn’t that going to be fairly?! I’m so glad I made a decision to take this chance to alter the ground coloration! Right here’s a reminder of what it seemed like with the (very dusty) darkish ground.
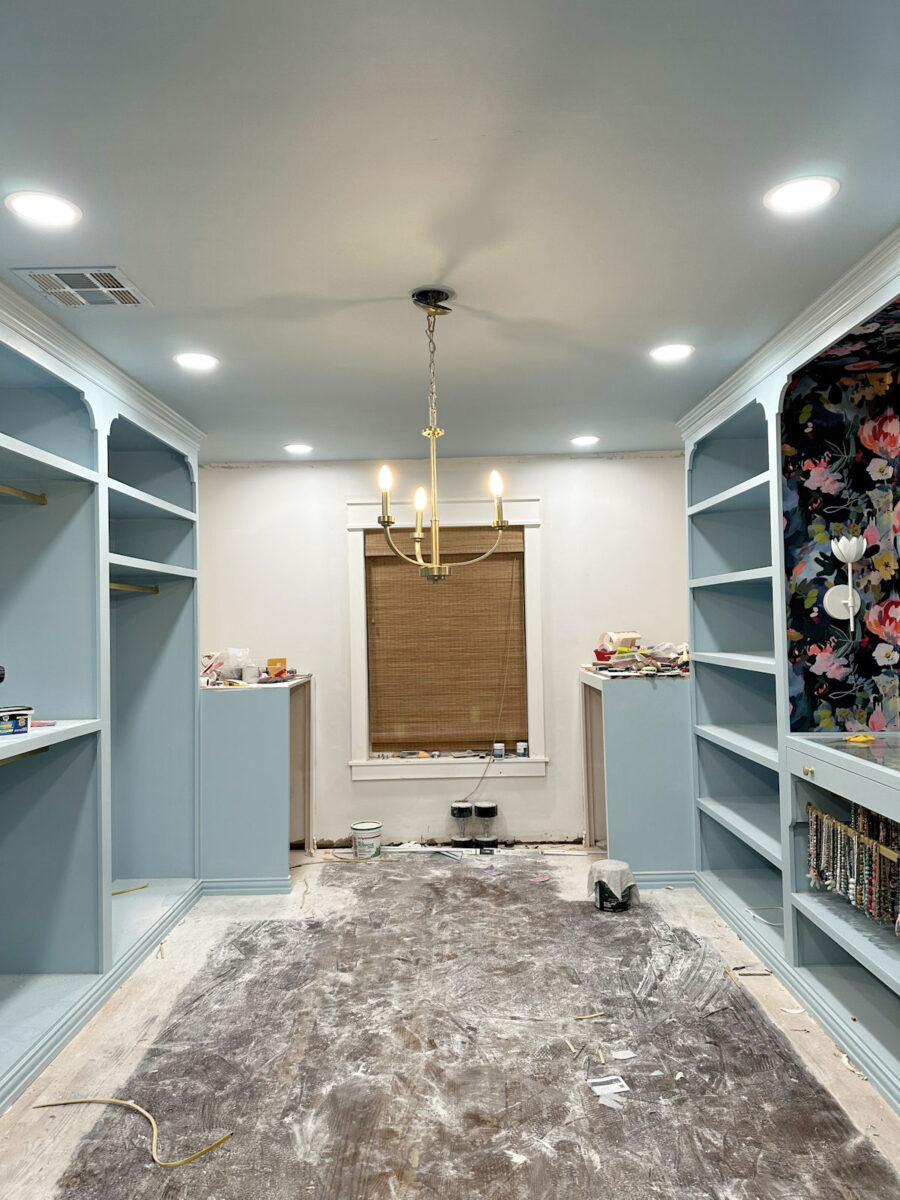
I imply, the sunshine ground makes such an enormous distinction within the room!
And this time round, I’m additionally going to take time to fill in areas like this with crimson oak wooden filler. I didn’t try this the primary time round as a result of they didn’t present with a extremely darkish stain coloration. However with a lightweight, pure ground coloration, they’ll positively present.

As anxious as I’m to get these flooring completed, I would like them carried out proper, and I would like them to be as good as potential once they’re completed. I’ve the sanders for another day, so I have to get by way of with all the wooden filling and sanding earlier than I’m going to mattress tonight. After which I’m hoping to get began on the sealer tomorrow morning, after which topcoat tomorrow afternoon. If all goes as deliberate, I ought to have completed flooring to point out y’all on Monday!

Addicted 2 Adorning is the place I share my DIY and adorning journey as I rework and enhance the 1948 fixer higher that my husband, Matt, and I purchased in 2013. Matt has M.S. and is unable to do bodily work, so I do the vast majority of the work on the home on my own. You’ll be able to be taught extra about me right here.
")

")


")
