


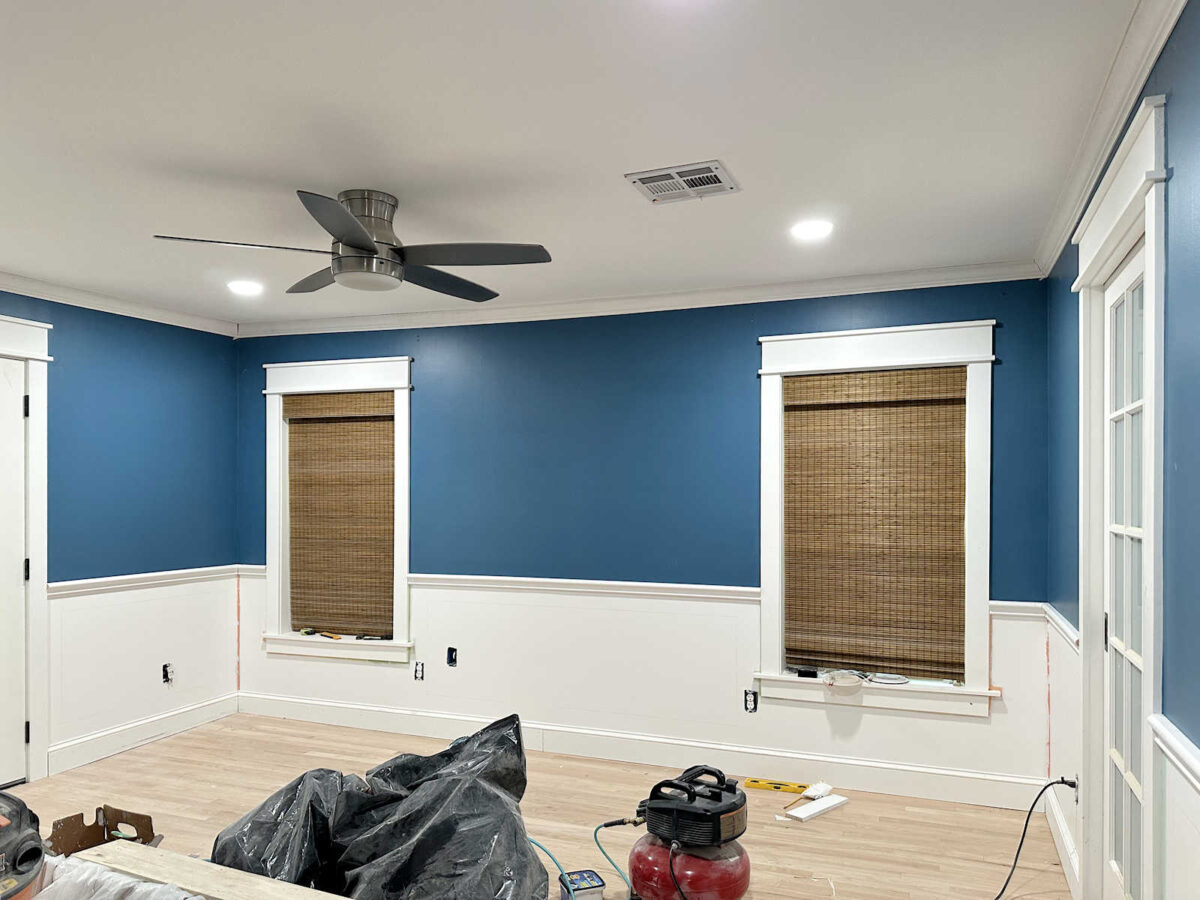
The trim within the bed room has been a fairly gradual mission due to how wonky these partitions are, however I’ve made some actually nice progress over the previous few days. First, I bought the entire crown molding up! I used to be actually dreading having to put in the crown molding on my own, however it really went a lot smoother than I had anticipated.
I did find yourself having to chop the entire items into two in order that I might deal with the items myself. I discovered that so long as the piece is round 110″ or below, I can deal with it and set up it fairly simply on my own. Something longer will get very difficult when working on my own. So each single wall has a minimum of one joint in it, however since these joints had been virtually all two items lower from one longer piece, the joints went collectively flawlessly. As soon as they’re crammed and sanded, I don’t assume they’ll be noticeable in any respect.
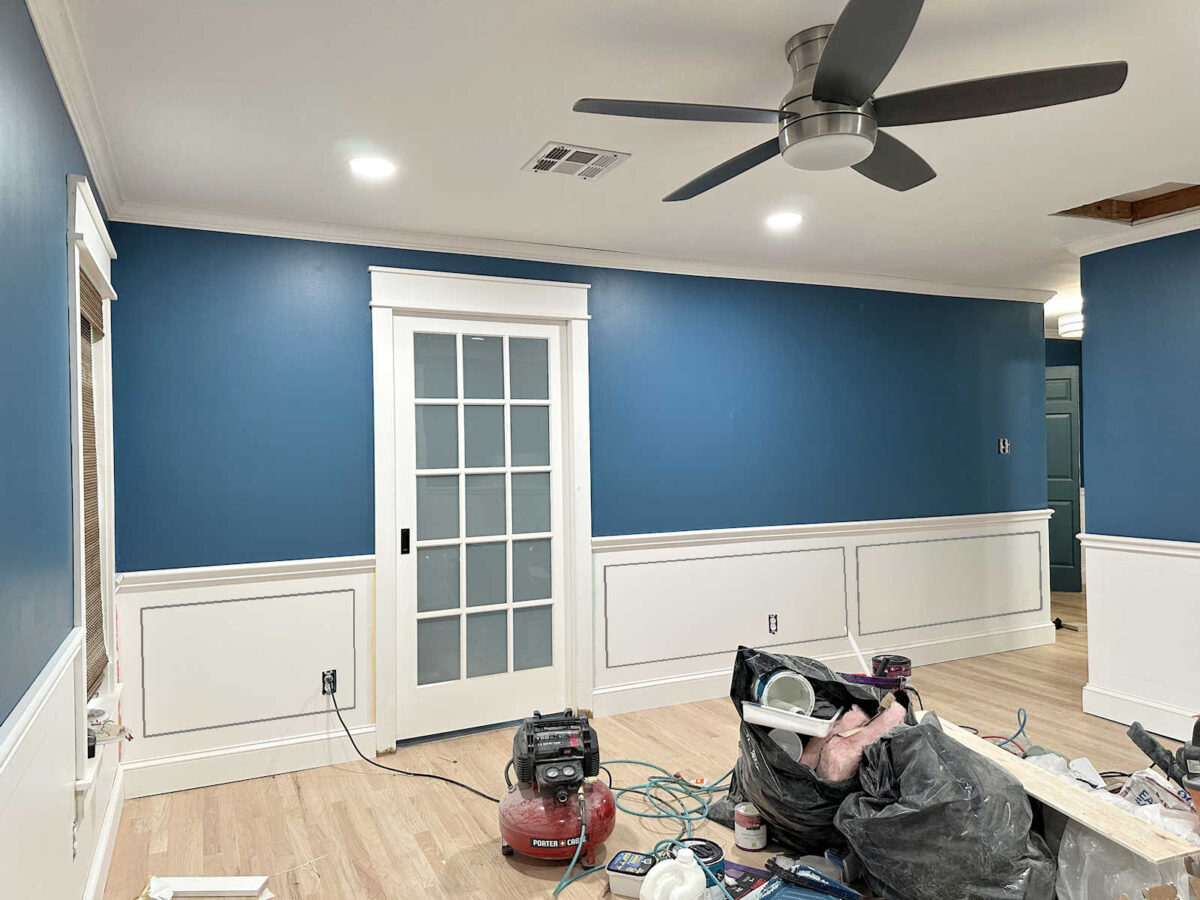
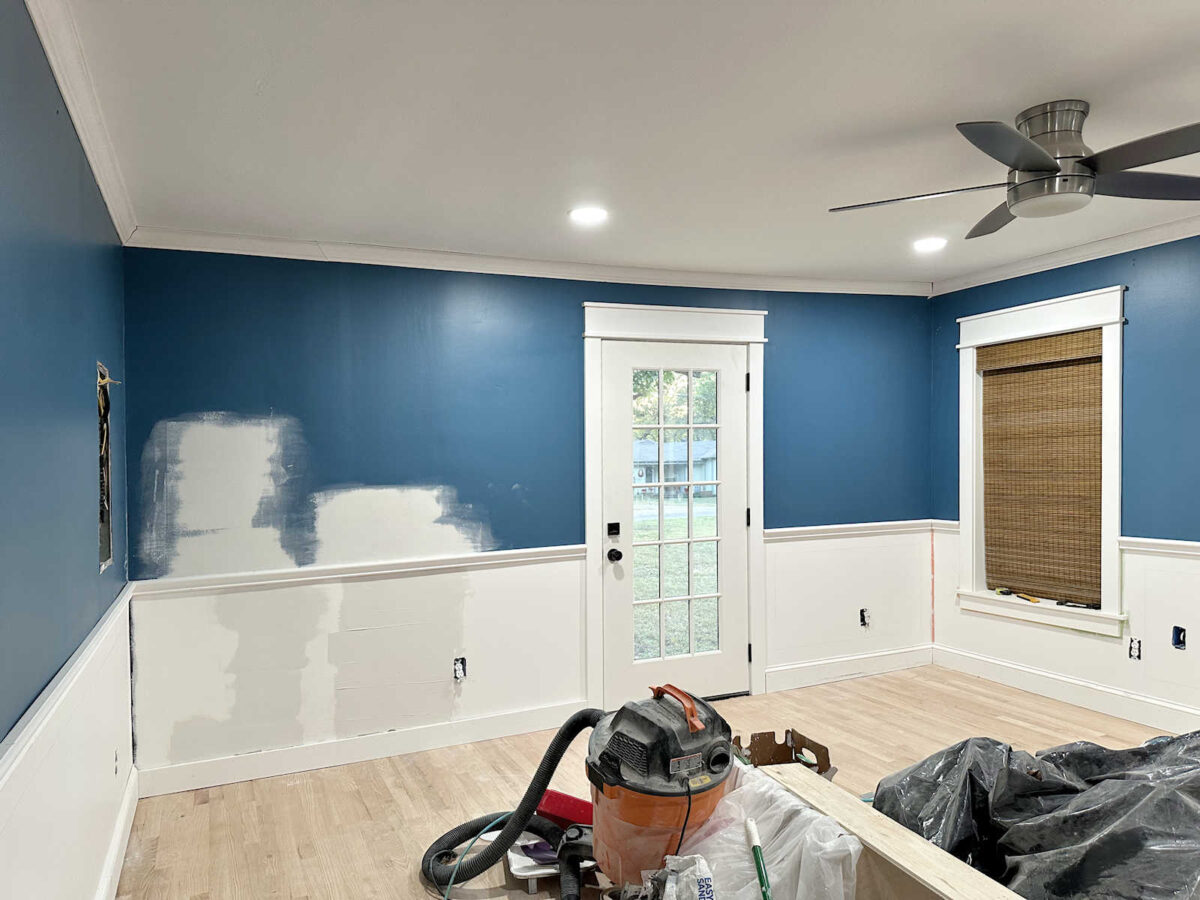
After which I bought the entire present molding put in (aside from the one downside wall), and bought the entire containers marked off for the image body molding. These marks are actually mild, so I enhanced them on a few of these pictures, just like the one above.
My largest concern earlier than beginning the crown molding was that the crown would spotlight simply how unlevel and wonky the partitions are. I used to be afraid that it might particularly present above the doorways and home windows. And whereas it’s actually not good, particularly in that one downside nook to the left of that left window, I believe it appears to be like fairly good.
The most important downside with the crown molding was on the very finish the place the bed room crown meets the lobby crown. I had to make use of a separate piece proper on the finish that’s about 7 inches lengthy, and I needed to cut up the distinction with that one piece, bringing the left nook down only a bit to fulfill the nook of the lobby crown. It’s not good, however once more, I believe it’ll look tremendous as soon as the whole lot is alleged and completed.
And as soon as that piece was on, there was a fairly important hole between the 2 crown items, so I used my air dry clay as soon as once more to fill in that hole. That can give me extra management over mixing these two items collectively on that nook since I can do some little bit of artistic sanding to make them meet and mix collectively.
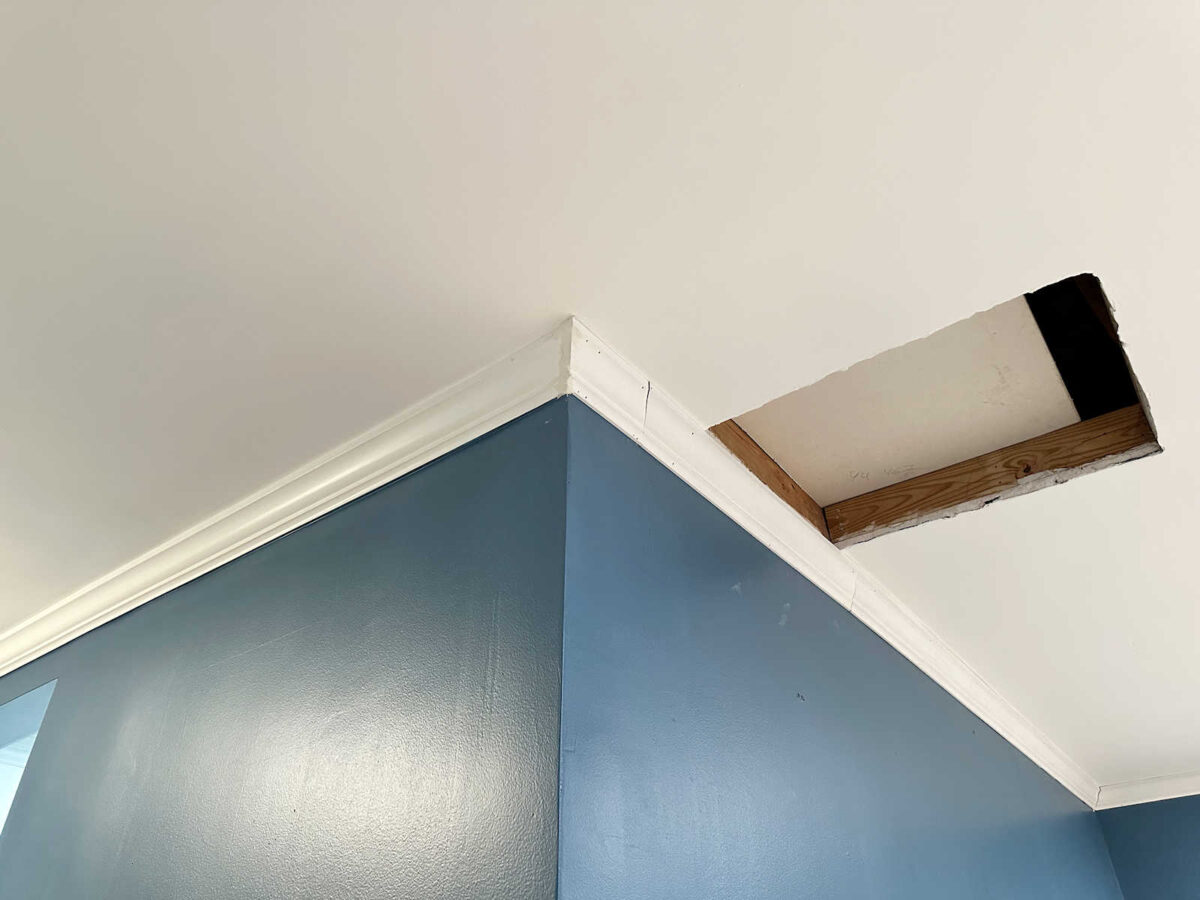
I additionally redid this downside nook. That is the nook that slopes up fairly a bit.

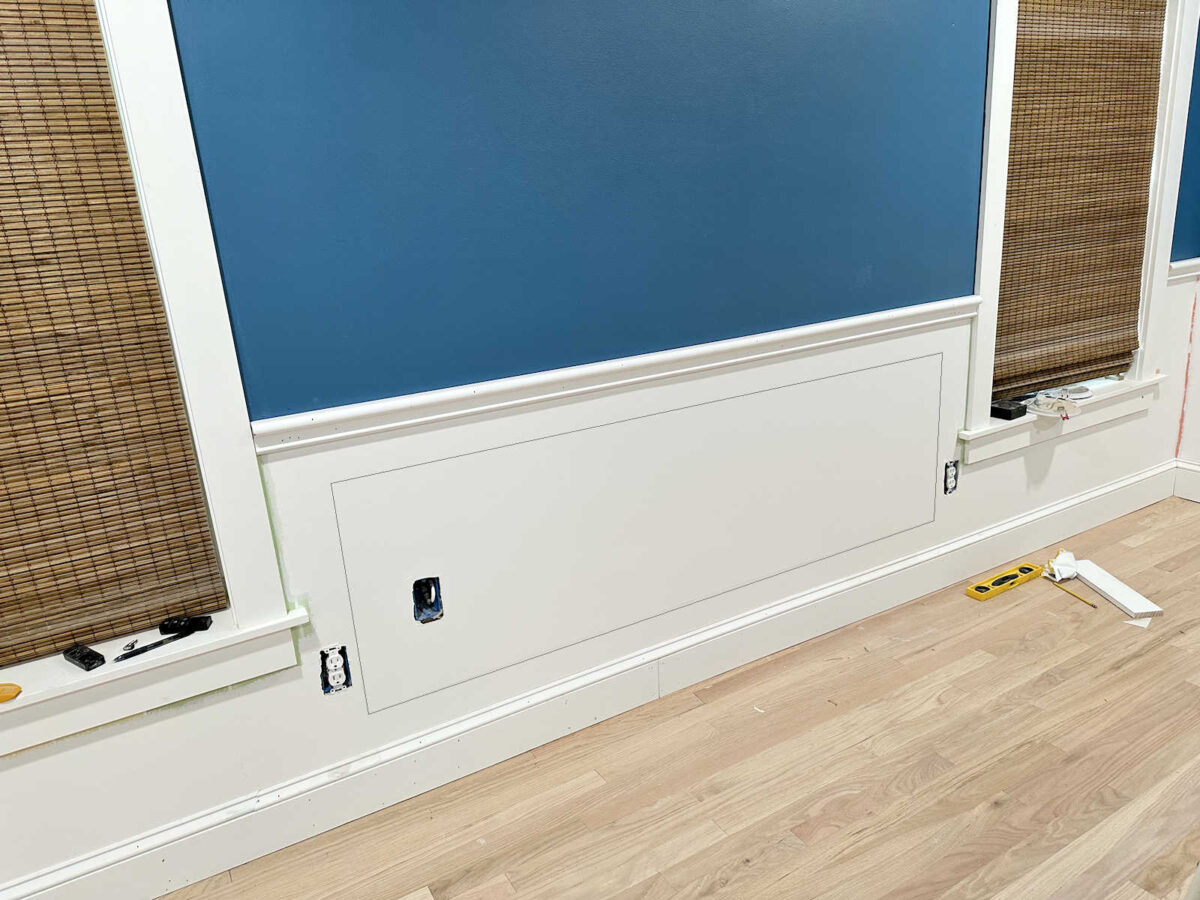
So I ended up taking off these two baseboards, after which I positioned the baseboard again on the wall in order that it met the ground on the appropriate facet and was degree all the best way throughout.
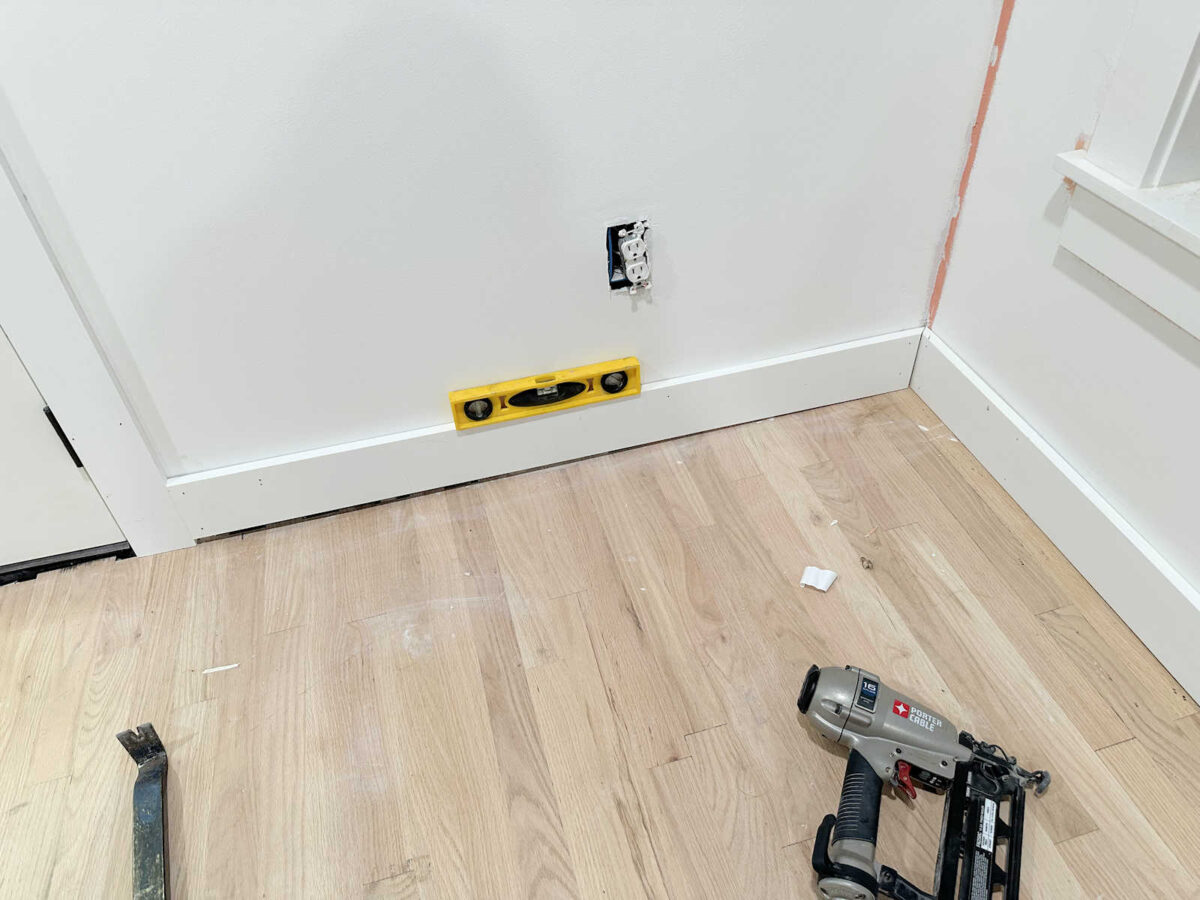
After which I used a chunk of wooden that was equal in peak to the hole on the left, and positioned my pen on prime to attract a line throughout the underside of that baseboard.
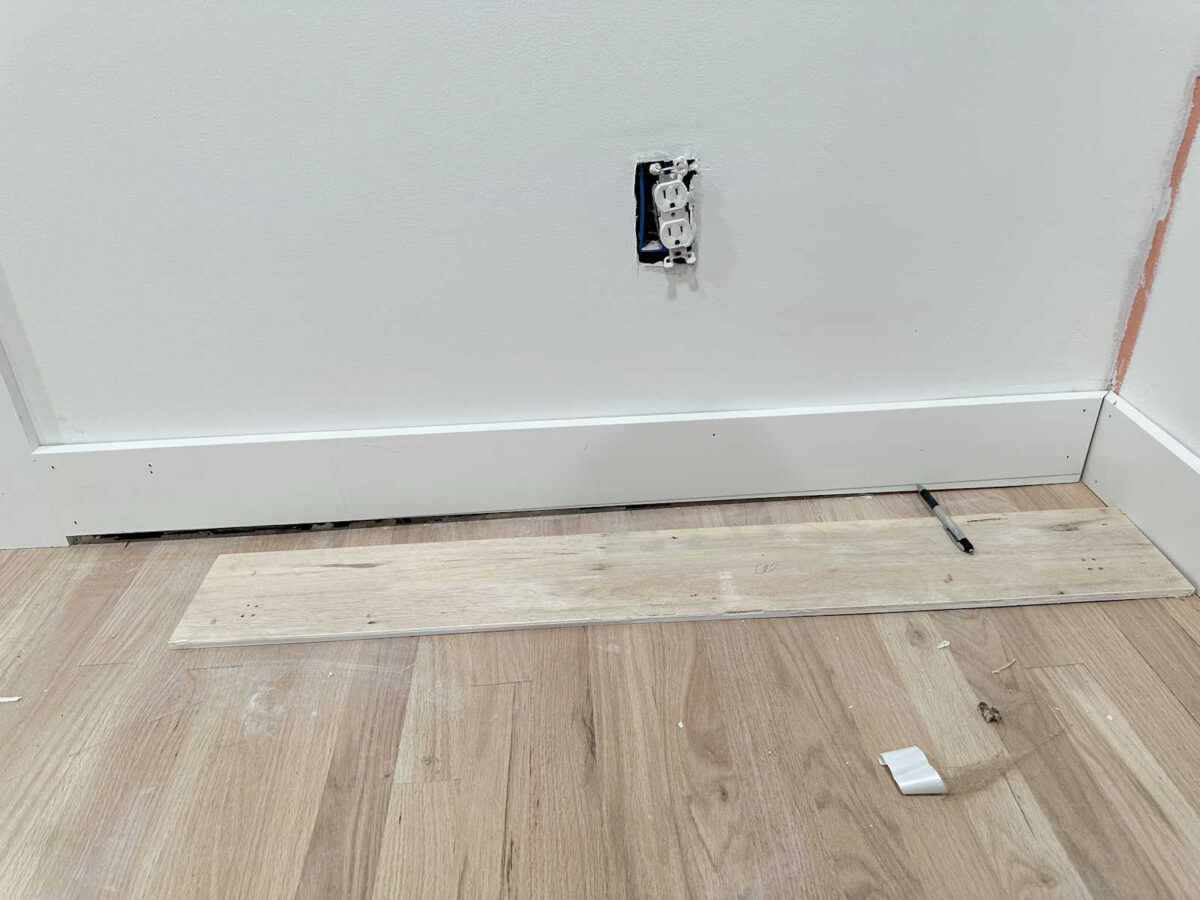
After which I used my desk noticed to chop alongside that line. I repeated that course of on the baseboard on the opposite wall in order that the 2 items met completely within the nook.
It’s nonetheless not nice, and it’s particularly noticeable once you take a look at that wall straight on.
However I’m relying on the truth that that nook might be coated by draperies, and that straight-on view might be blocked by the mattress. And a minimum of with the highest of the baseboard degree, that signifies that the image body molding might be sq., which is crucial factor. It will be very apparent if that image body molding was wonky.
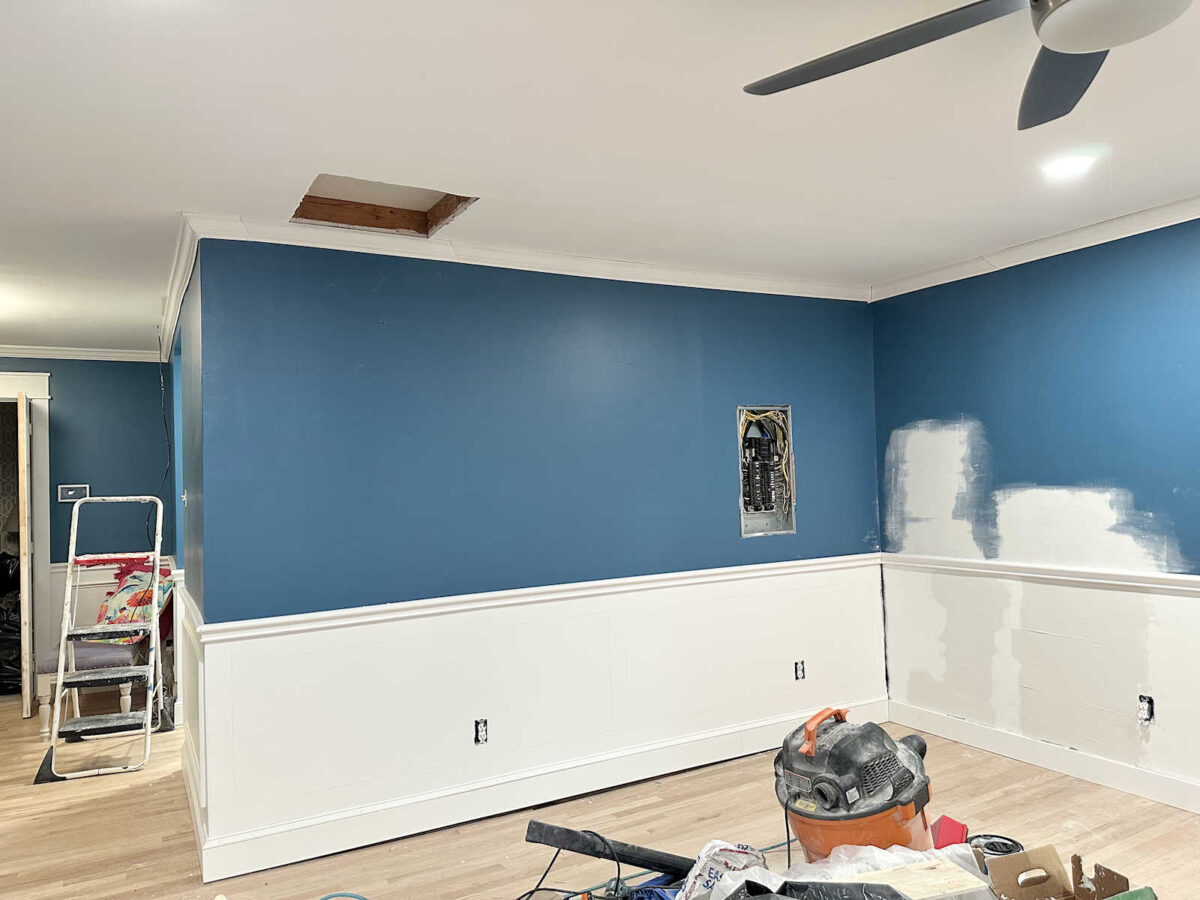
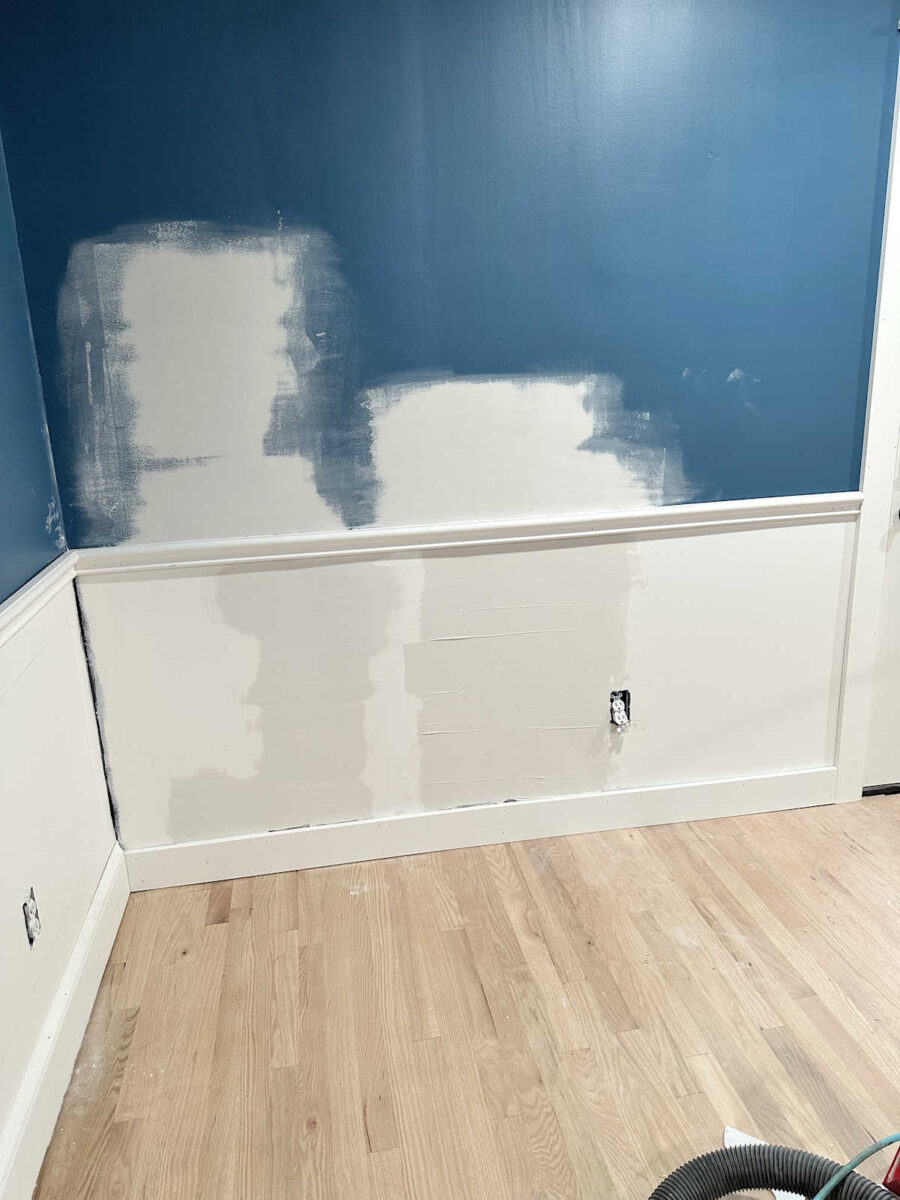
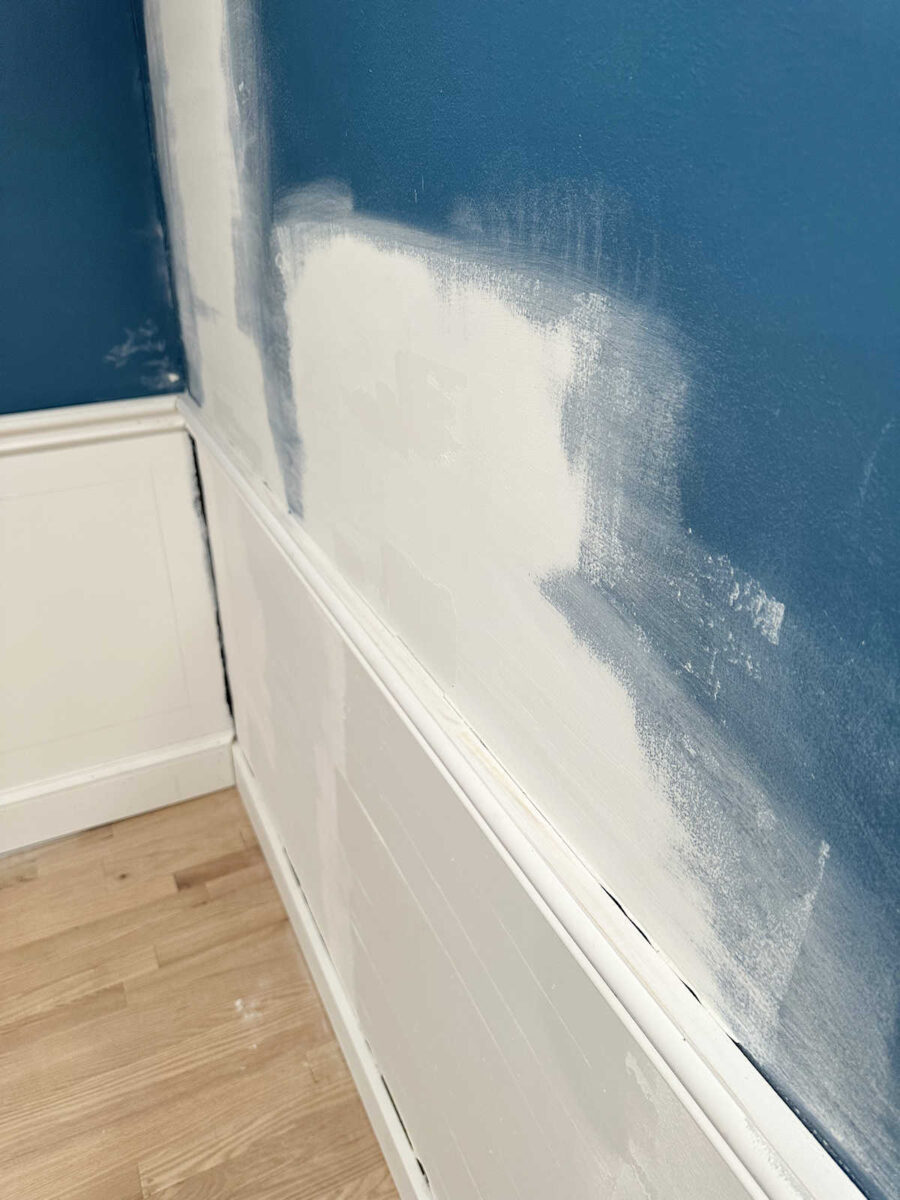
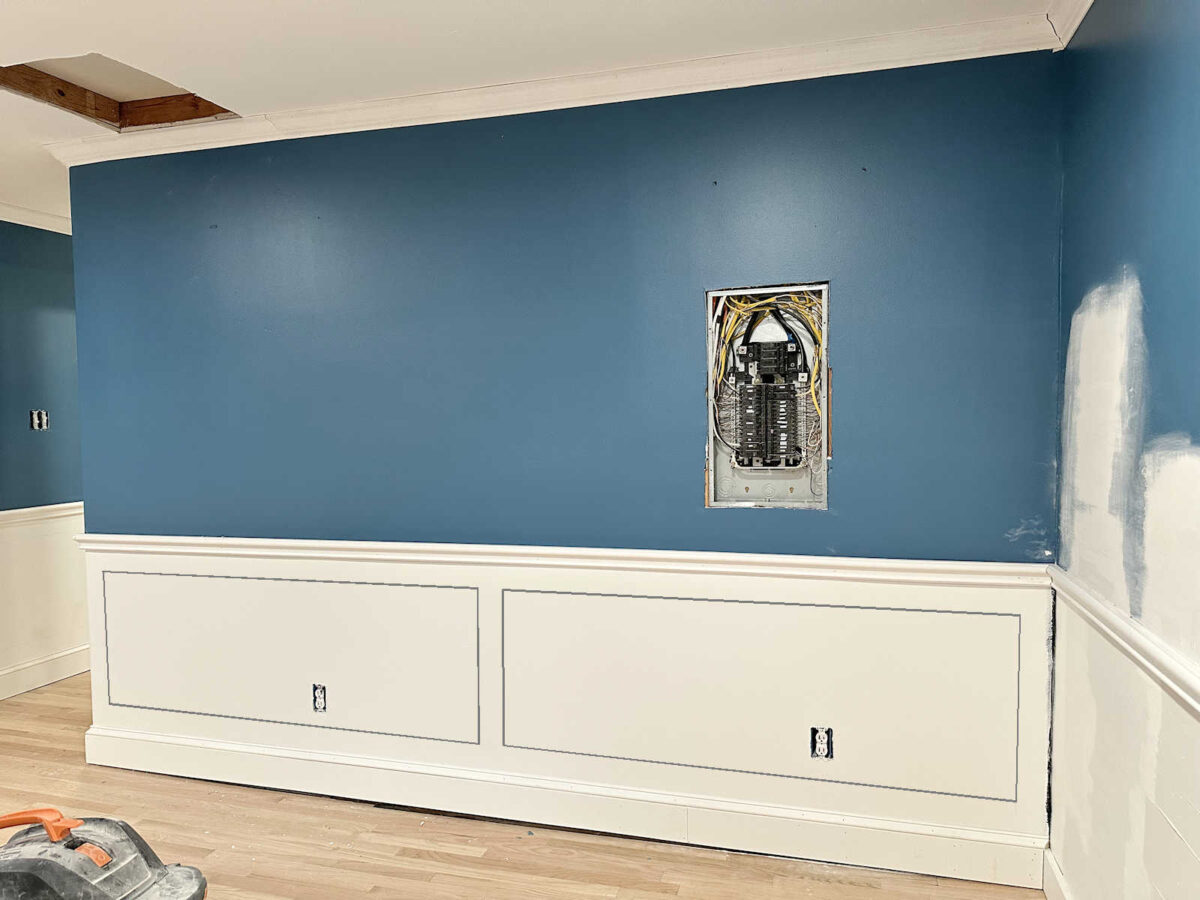
After which there’s the issue wall. The wavy wall. The wonkiest wall in the entire room. I made a decision to repair this wall with drywall mud, and I’ve misplaced rely on simply what number of layers of drywall mud it took to flatten out these areas. I believe I could be on layer quantity 4.
When you’ll bear in mind, right here’s how that hole appeared earlier than. It was approach too huge to fill with caulk. Consider me, in individual, it’s approach greater than it seems within the photograph.
So after layers of drywall mud, I’ve constructed out that dip within the wall in order that it’s extra even with the chair rail. There’s nonetheless a bit of little bit of a spot in some areas, however these are caulkable.
And I needed to do the identical with the underside portion of the wall. Once more, this hole was approach greater than the way it seems within the photograph. Within the photograph, it really appears to be like like a caulkable hole, however it wasn’t.
So I did the identical factor on the underside portion of the wall. You may see that I nonetheless should sand that final layer of drywall mud, and whereas there’s nonetheless a spot on the backside, it’s now throughout the caulkable vary.

In order that’s the progress. If I weren’t working with such wonky partitions, I might have been completed by now, however I’m working with what I’ve. Previous homes generally is a actual ache within the rear.
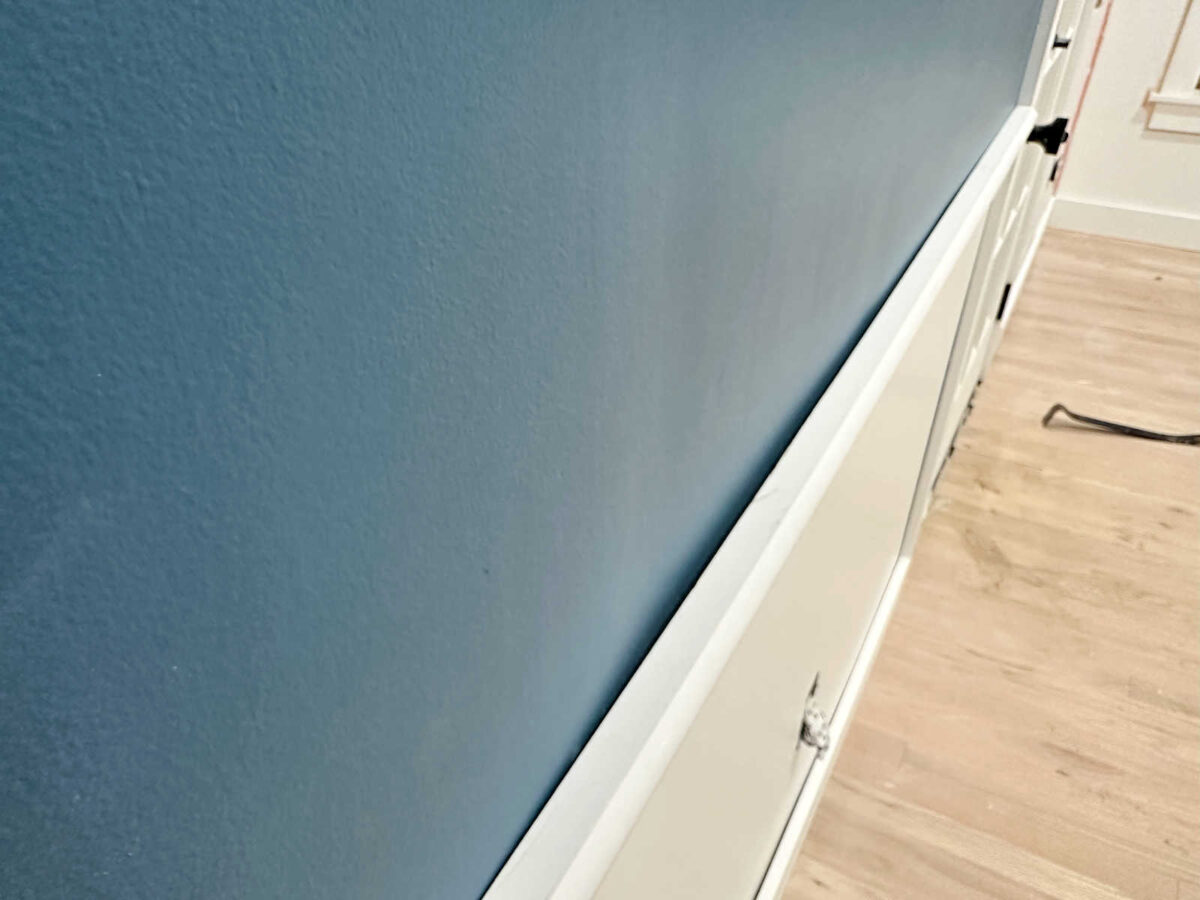
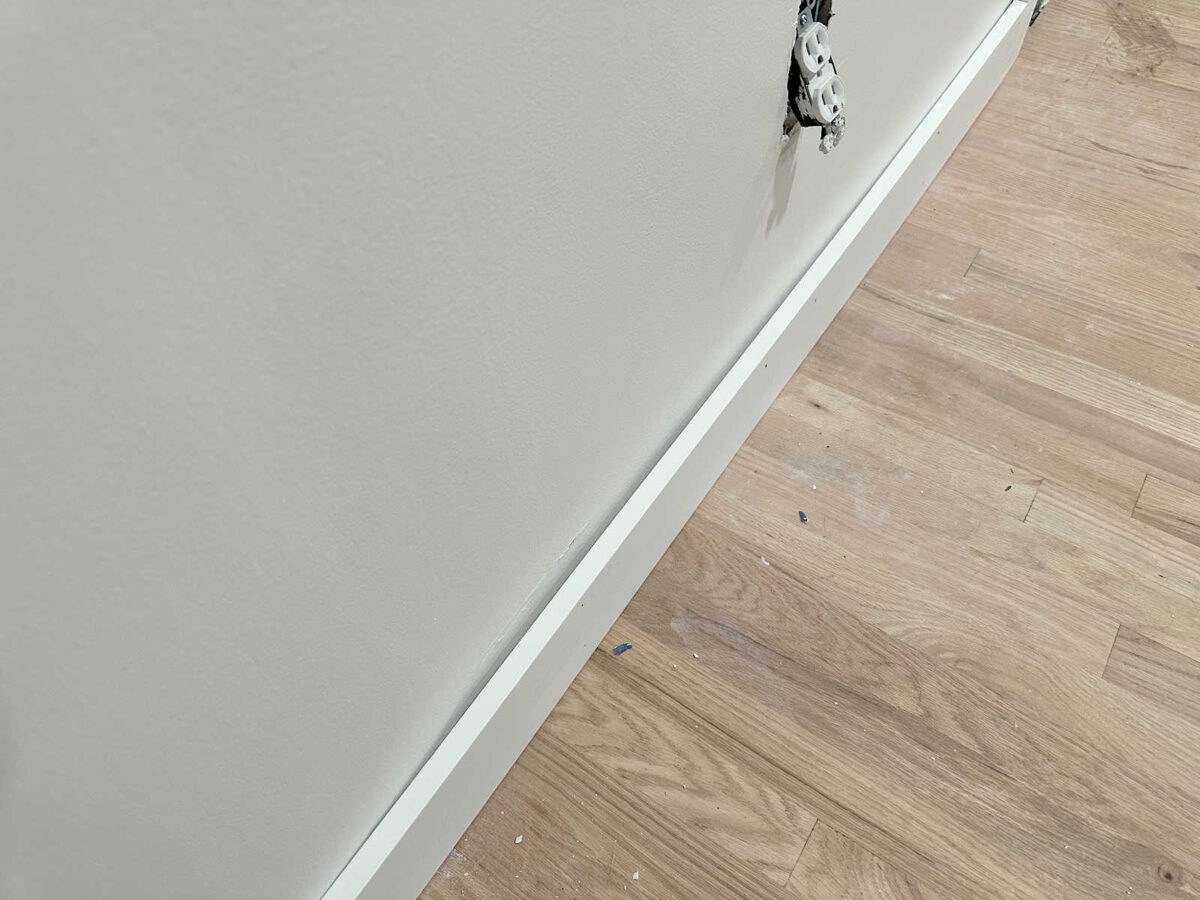
I used to be a bit of bit involved about this wall due to the shops. I wasn’t certain if I’d have the ability to use the identical spacing for the image body molding that I’ve used on the entire different partitions. But it surely appears to be like prefer it’ll work out completely! That was a aid. The very last thing I wanted was one other downside wall on this room. 😀
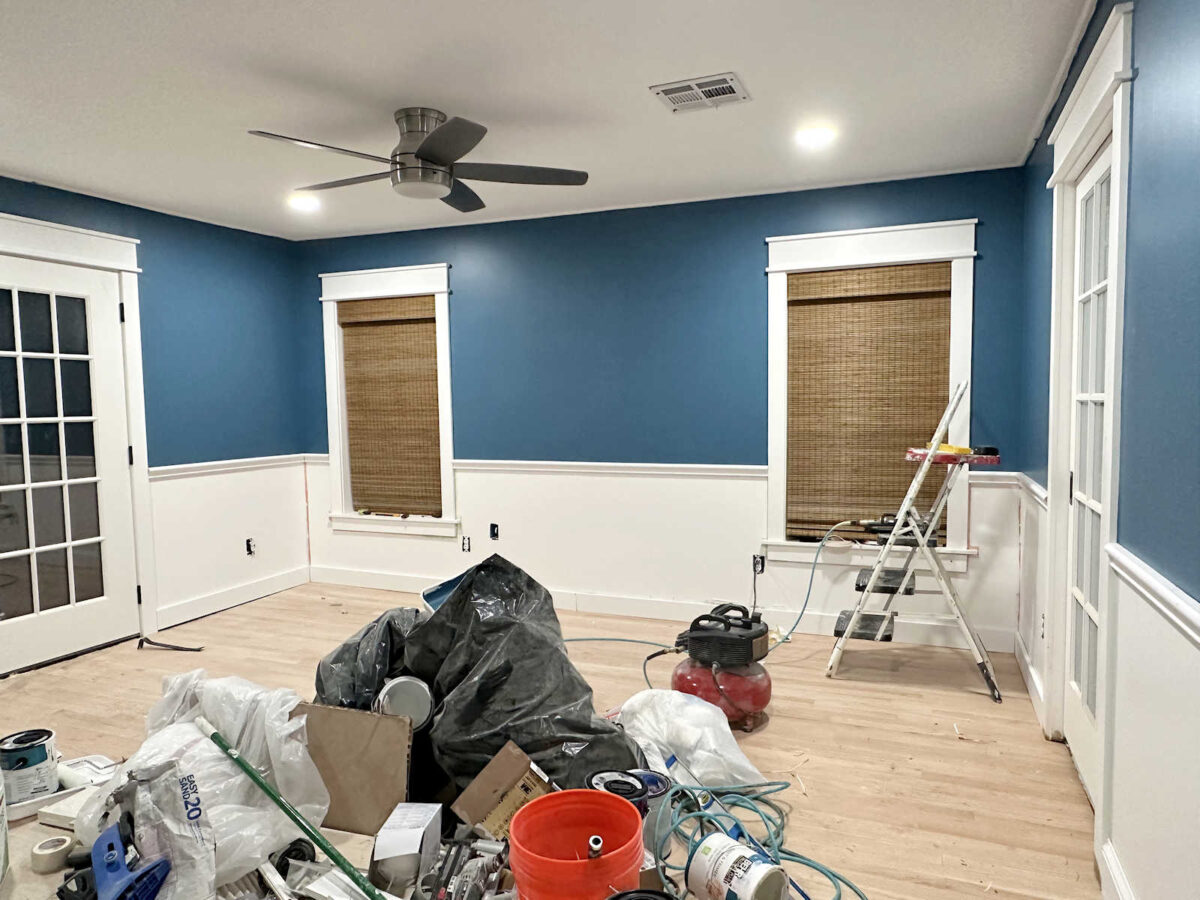
Tomorrow, I’ll begin on the image body molding. I’m fairly certain I can get that completed in a day. After which I can lastly wooden fill all of the holes, sand, caulk, and get the trim painted. I’m going to do my finest to remain centered (one thing I’ve struggled with recently) and work diligently in order that I can get these partitions completed by the tip of the weekend.
I’ll be so blissful to get these partitions completed. I’m prepared to maneuver on to the subsequent mission, which I believe would be the upholstered headboard. I’m anxious to get to a enjoyable, fairly mission.
Extra About Our Grasp Bed room
see all grasp
bed room diy tasks

learn all grasp
bed room weblog posts

Addicted 2 Adorning is the place I share my DIY and adorning journey as I transform and beautify the 1948 fixer higher that my husband, Matt, and I purchased in 2013. Matt has M.S. and is unable to do bodily work, so I do nearly all of the work on the home on my own. You may be taught extra about me right here.
")

")


")
