


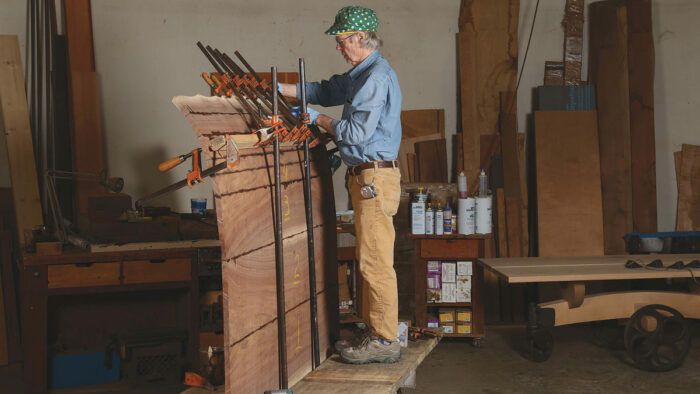
Synopsis: On this article, furnishings maker Rob Hare explains how he constructed a stable walnut headboard with a easily lowering radius utilizing the coopering method, which is historically used for barrels. He started with a full-scale drawing to find out every plank’s width and miter angles, then he minimize, joined, and glued each bit in sequence. Lastly, Hare describes shaping and smoothing each the convex and concave surfaces of the panel.
 Lately I constructed a mattress with a stable walnut headboard that curves at a lowering radius because it rises. Constructing a bit like it will open up the best way you concentrate on coopering. It’s not only for barrel making; coopering can be utilized to create solid-wood curves of assorted radii. The challenge is a lesson within the geometry and format of sequential joints whose angles range, and it’s a grasp class in clamping joints that aren’t sq.. I’ll element making the headboard, however the identical strategies could possibly be used to make coopered panels for an array of different items. Lately I constructed a mattress with a stable walnut headboard that curves at a lowering radius because it rises. Constructing a bit like it will open up the best way you concentrate on coopering. It’s not only for barrel making; coopering can be utilized to create solid-wood curves of assorted radii. The challenge is a lesson within the geometry and format of sequential joints whose angles range, and it’s a grasp class in clamping joints that aren’t sq.. I’ll element making the headboard, however the identical strategies could possibly be used to make coopered panels for an array of different items.
The complete-size drawingI began by drawing a full-scale cross part on a hardboard panel 4 in. greater on all sides than the coopered headboard. In my case, I used to be going to chop the elements for the headboard from a big plank that I might resaw. Defining plank widths and miter anglesTo complete with a 3/4-in.-thick curved panel, you’ll need to begin with 7/8-in.-thick planks. If you’re rigorously resawing, the planks can be utilized straight off the bandsaw. |

Beginning on the backside of the inked headboard drawing, nearest the ground, lay the stick so its convex edge lies alongside the convex line of your drawing. With a pointy pencil, draw strains alongside either side of the stick. Set the stick and make a tick mark precisely the place the concave-side pencil line from the stick crossed the inked concave line of the drawing. Then transfer the stick up alongside the drawing with the concave aspect of the stick touching the tick mark you simply made. Rotate the stick till its convex aspect simply touches the convex line of the drawing. Now draw pencil strains alongside either side of the stick. Repeat this course of up your entire size of the drawing.
Subsequent, make a tick mark at every level the place the strains from the convex aspect of the stick intersected. With a straightedge, join the convex tick with the adjoining concave tick. These strains decide the angles of the miters you could minimize the place the planks meet. The various curve of the coopering determines how vast the successive items are. Measure the gap between the tick marks on the convex aspect to search out the width of every plank. Repeat this course of to the highest plank, numbering the planks.

| From High quality Woodworking #321
To view your entire article, please click on the View PDF button under. |
 |
High quality Woodworking Really useful Merchandise

Ridgid EB4424 Oscillating Spindle/Belt Sander
With 5 spindles sized from 1/2 in. to 2 in. and a 4 X 24-in. belt, this sander has change into a staple in lots of a store High quality Woodworking visits.

Bessey EKH Set off Clamps
Bessey EKH sequence quick-release trigger-style clamps are easy to make use of and preserve constant strain. Set off clamps that carry out the best way you have all the time wished they’d!
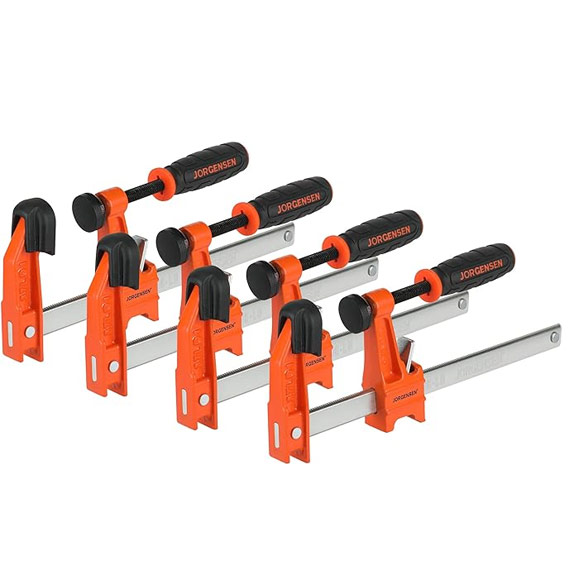
Jorgensen 6 inch Bar Clamp Set, 4 Pack
Small light-duty clamps are greatest purchased in amount. These clamps are an amazing stability of affordability and high quality—so fill up!
Join eletters at this time and get the newest strategies and how-to from High quality Woodworking, plus particular gives.
Obtain FREE PDF
if you enter your e-mail deal with under.
")

")


")
