


My most important purpose in life has at all times been to have a customized built-in bookcase in my lounge. You understand those – they’re throughout Pinterest and Instagram. They immediately make an area look tremendous elevated and comfy. Bookcases and built-ins are among the many most high-impact design parts, they usually can take a boring clean white field and immediately rework it into a comfortable dwelling. My dream, nonetheless, felt so distant as a result of my god, they’re EXPENSIVE, time-consuming, and invasive. It’s why so many individuals do IKEA bookcase hacks to attempt to obtain that luxe built-in look (which these hacks, FYI, additionally usually price $3k or extra relying on the dimensions). The opposite challenge, past the associated fee, is the truth that I stay in a rental – so I can acknowledge that it could be unwise of me to rent a contractor and set up an entire shelving/storage system that I can’t take with me to my subsequent place. However as soon as I get an thought in my head, I make it occur a method or one other, so I began doing a little analysis on how I may get the same search for a lot, a lot much less. However first, let me present you the place I wished to place mentioned bookcase:
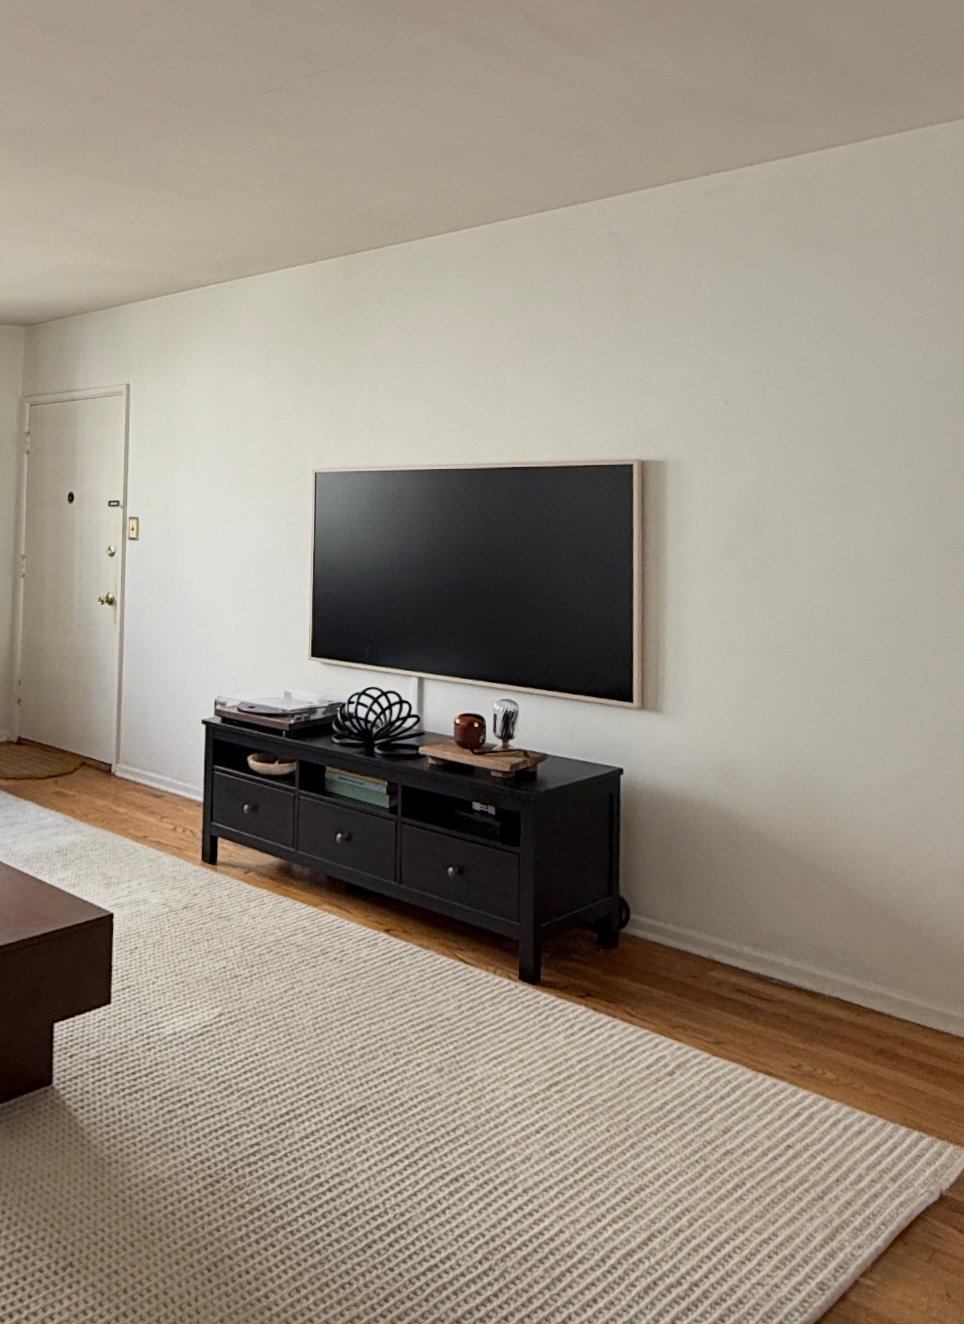
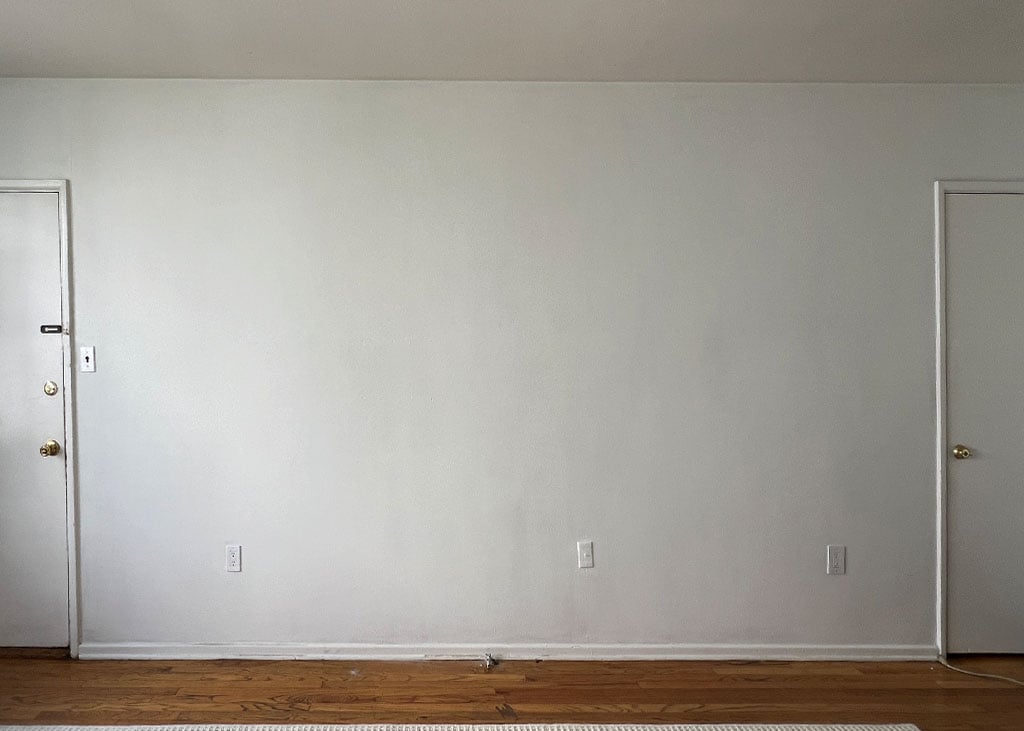
That is what my lounge appeared like after I moved in a yr in the past. My boyfriend, Austin, and I gave the complete residence a recent coat of white paint because the partitions had been initially a bizarre gentle brown colour (and we did all of it on a weekend the place it was like 90 levels and I didn’t understand the AC unit in right here was damaged – so bless this man). Additionally, shoutout to Alabaster by Sherwin-Williams – it’s such a superb white paint colour. The residence I moved into is a month-to-month, rent-controlled place in my good location in Los Feliz, and it’s been in my buddy group for some time, so I do know offers on residences like these don’t at all times come simple. Whereas the place was such a superb discover and checked so many packing containers, the situation of my new residence definitely wasn’t what my final new-build, studio residence was, and it desperately wanted a clear, clean slate. Right here’s what it appeared like a yr in the past after we painted it:
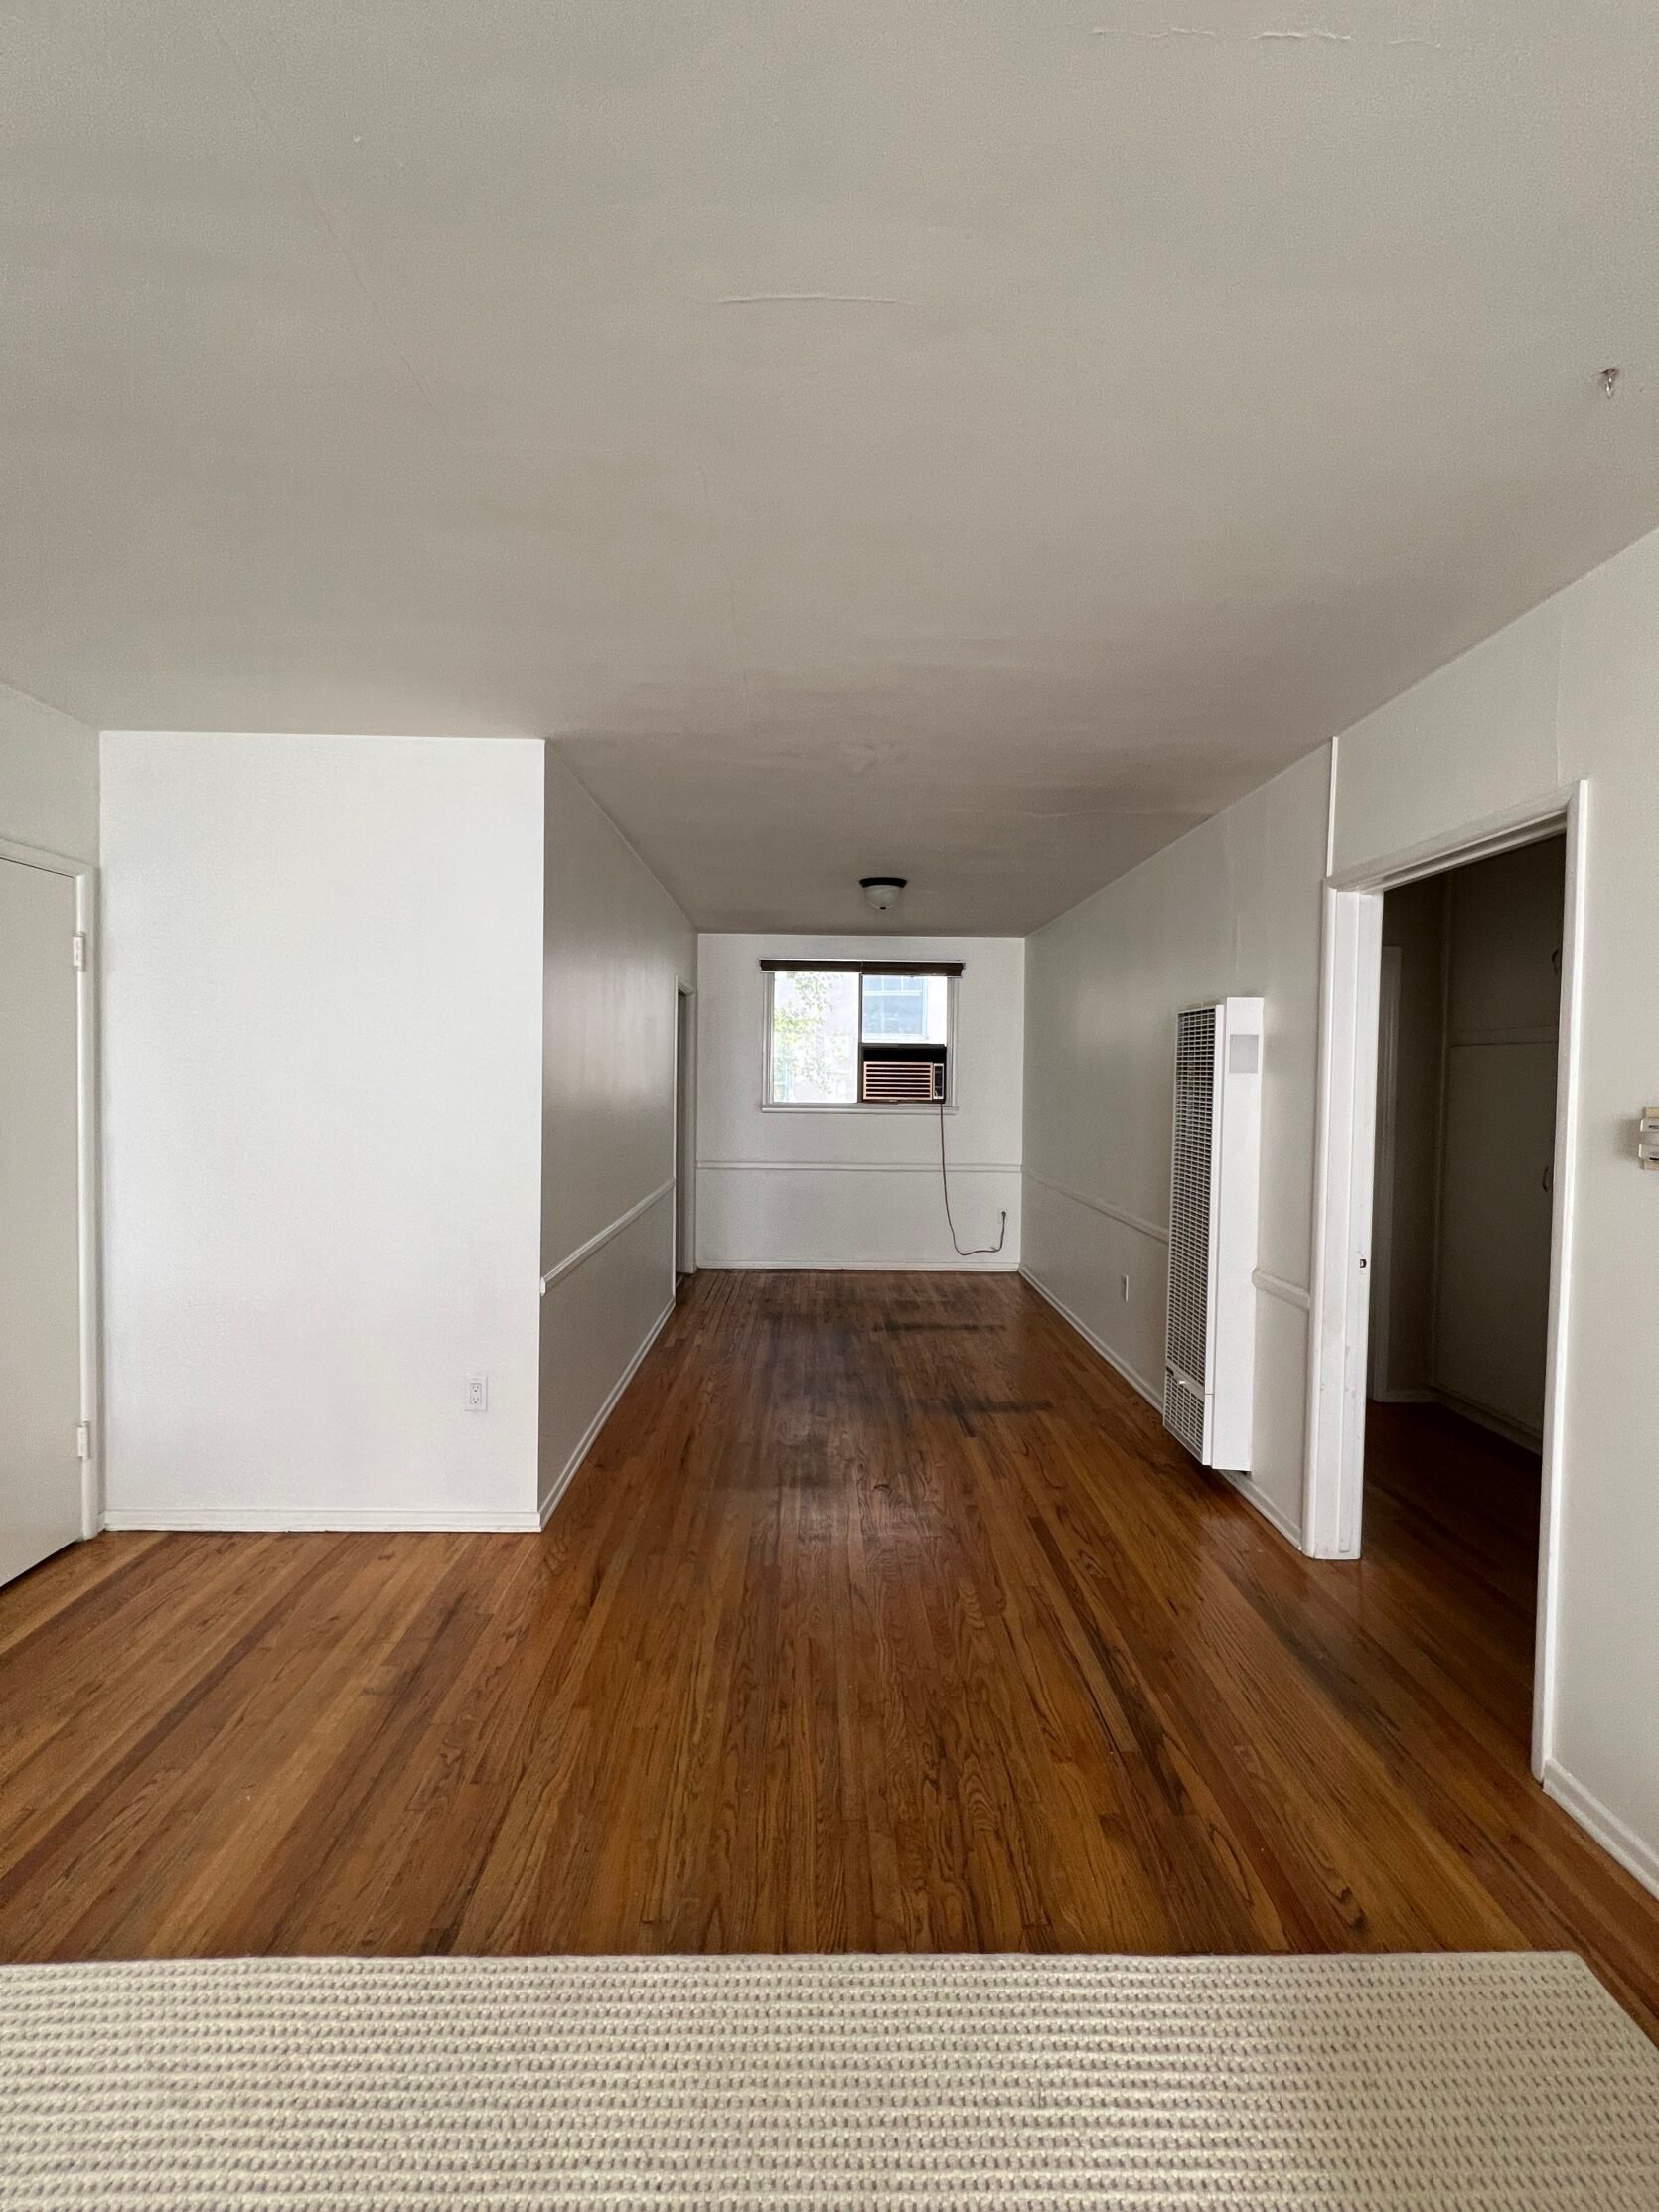
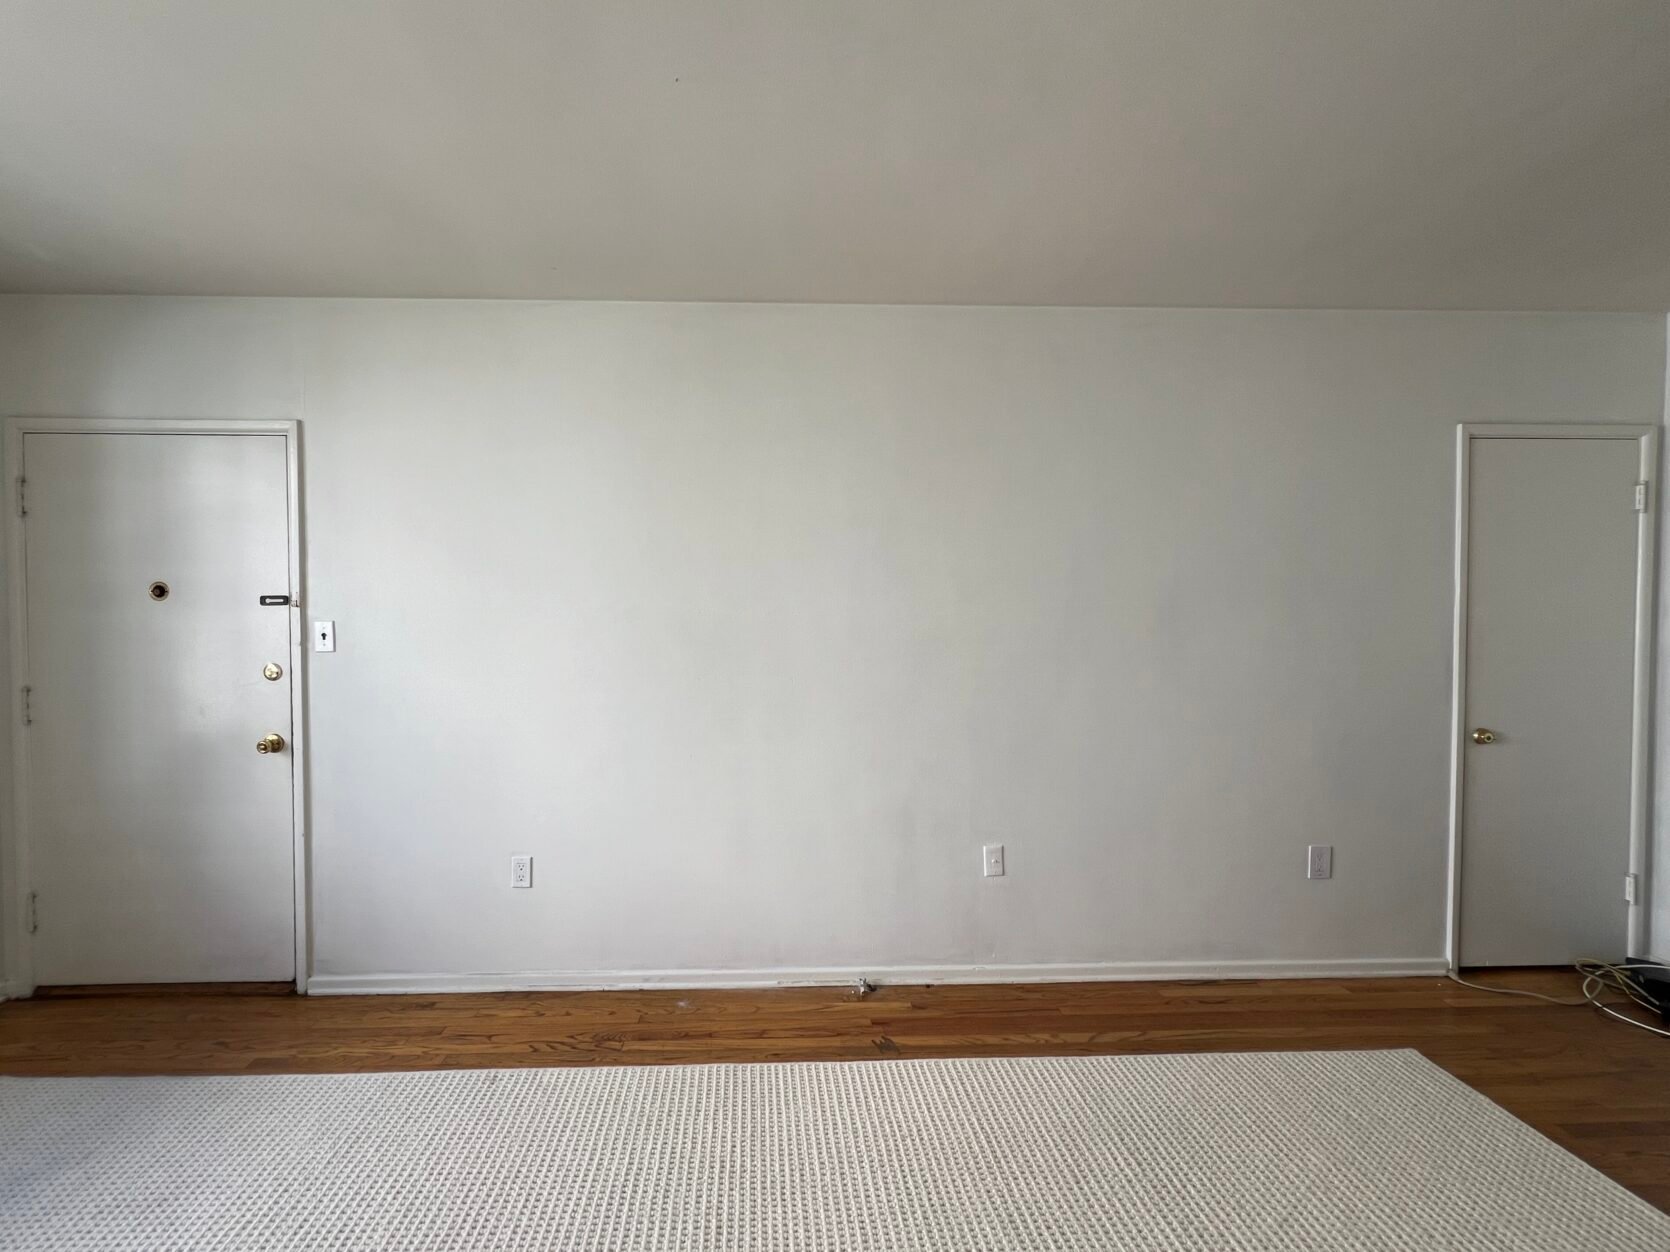
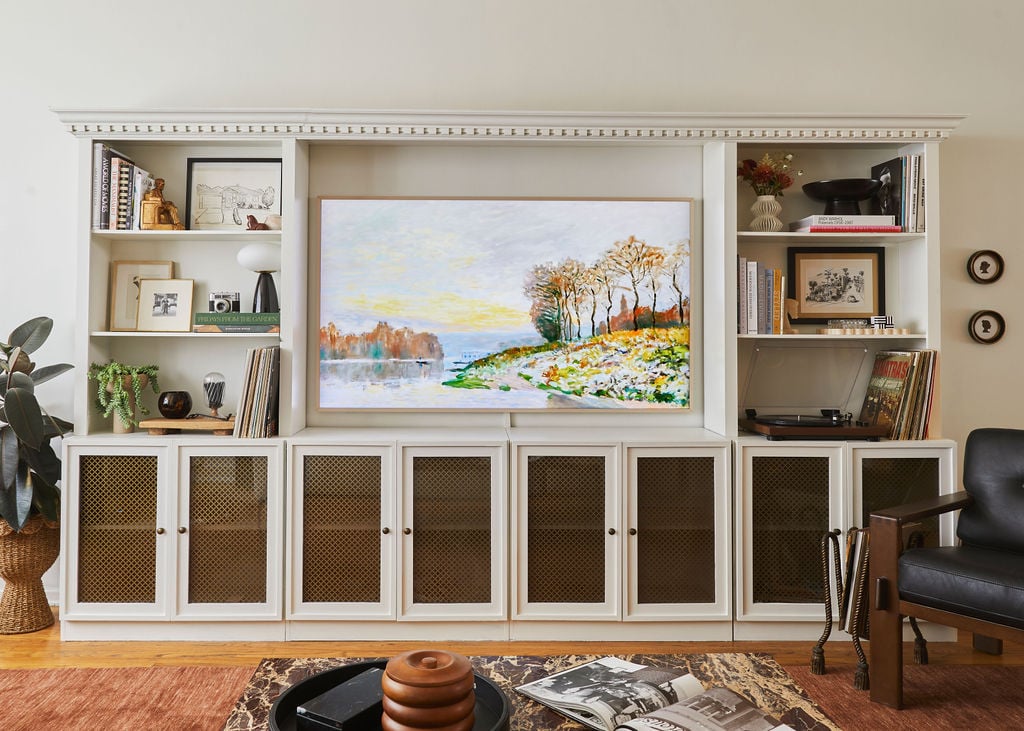
That smaller, skinnier room within the picture on the appropriate is the eating space – I wished to provide you a way of the complete area so you possibly can perceive that my valuable dream bookcase had restricted wall choices through which to stay. The wall that wanted essentially the most love and will greatest deal with the assertion of the bookcase was clearly this area between the 2 doorways (the door on the left is the entrance entrance to the residence, and the door on the appropriate is now my closet speakeasy – which we simply took skilled photographs of and have a full weblog put up reveal coming quickly!!) This wall can be positively the appropriate spot for the TV in the lounge, so I wanted to discover a bookcase that had room within the center for mentioned TV. There are A TON of ready-made media unit/television console bookcase choices on-line, so I felt prefer it needs to be a reasonably simple factor to seek out till I noticed…they’re additionally SUPER costly! I wasn’t shocked by the price of the Crate and Barrel, West Elm, or Article – the standard from these manufacturers is nice, and it’s an enormous area to fill, so I get it! It is smart that these items vary between $3k and $7k. I’ll present you – listed below are among the items I discovered (and actually love and truly thought-about buying) that may be nice options if you wish to spend money on high quality however don’t wish to pay for a full built-in bookcase/you possibly can’t do a built-in bookcase since you stay in a rental…
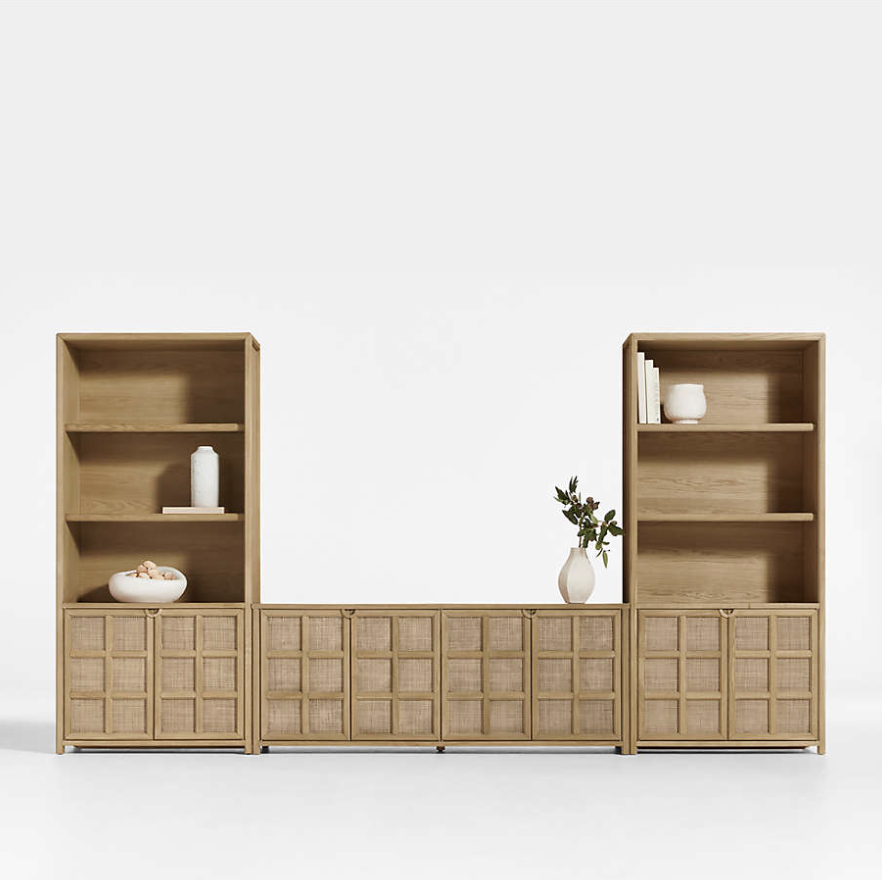
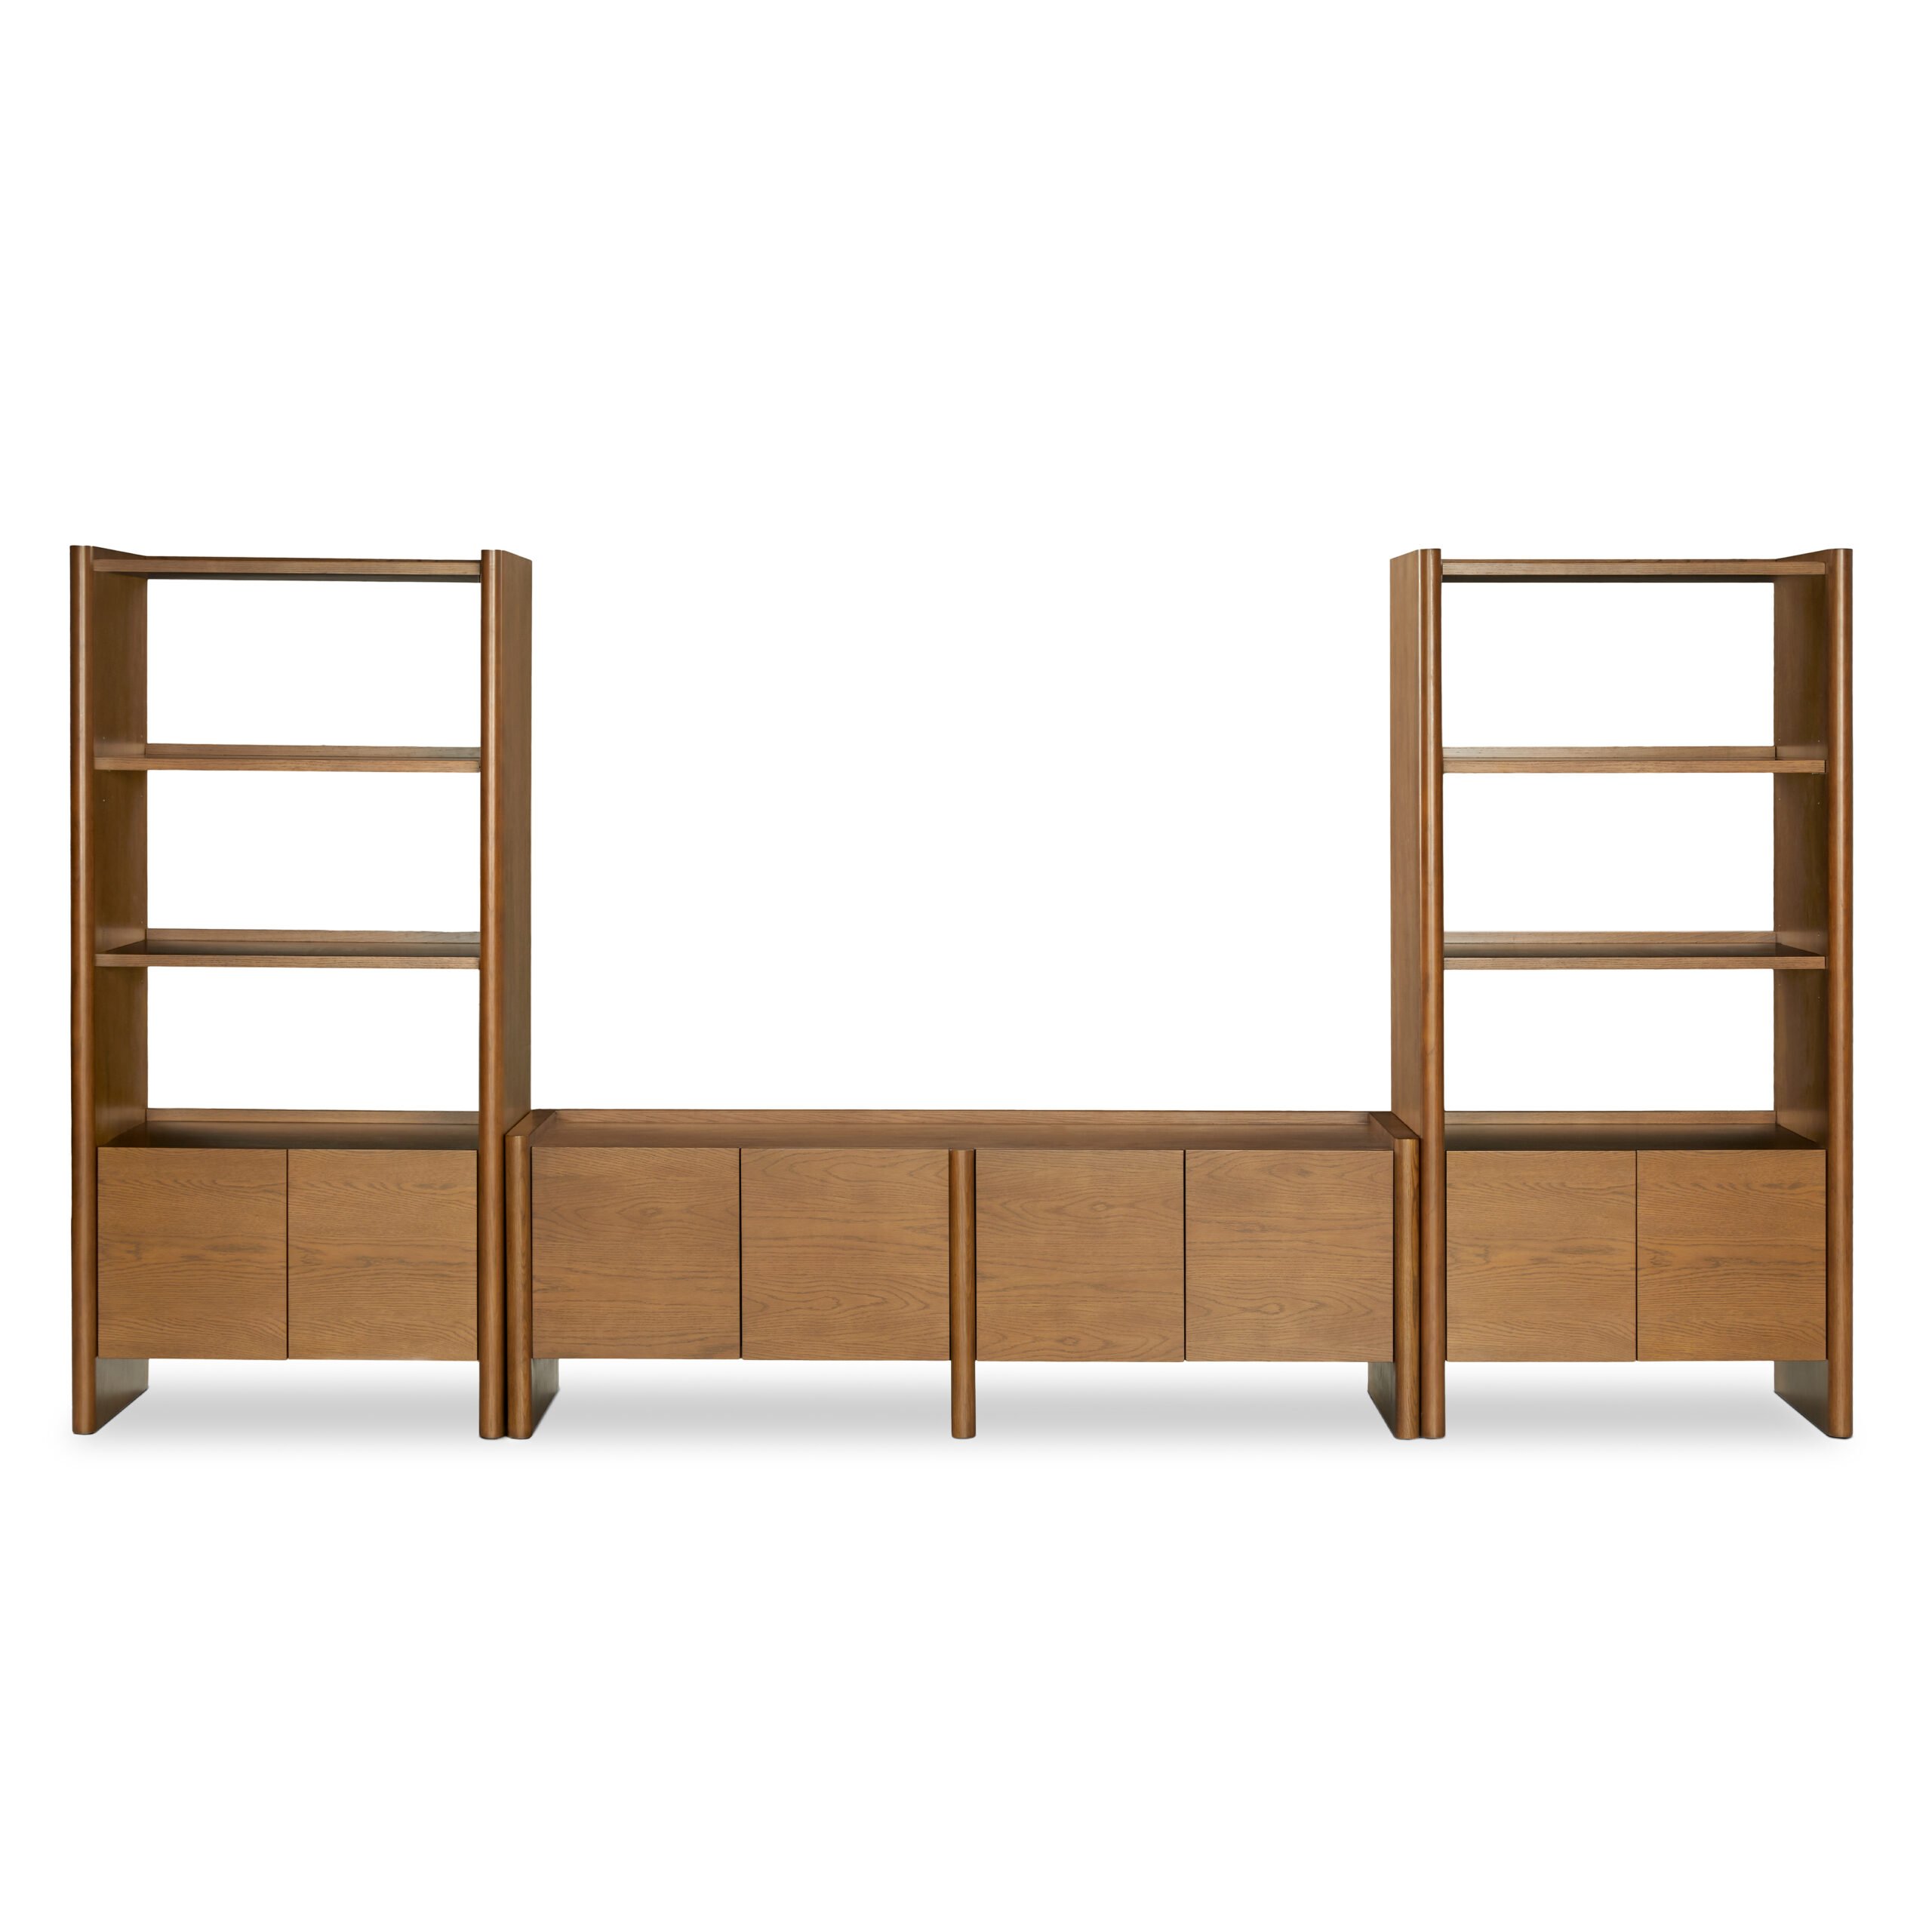
Left: Crate and Barrel Rattan Media Unit | Proper: Article Torme Media Heart
See? They’re so fairly and are really not dangerous choices when you think about the standard and the way high-impact they’re. BUT my most important challenge (once more) was that I received’t be on this residence endlessly, so I didn’t wish to make investments that a lot on this bookcase – particularly since I wasn’t constructive that I may take these items with me to my subsequent place. The opposite small challenge that bothered me with these readymade choices was that they often weren’t enclosed on the highest. It’s a refined factor, however I actually wished this to look extra like a built-in, and the openness above the TV space simply feels a bit unfinished to me. So I went again to the drafting board and began in search of choices at extra inexpensive furnishings manufacturers. And also you guys…it’s loopy on the market. I discovered that even the IKEA media items are about $1,500 or extra – WILD!!! I REALLY didn’t wish to spend over $1,000 for this (and even that felt like an excessive amount of). I wished to spend extra like $500 or $600 max as a result of once more, I knew this bookcase was more than likely not coming with me to my subsequent place, and I’d in all probability simply depart it at my residence for whoever is coming in subsequent. So I wanted to discover a stability of A.) not organising a bookcase that’s precise rubbish, B.) ensuring it appeared cute and trendy as a result of I do design content material creation for a dwelling in spite of everything, and C.) not spending a loopy quantity.
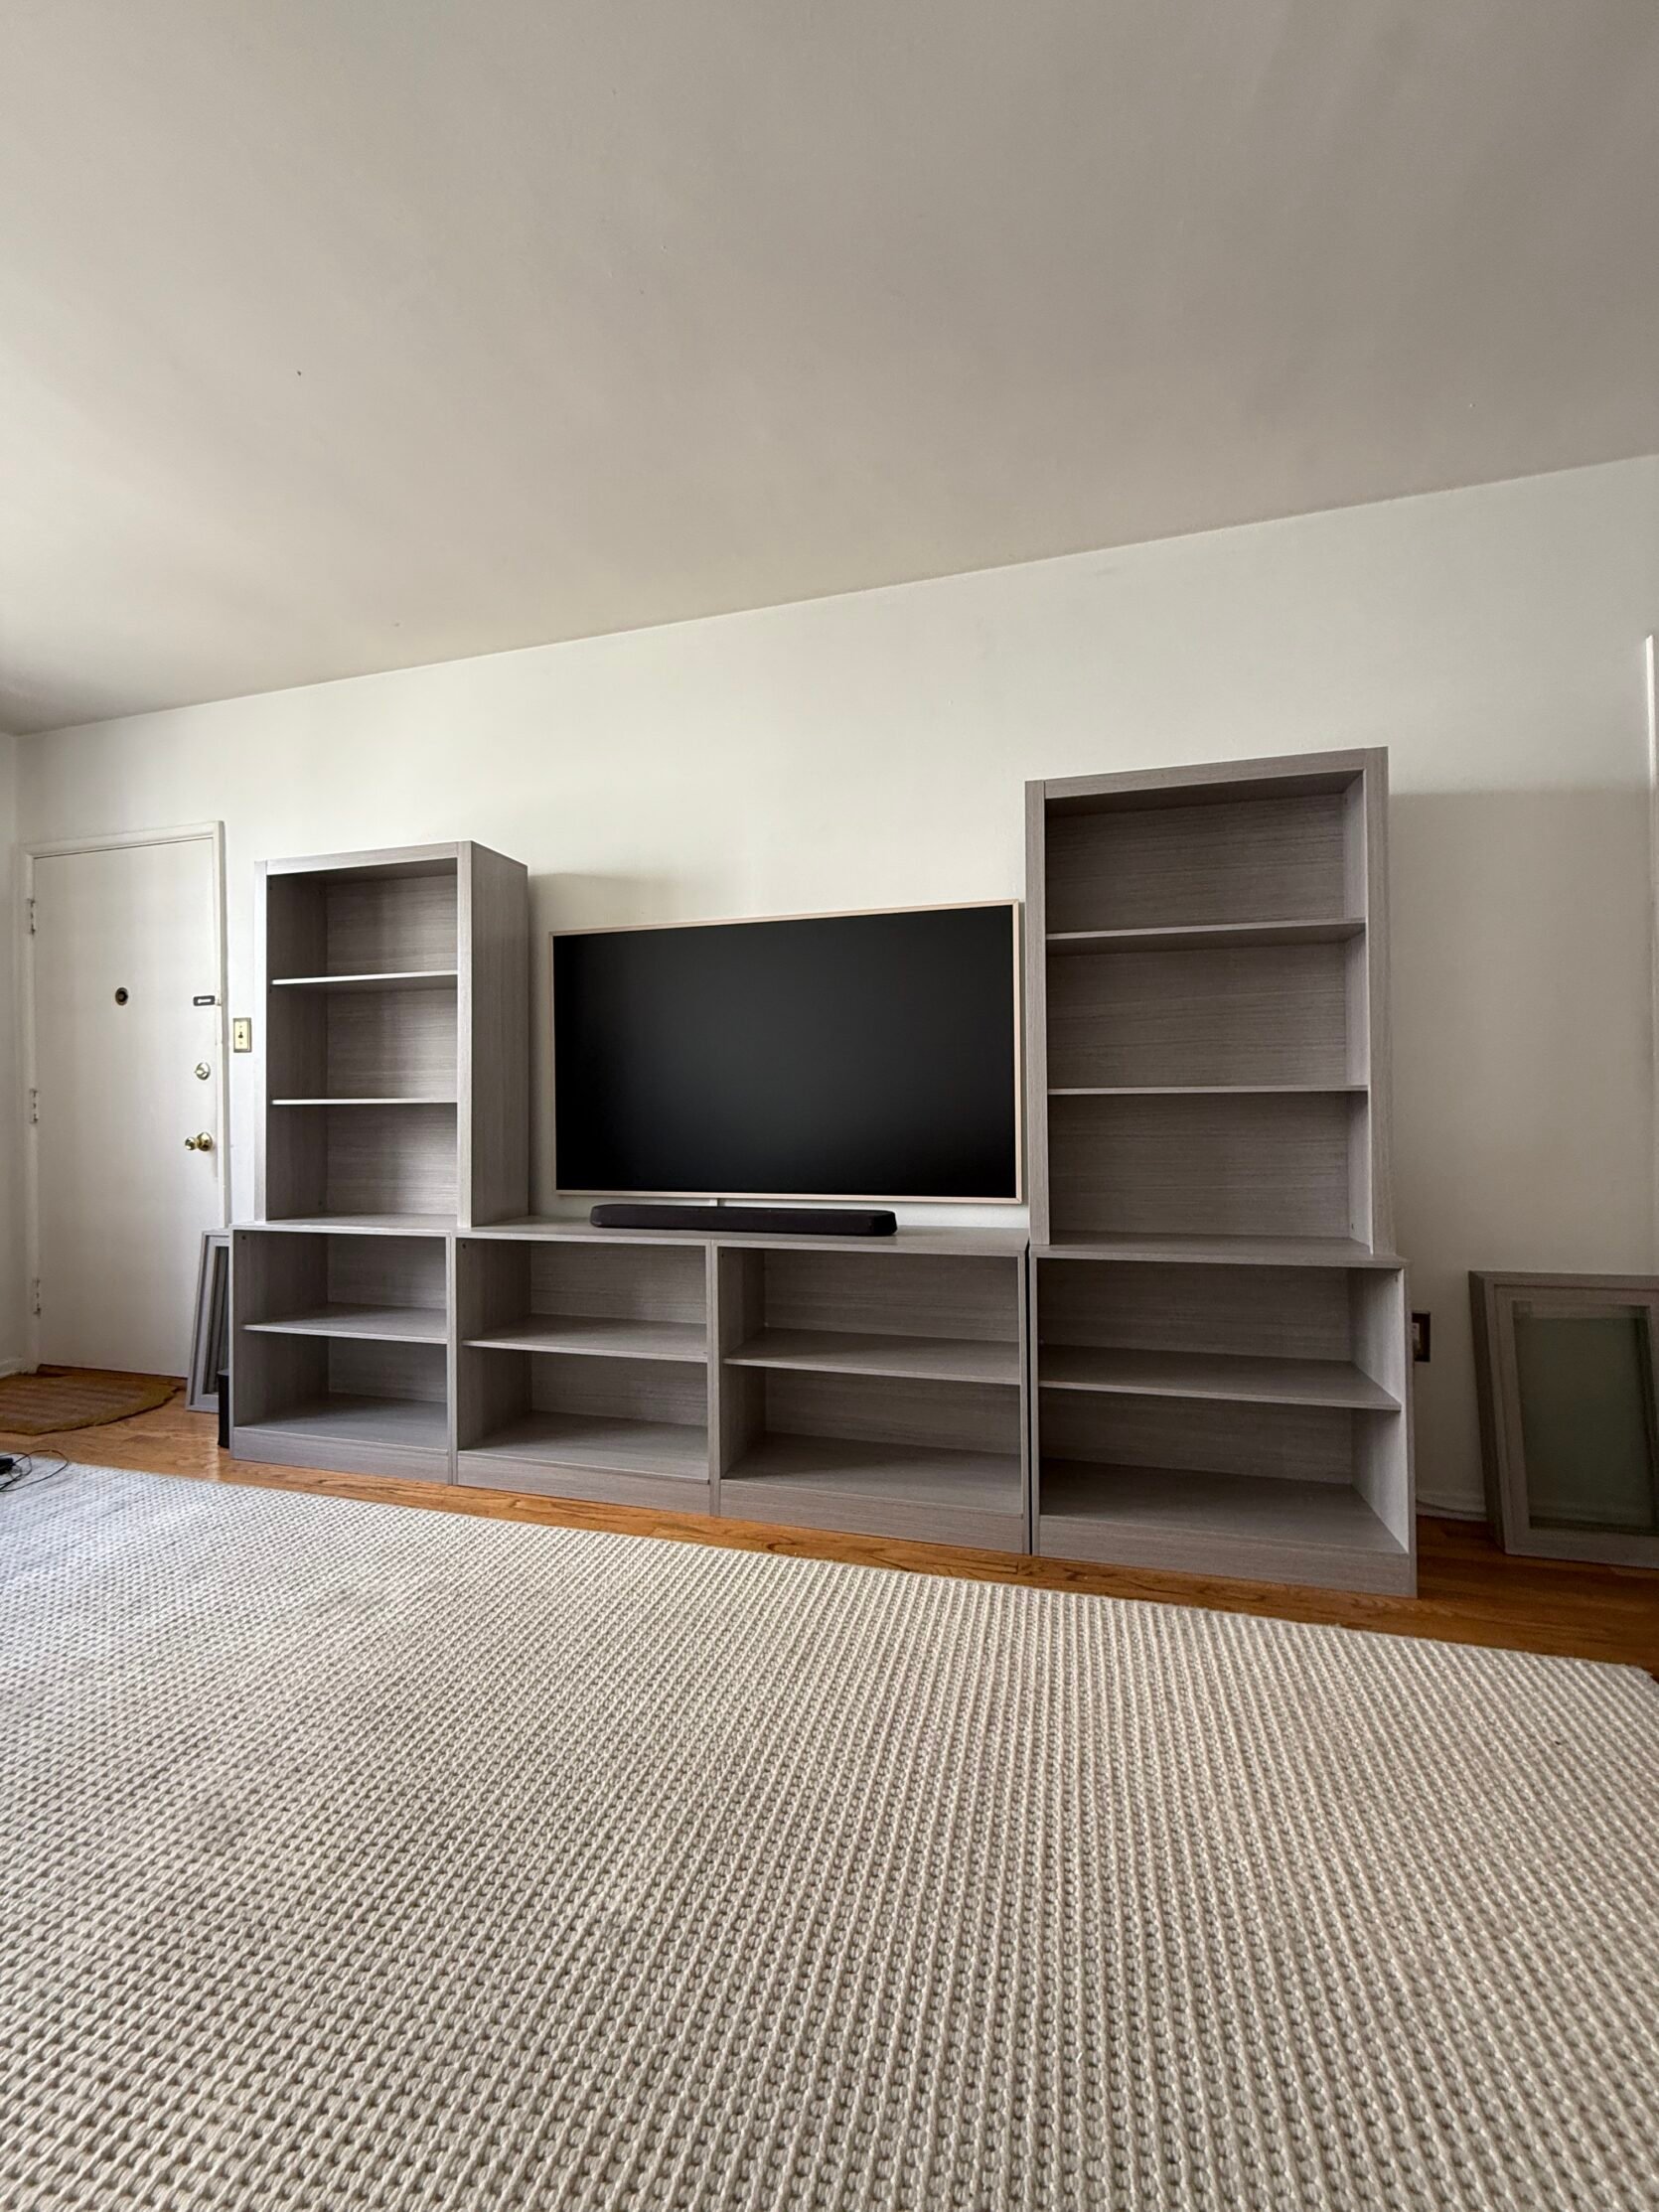
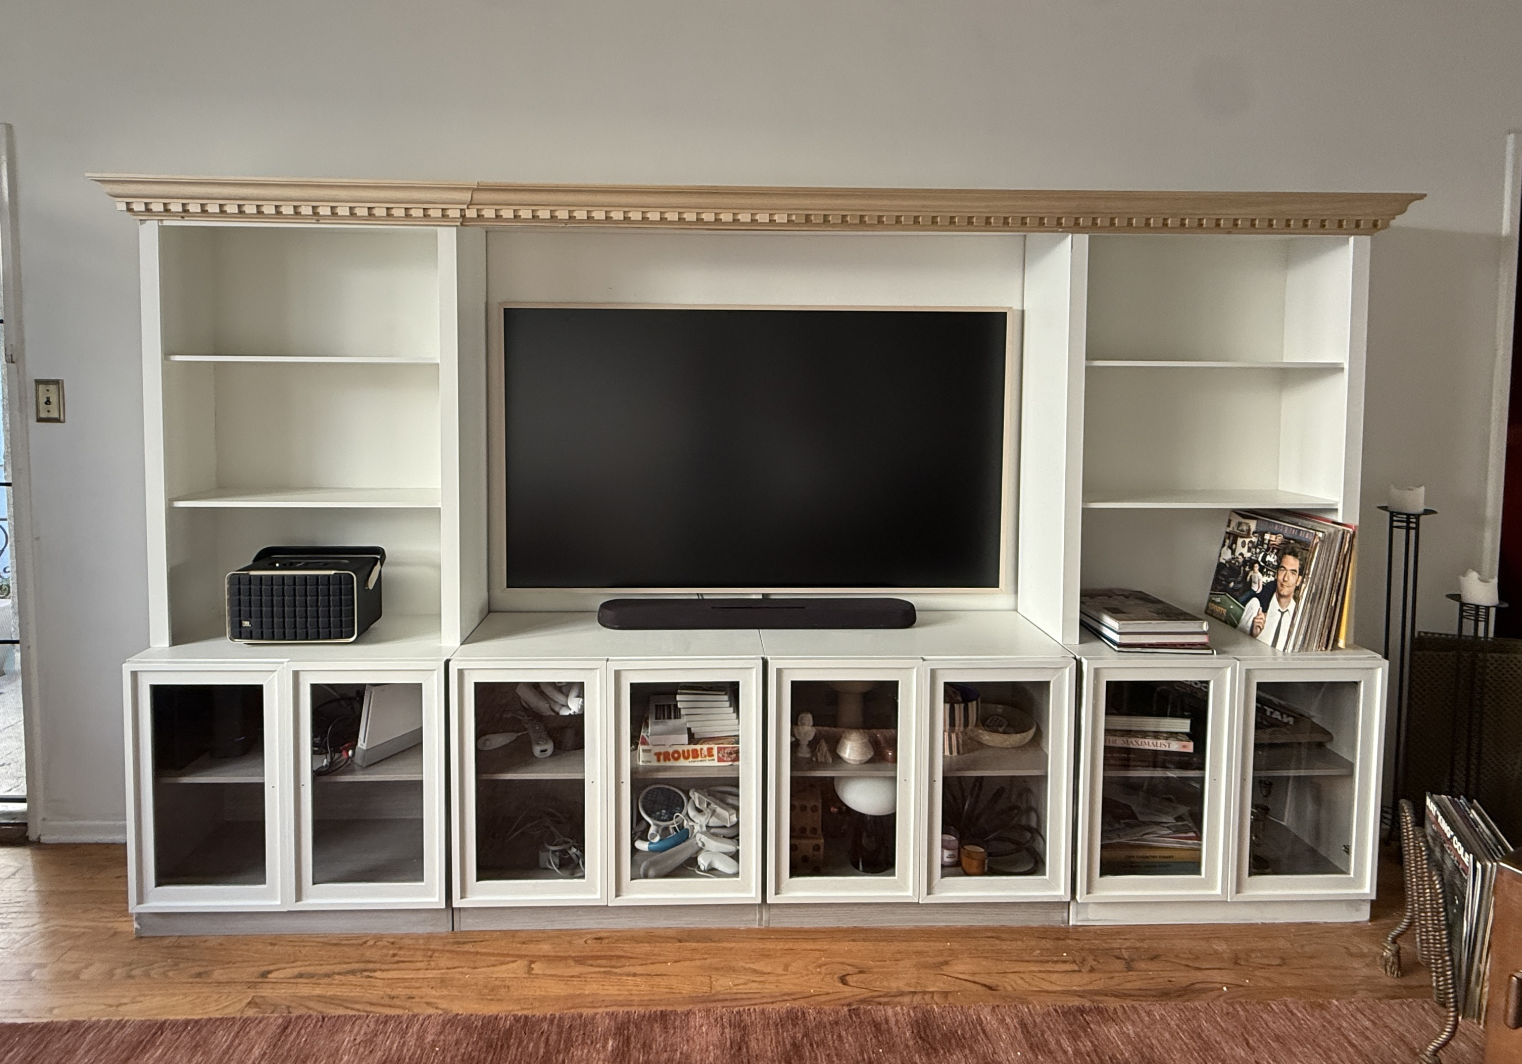
However after A TON of looking, I ended up discovering THE PERFECT bookcase on clearance for $360, which was insane (it’s out of inventory as a result of it was on clearance). Don’t fear, I’m sharing tremendous related choices on the backside of the put up, must you wish to try one thing like this! It checked nearly each field – enclosed storage on the underside, and all the backside cupboards had been uniform (which I believe seems to be most like an actual built-in bookcase). The scale was good in order that I may match my 65-inch body TV within the center, and the bookcase itself would take up many of the wall area between these doorways. The issues? For $360, you greatest imagine there have been a number of. It was gray, first off, and it had glass doorways so I couldn’t cover the messy TV field and such inside the cupboard, and it was nonetheless open on the highest. For $360 bucks although (nonetheless a loopy deal to me), there was nothing I couldn’t repair – so I added to cart SO FAST and began my DIY journey to make it look customized.
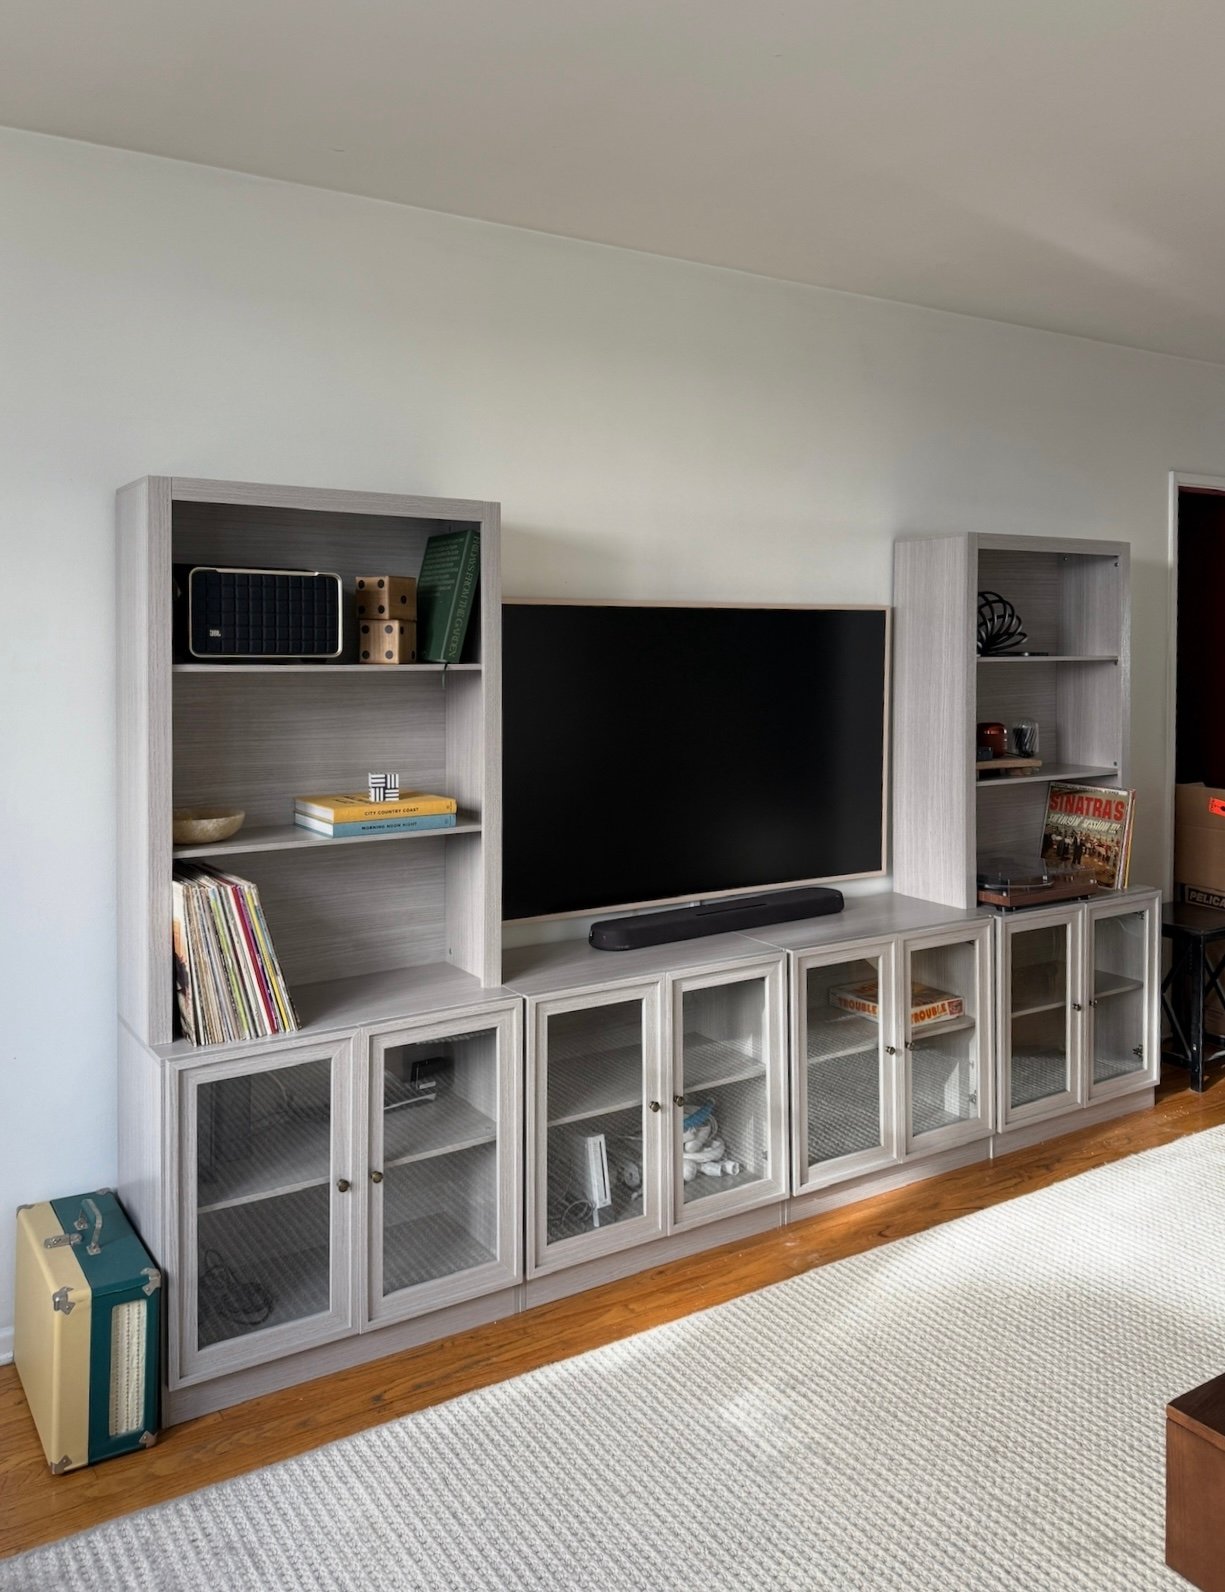
As soon as the bookcase arrived, it was really fairly simple to arrange – my TaskRabbit/boyfriend helped, and he’s nice at constructing furnishings, so it solely took about 3 hours from begin to end, which was shocking to me. For $360, I used to be impressed with the standard – however that mentioned, it’s nonetheless principally MDF, and something you purchase for this type of worth is just not going to be the identical degree of high quality because the items I linked above. I’m prioritizing funds, fashion, ease, and the influence this piece may have within the room. However though that is the place I made a decision to “save” as a substitute of “splurge” on this lounge, it really did make the most important influence within the area. The second it was up (even with the gray wooden and openness above the TV), it already felt a lot cozier. See for your self:
As soon as I put the doorways on, I began mocking up how I may enclose the highest – after which I acquired bold and thought…wait, may we construct cabinets on high of this and take all of it the way in which to the ceiling?! I extremely thought-about it, however then determined possibly it’s not sensible to have that a lot weight on a budget-friendly bookcase after I stay in an earthquake-prone state… So I considered how I may reinforce it a bit as a substitute. I had some trim left over from one other venture and thought, “omg that’s precisely what it wants!!” So we screwed in an 11 in broad x 8ft lengthy piece of primed wooden on high of the bookcase (which conveniently was the precise width of the highest and we didn’t want to chop it down in any respect). It appeared like this:
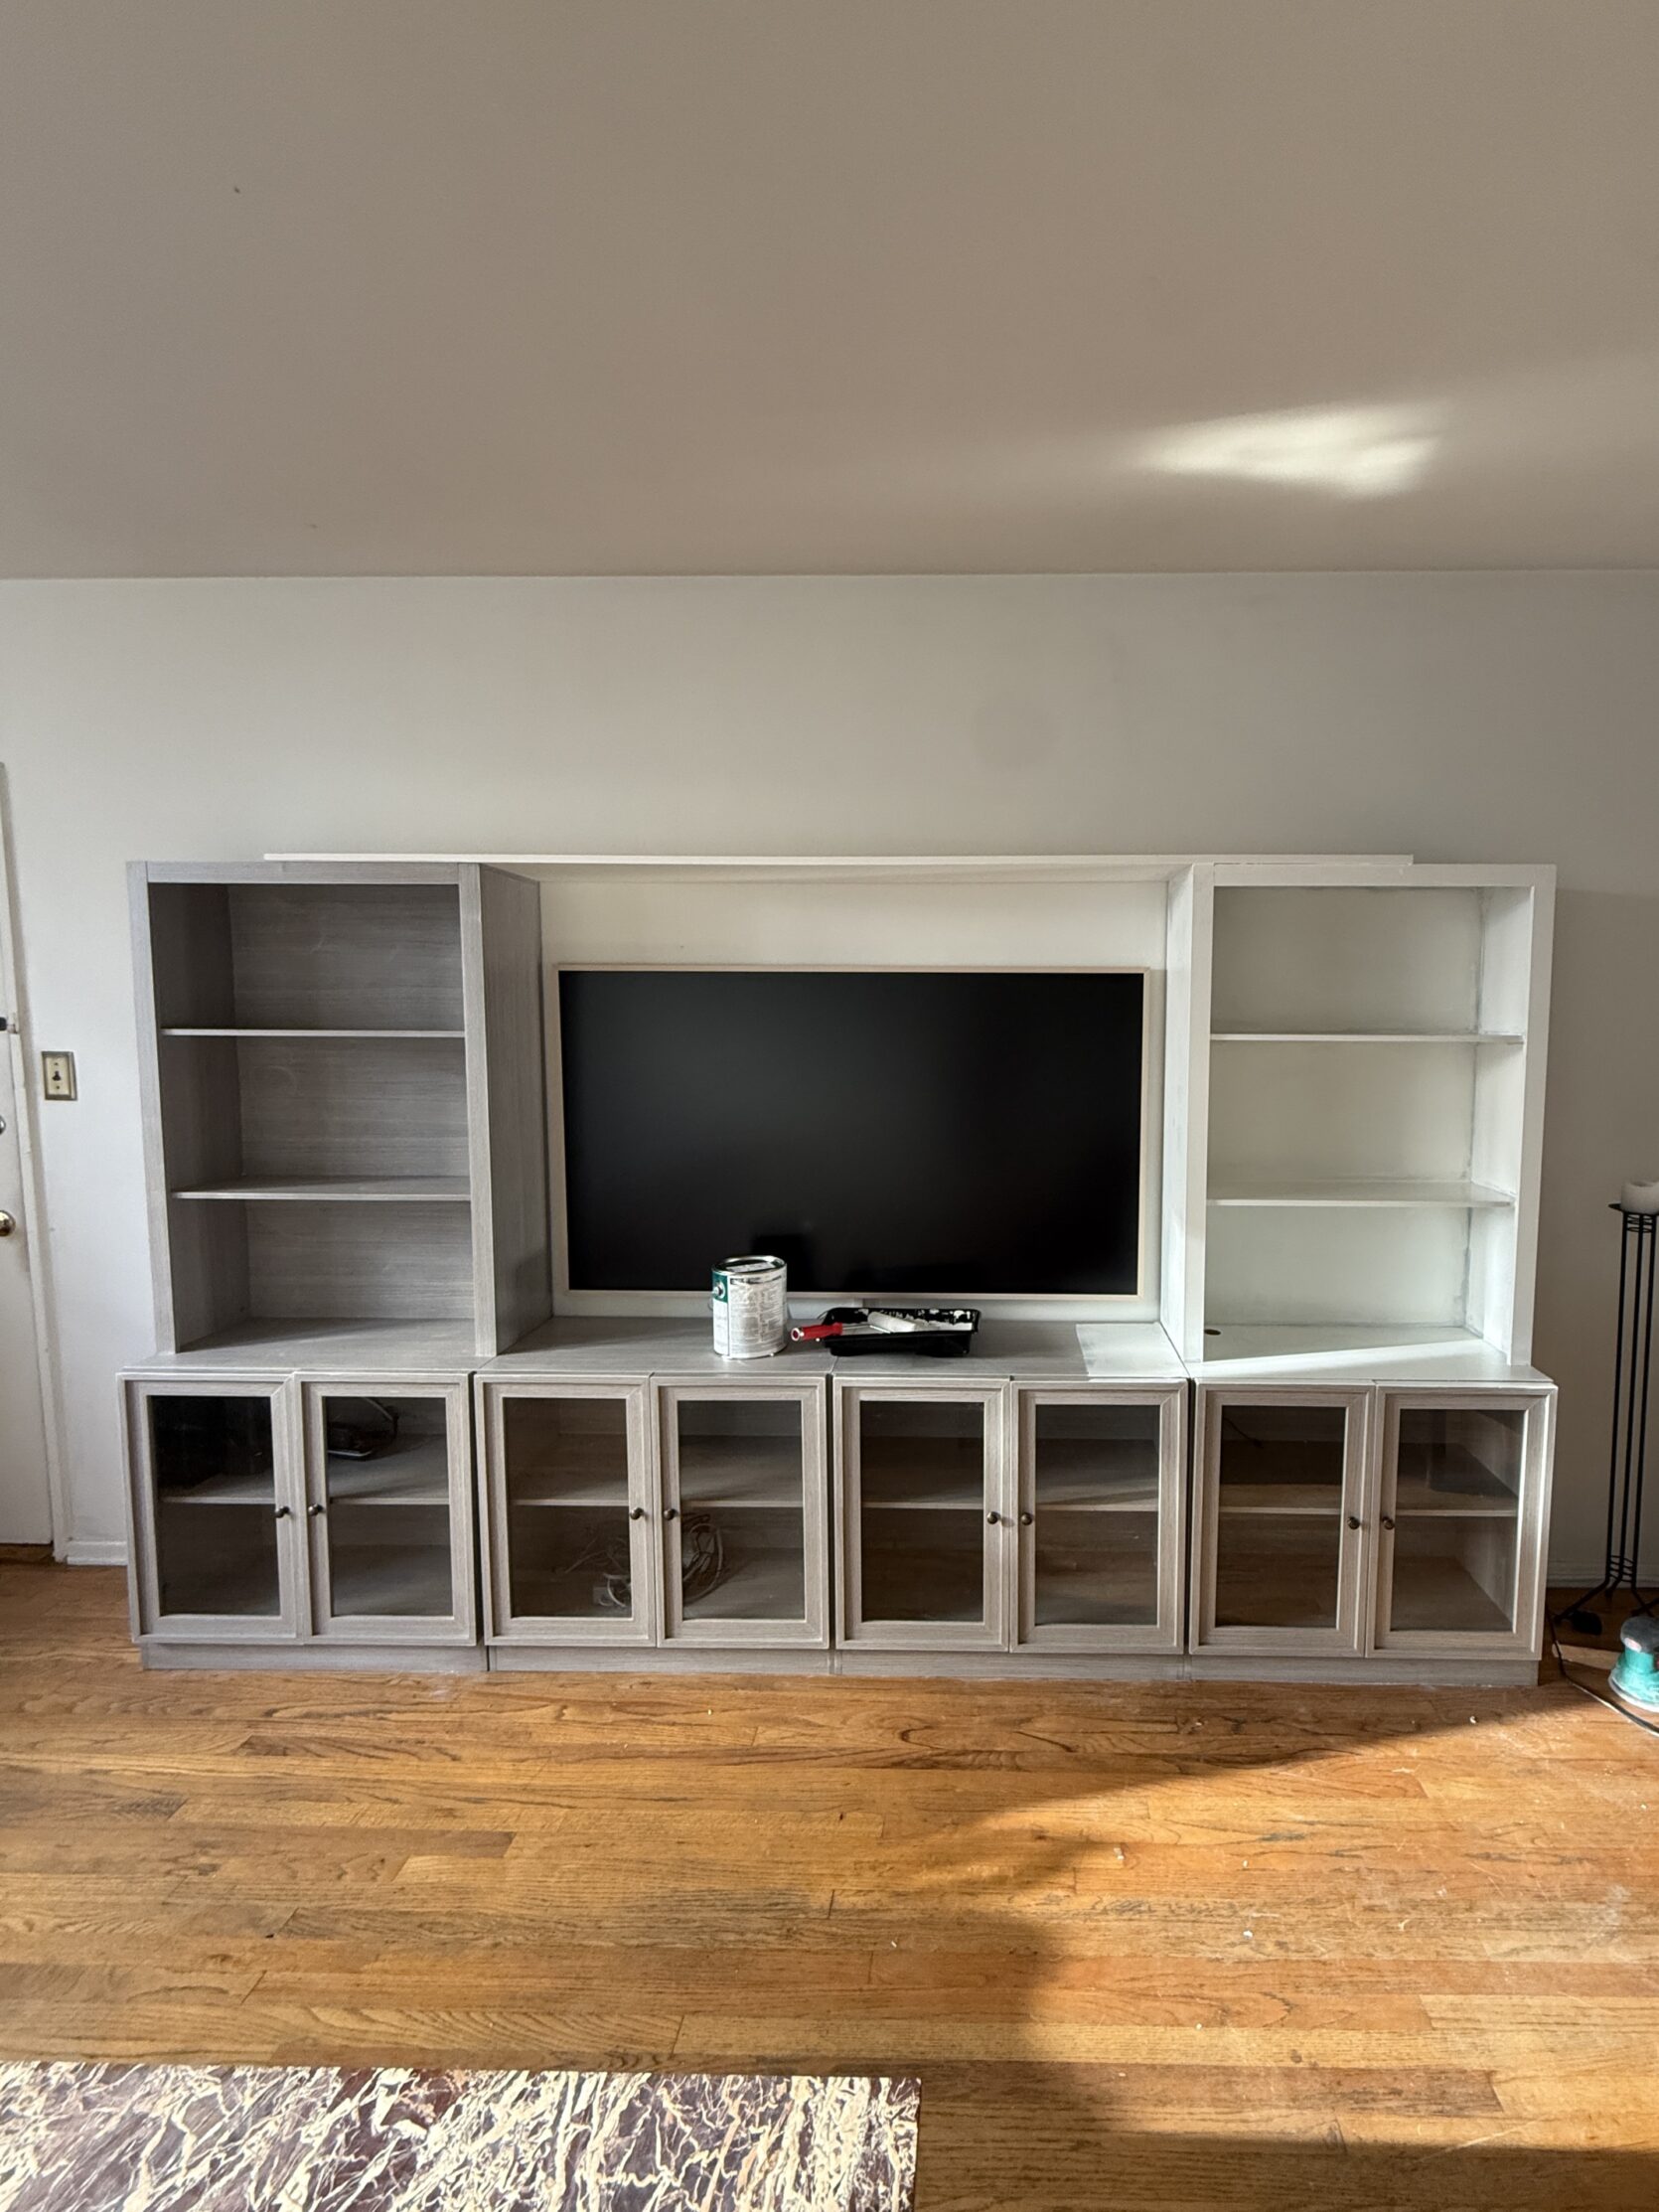
As you possibly can see, earlier than I put in the trim, I began portray the bookcase the identical white as my partitions to provide it extra of that “built-in” impact. I’d extremely advocate sanding after which utilizing a shellac primer. I ended up simply sanding after which portray as a result of I watched this video, which confirmed scratch checks, and it appeared like simply sanding was one of the best path to go, BUT after ending this venture, I want I had sanded AND used the primer as a result of I believe it could have been much more sturdy. After my paint dried, I’d say it’s arduous to scratch the paint off, however for those who REALLY attempt to scratch the paint, it’ll come off. All this to say – for those who’re making an attempt this – study from me and simply sand and prime to be protected. Since I didn’t get the primer, I ended up getting a “extra sturdy” paint particularly for trim – however for those who sanded and primed correctly, you may probably simply get a traditional paint in a semigloss end and it needs to be fantastic!
Then that is the place issues get loopy. I enlisted my dad and mom to convey their round noticed as much as assist me miter the trim items (no, I’ve by no means performed that earlier than, however how arduous may or not it’s? Boys do it…) We adopted this YouTube video and couldn’t cease quoting the half the place they are saying, “Now that’s a good match, Tommy,” the complete day. And this was just about a full-day expertise – lining up the moulding was a lot more durable than we anticipated. In case you are making an attempt this venture, I’d truthfully give the froth/light-weight mouldings a strive (could be simpler?). This was positively essentially the most tough half, however critically, as soon as I get an thought in my head, it’s taking place it doesn’t matter what. We additionally screwed in a number of smaller items of wooden to the bigger, primed wooden piece we screwed in on high (which you’ll see made the burden of the wooden droop down within the center a bit for a second, however as soon as we completed placing on the smaller wooden items and the moulding, the whole lot straightened out, so it doesn’t droop anymore. So – I’d additionally simply make it possible for the highest wooden piece is actually stable for those who try this – positively don’t get one thing too flimsy. The picture would possibly scare you for a second, however I promise it’s completely straight and appears nice on the finish (this was a complete trust-the-process second).

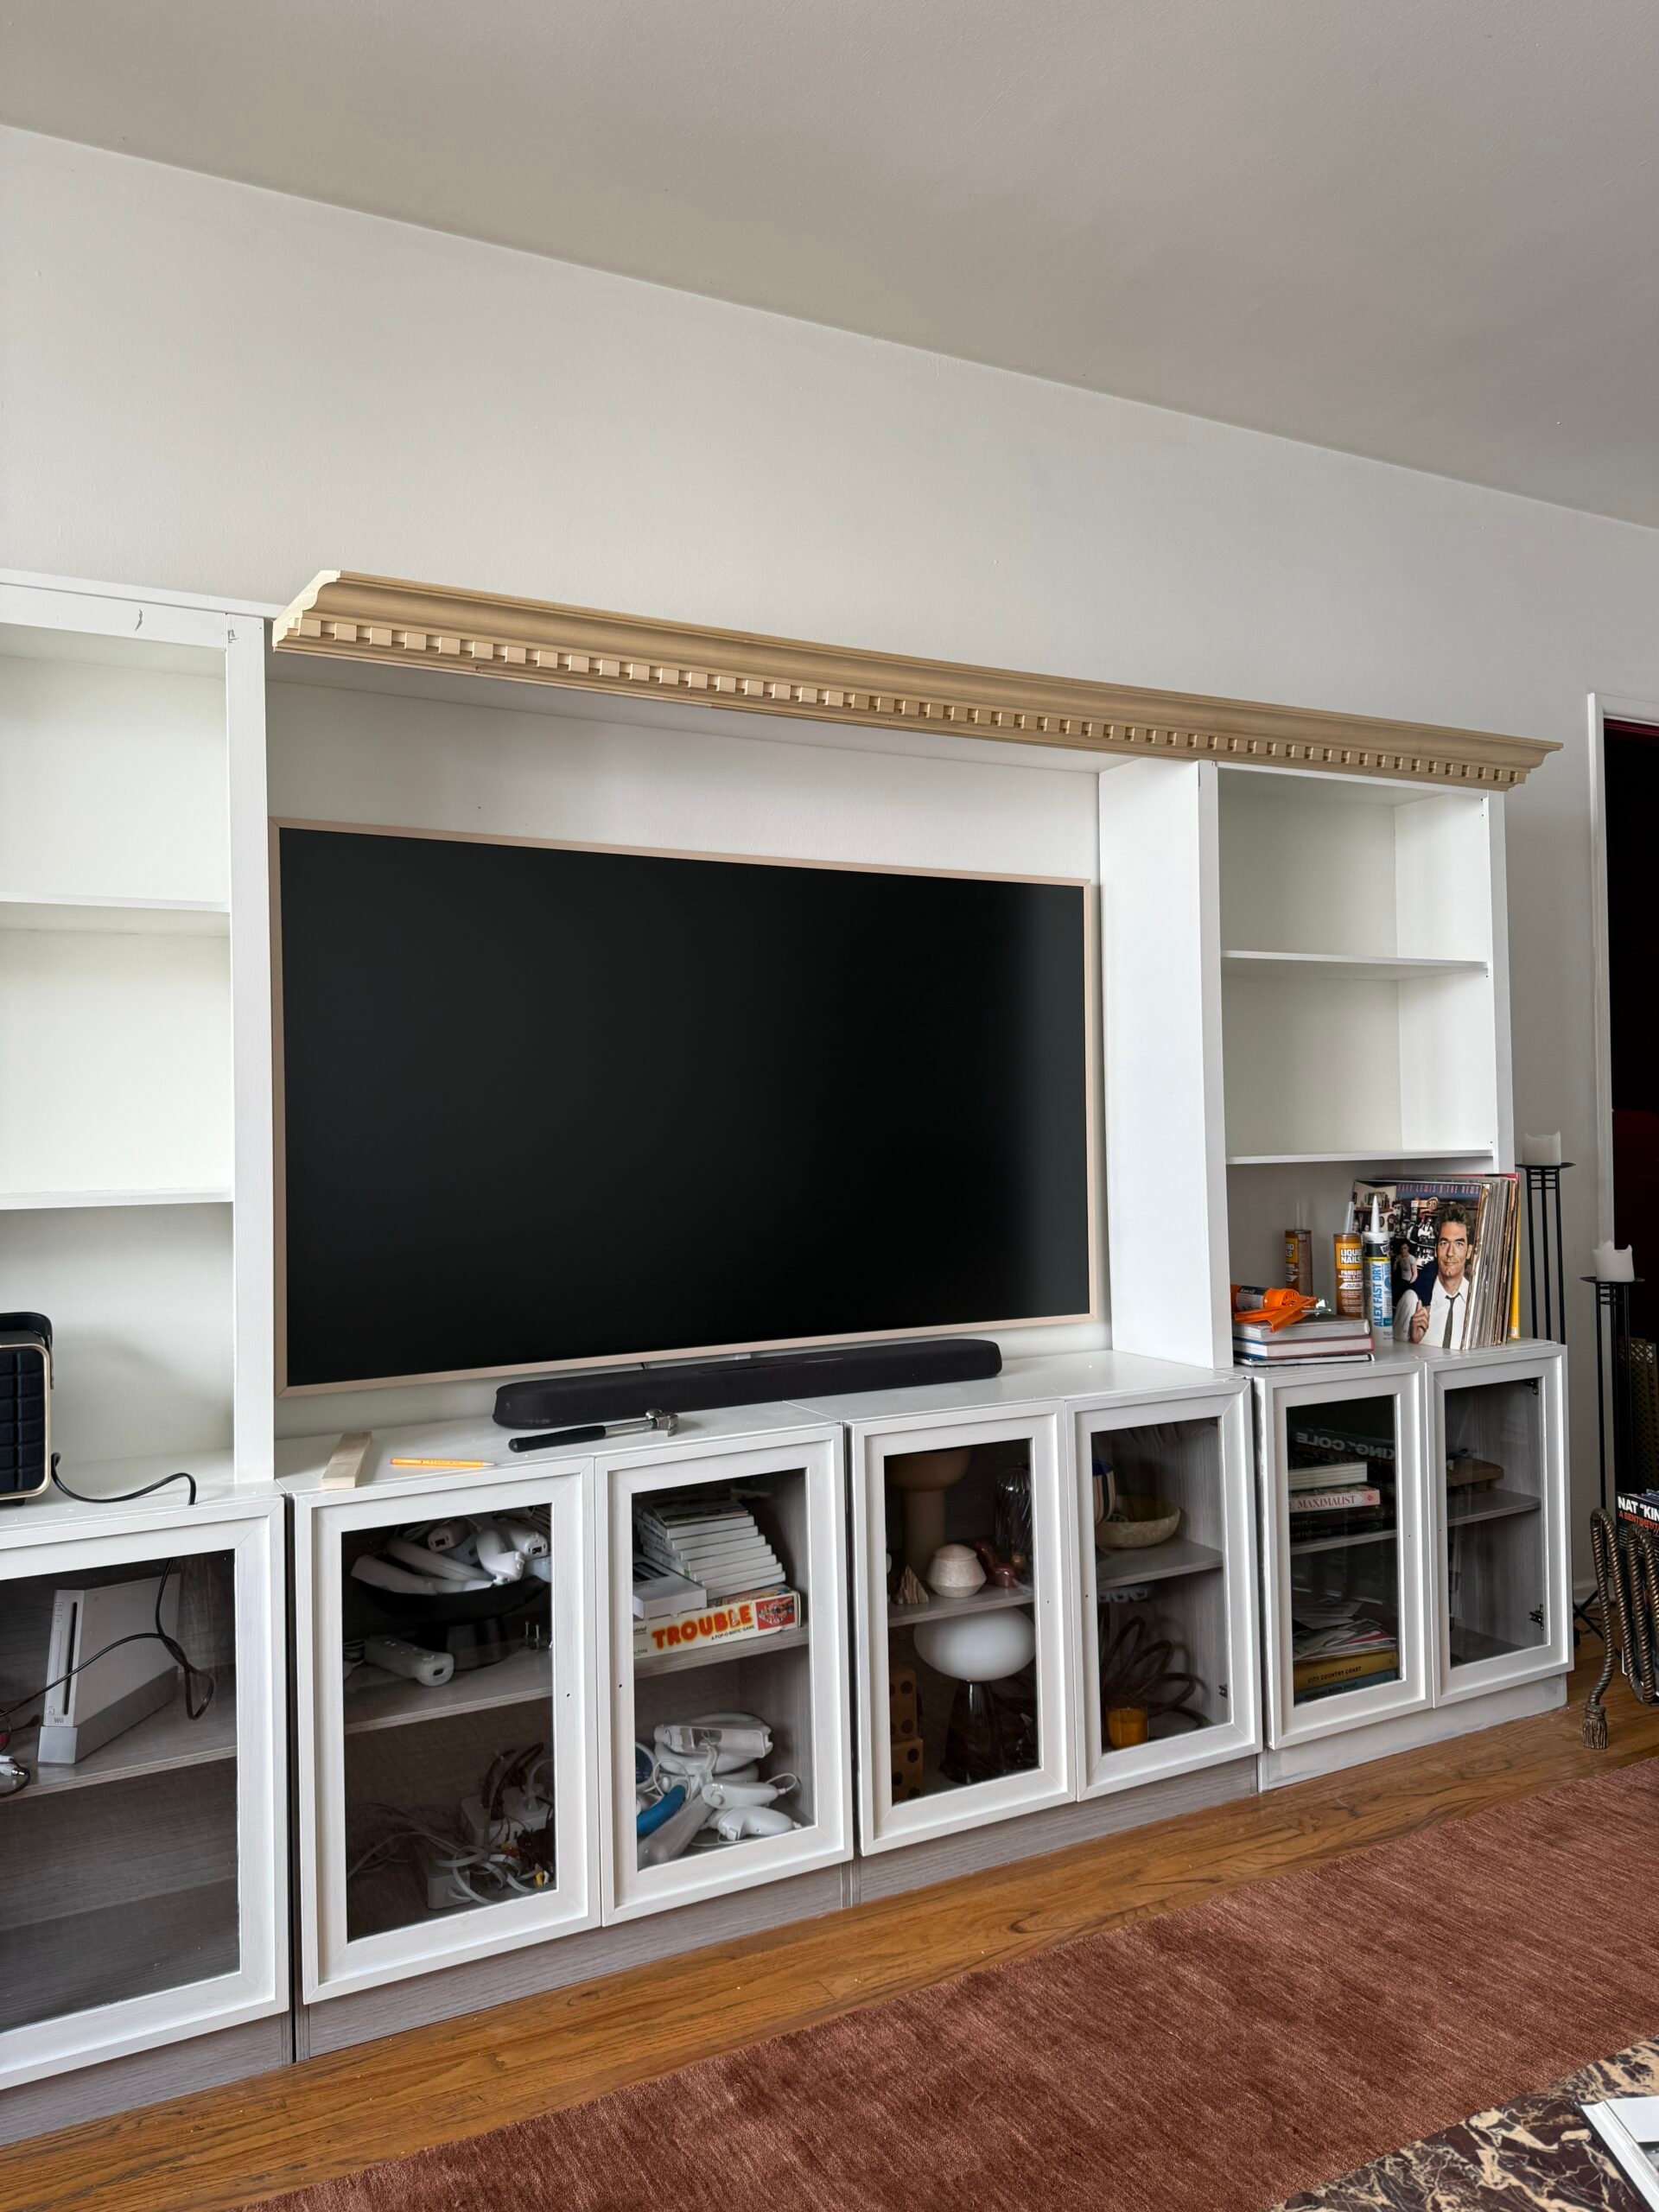
I additionally would extremely advise utilizing a nail gun to nail the trim in for those who’re utilizing wooden crown moulding like this – my dad introduced one which was 15 years previous (bless his coronary heart) and it died on us mid venture so we completed hanging the moulding with a number of smaller wooden screws and nails (which I’d not recommendation for a seamless look however it labored once we had been in our time of want – and ravenous and really a lot over it). I caulked and painted over the nails/nail holes so you possibly can truthfully barely see them, however once more – DEFINITELY use a nail gun for those who’re going to try this with wooden trim! When you don’t wish to use a nail gun, the froth/light-weight moulding and a few heavy-duty adhesive are going to be your greatest pals!
As soon as the trim was up (which was a miracle since my mother, dad, and I are NOT woodworkers per se) – that is what it appeared like!! I’ll be trustworthy we struggled to get the “tight match tommy” aka the items to completely line up over on the left aspect as you possibly can see (however one way or the other we did the nook cuts completely and in order that was good) however as soon as I sanded it down and caulked it – the becoming a member of items weren’t tremendous noticeable (once more, would in all probability have been simpler with lighter trim). I used to be happy with my dad and mom and I, so we celebrated our accomplishment with some margaritas, and general it turned out SO nice!! Such an improve from the way it began. Now it was time to complete caulking the gaps, plus portray the trim and the underside of the bookcase. Oh, and did you see these glass cupboard doorways that cover nothing?? Yeah, don’t fear – I fastened these!! Test it out:
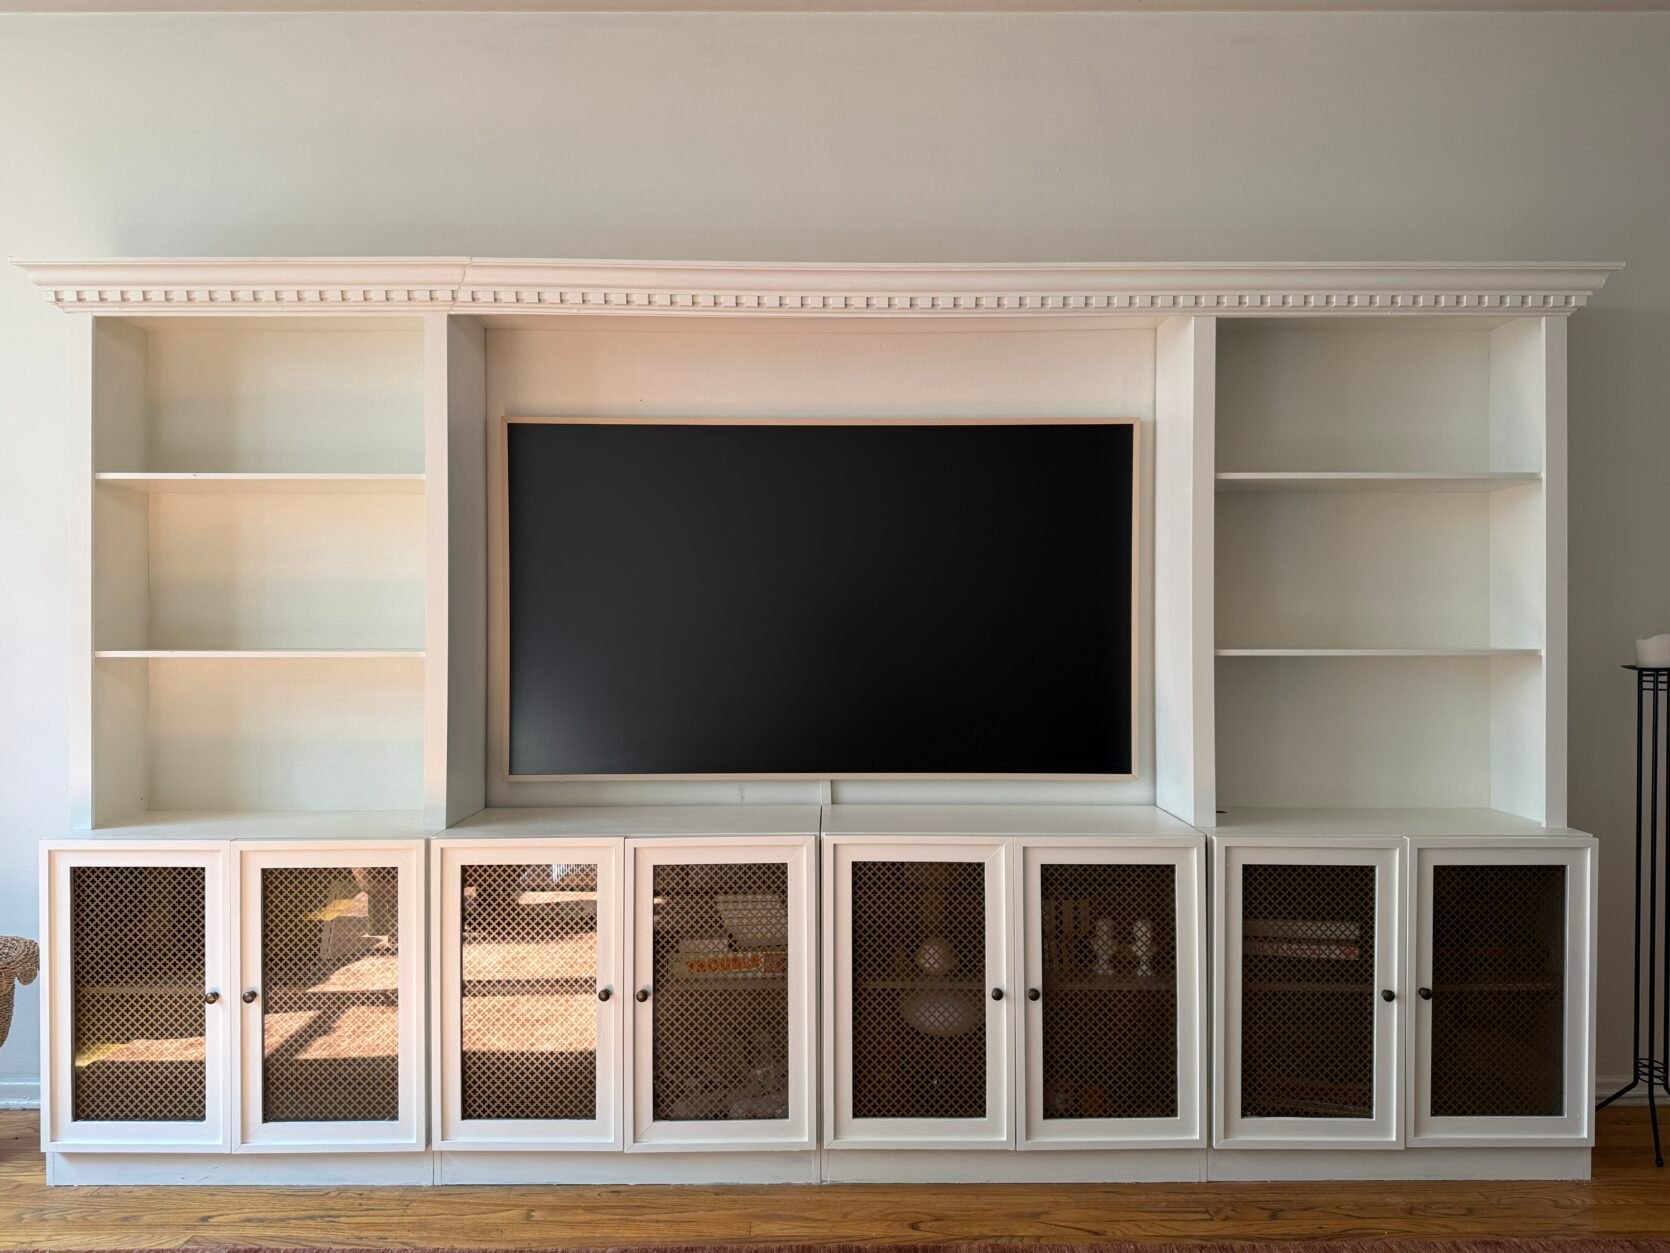
I discovered these perforated brass steel sheets for $20 every on Amazon, they usually had been the proper dimension, so I ordered them and secured them to the again of the door behind the glass. I really actually appreciated the {hardware} that the bookcase got here with, however keep in mind, you may at all times swap that out for those who discovered a bookcase with {hardware} you didn’t love as a lot! However anyway – able to see the earlier than/after?! Right here you go!!
So right here’s the total price breakdown:
- Bookcase: $360 ($400 after tax)
- Paint: $70 (I purchased the flowery, costly trim-specific paint since I didn’t prime, however this might’ve been extra like $45)
- Steel Sheets: $20 every (I acquired 8)
- Trim: $42 every (We used 3 of them! I already had these)
- Shellac Primer: $30 for 1 qt (May want extra relying on how huge your bookcase is – once more, I didn’t do the primer, however want I did along with sanding!)
- Orbital Sander: $30+ (I already had this one!)
- Nail Gun: $40+ (May lease or borrow! Or use till it dies after which quit and use some wooden screws lol)
Complete I spent: $630 (I already had the trim, however it could be extra like $755 for those who included that price)
MAN, I’m so completely happy I used to be in a position to obtain my bookcase goals for that worth! I assumed it wouldn’t be doable, however you are able to do something for those who simply imagine. It turned out so cozy and customized – you’d by no means know this bookcase began as a $360 ready-to-assemble piece. However curious to know your ideas – do you suppose it was price it?! Would you try one thing like this? Let’s chat within the feedback.
Additionally sharing some ready-made bookcase choices if you wish to DIY and customise them by yourself. Observe, a few of them won’t have to be painted/they don’t have the glass doorways (these steel sheets added up!), so additionally issue the weather it’s possible you’ll or could not want into the price of DIYing these! Most of those run round $400-$500. You might additionally take the doorways off if you’d like open shelving on high, and don’t neglect you possibly can at all times swap out or add {hardware}. Simply thought I’d share some concepts, however get artistic and have enjoyable with it! xx
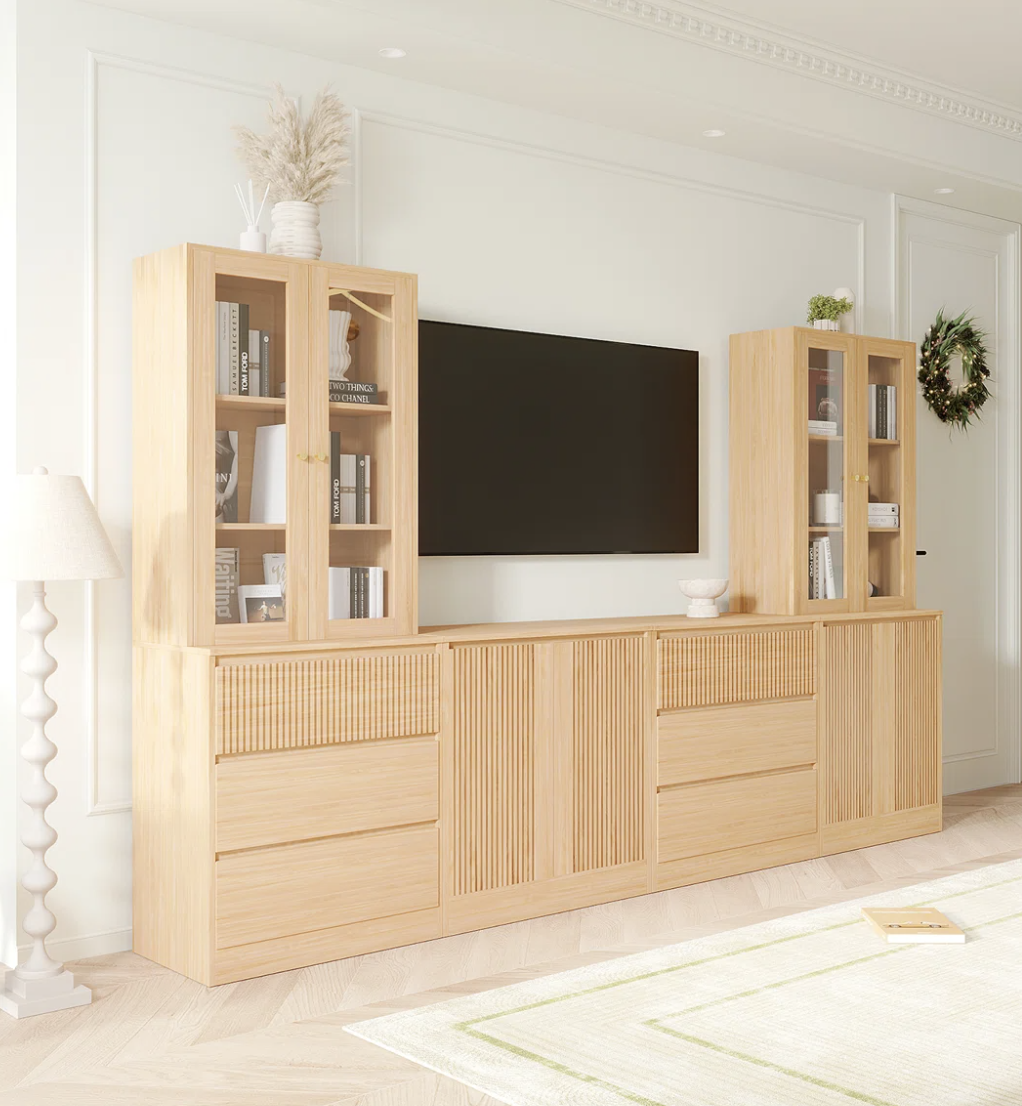
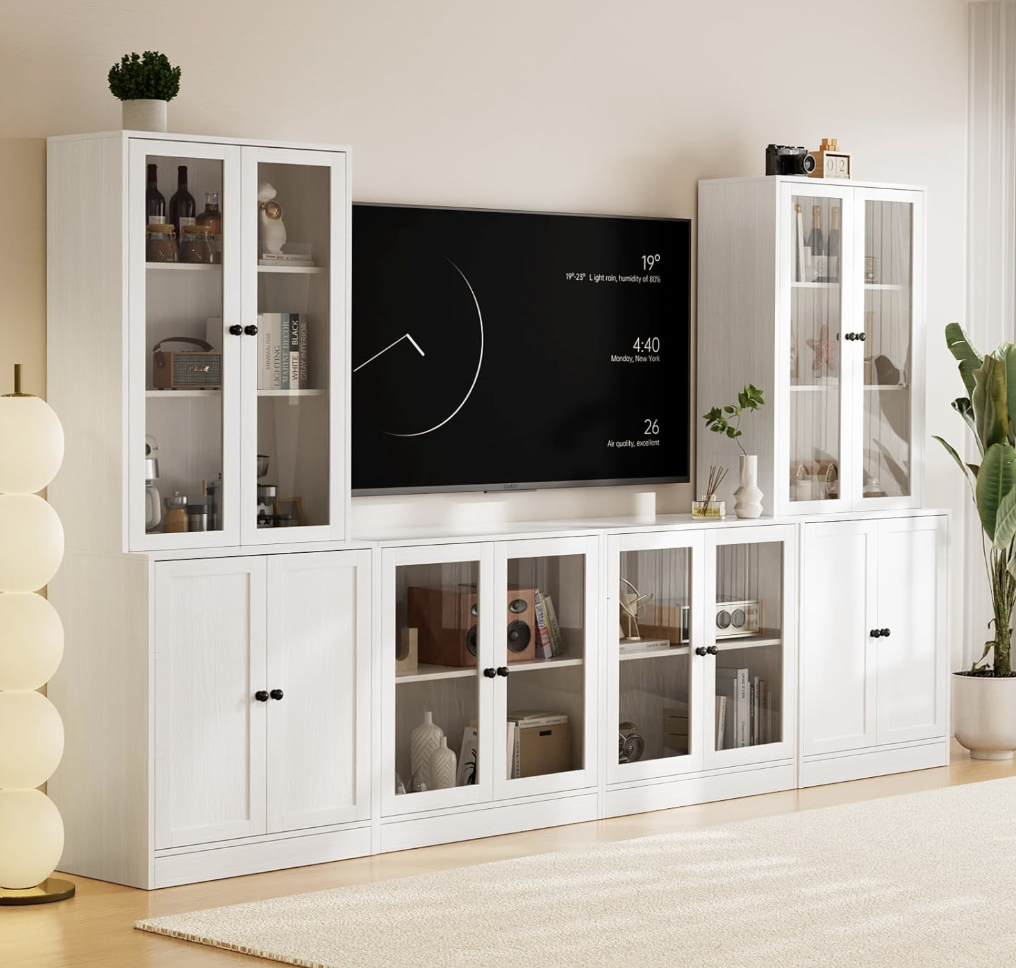
Left: White Oak Coloured Bookcase | Proper: White Bookcase With Glass Doorways
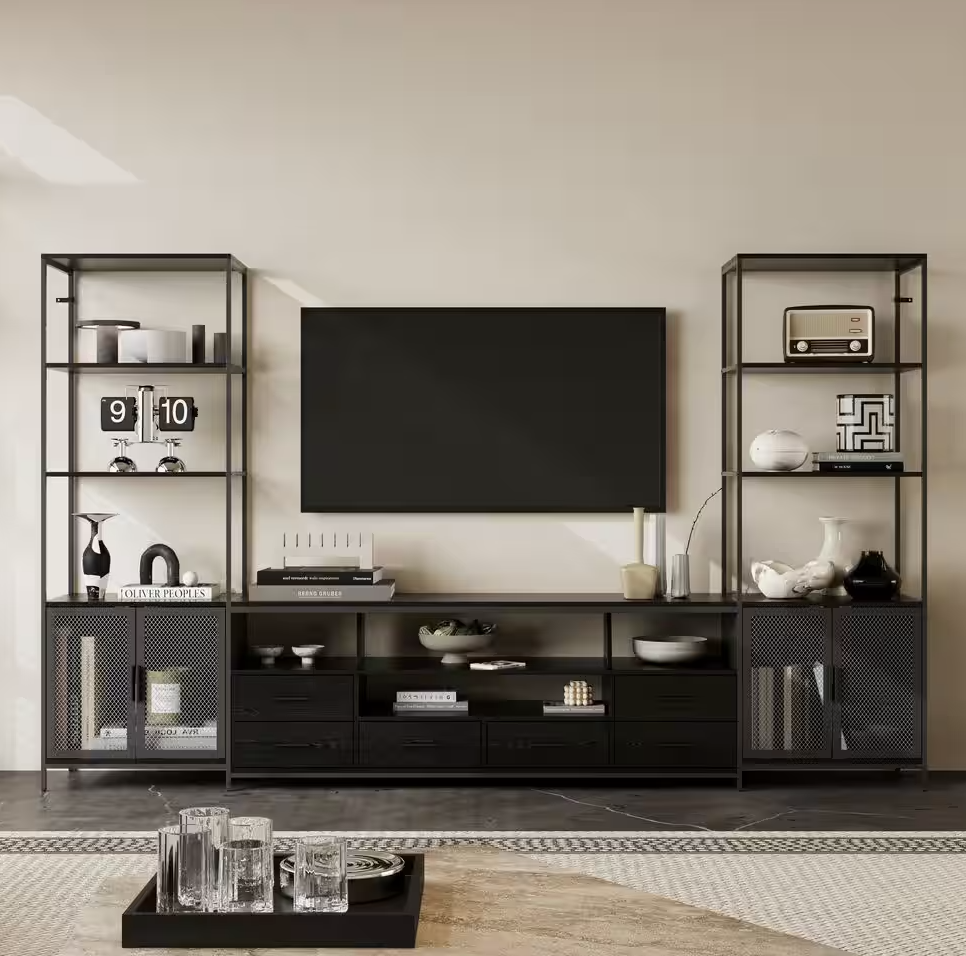
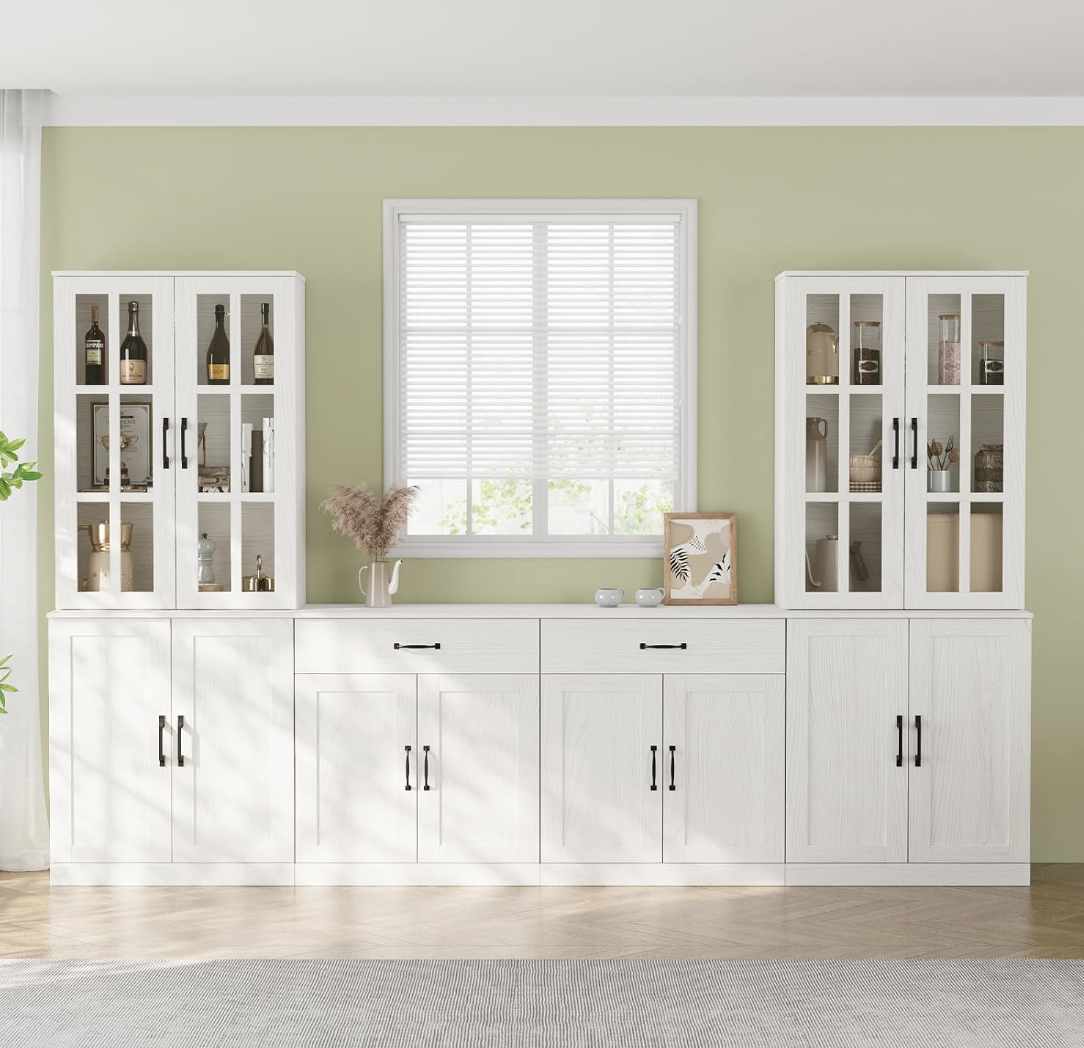
Left: Industrial Black Bookcase | Proper: White Bookcase With Enclosed Doorways
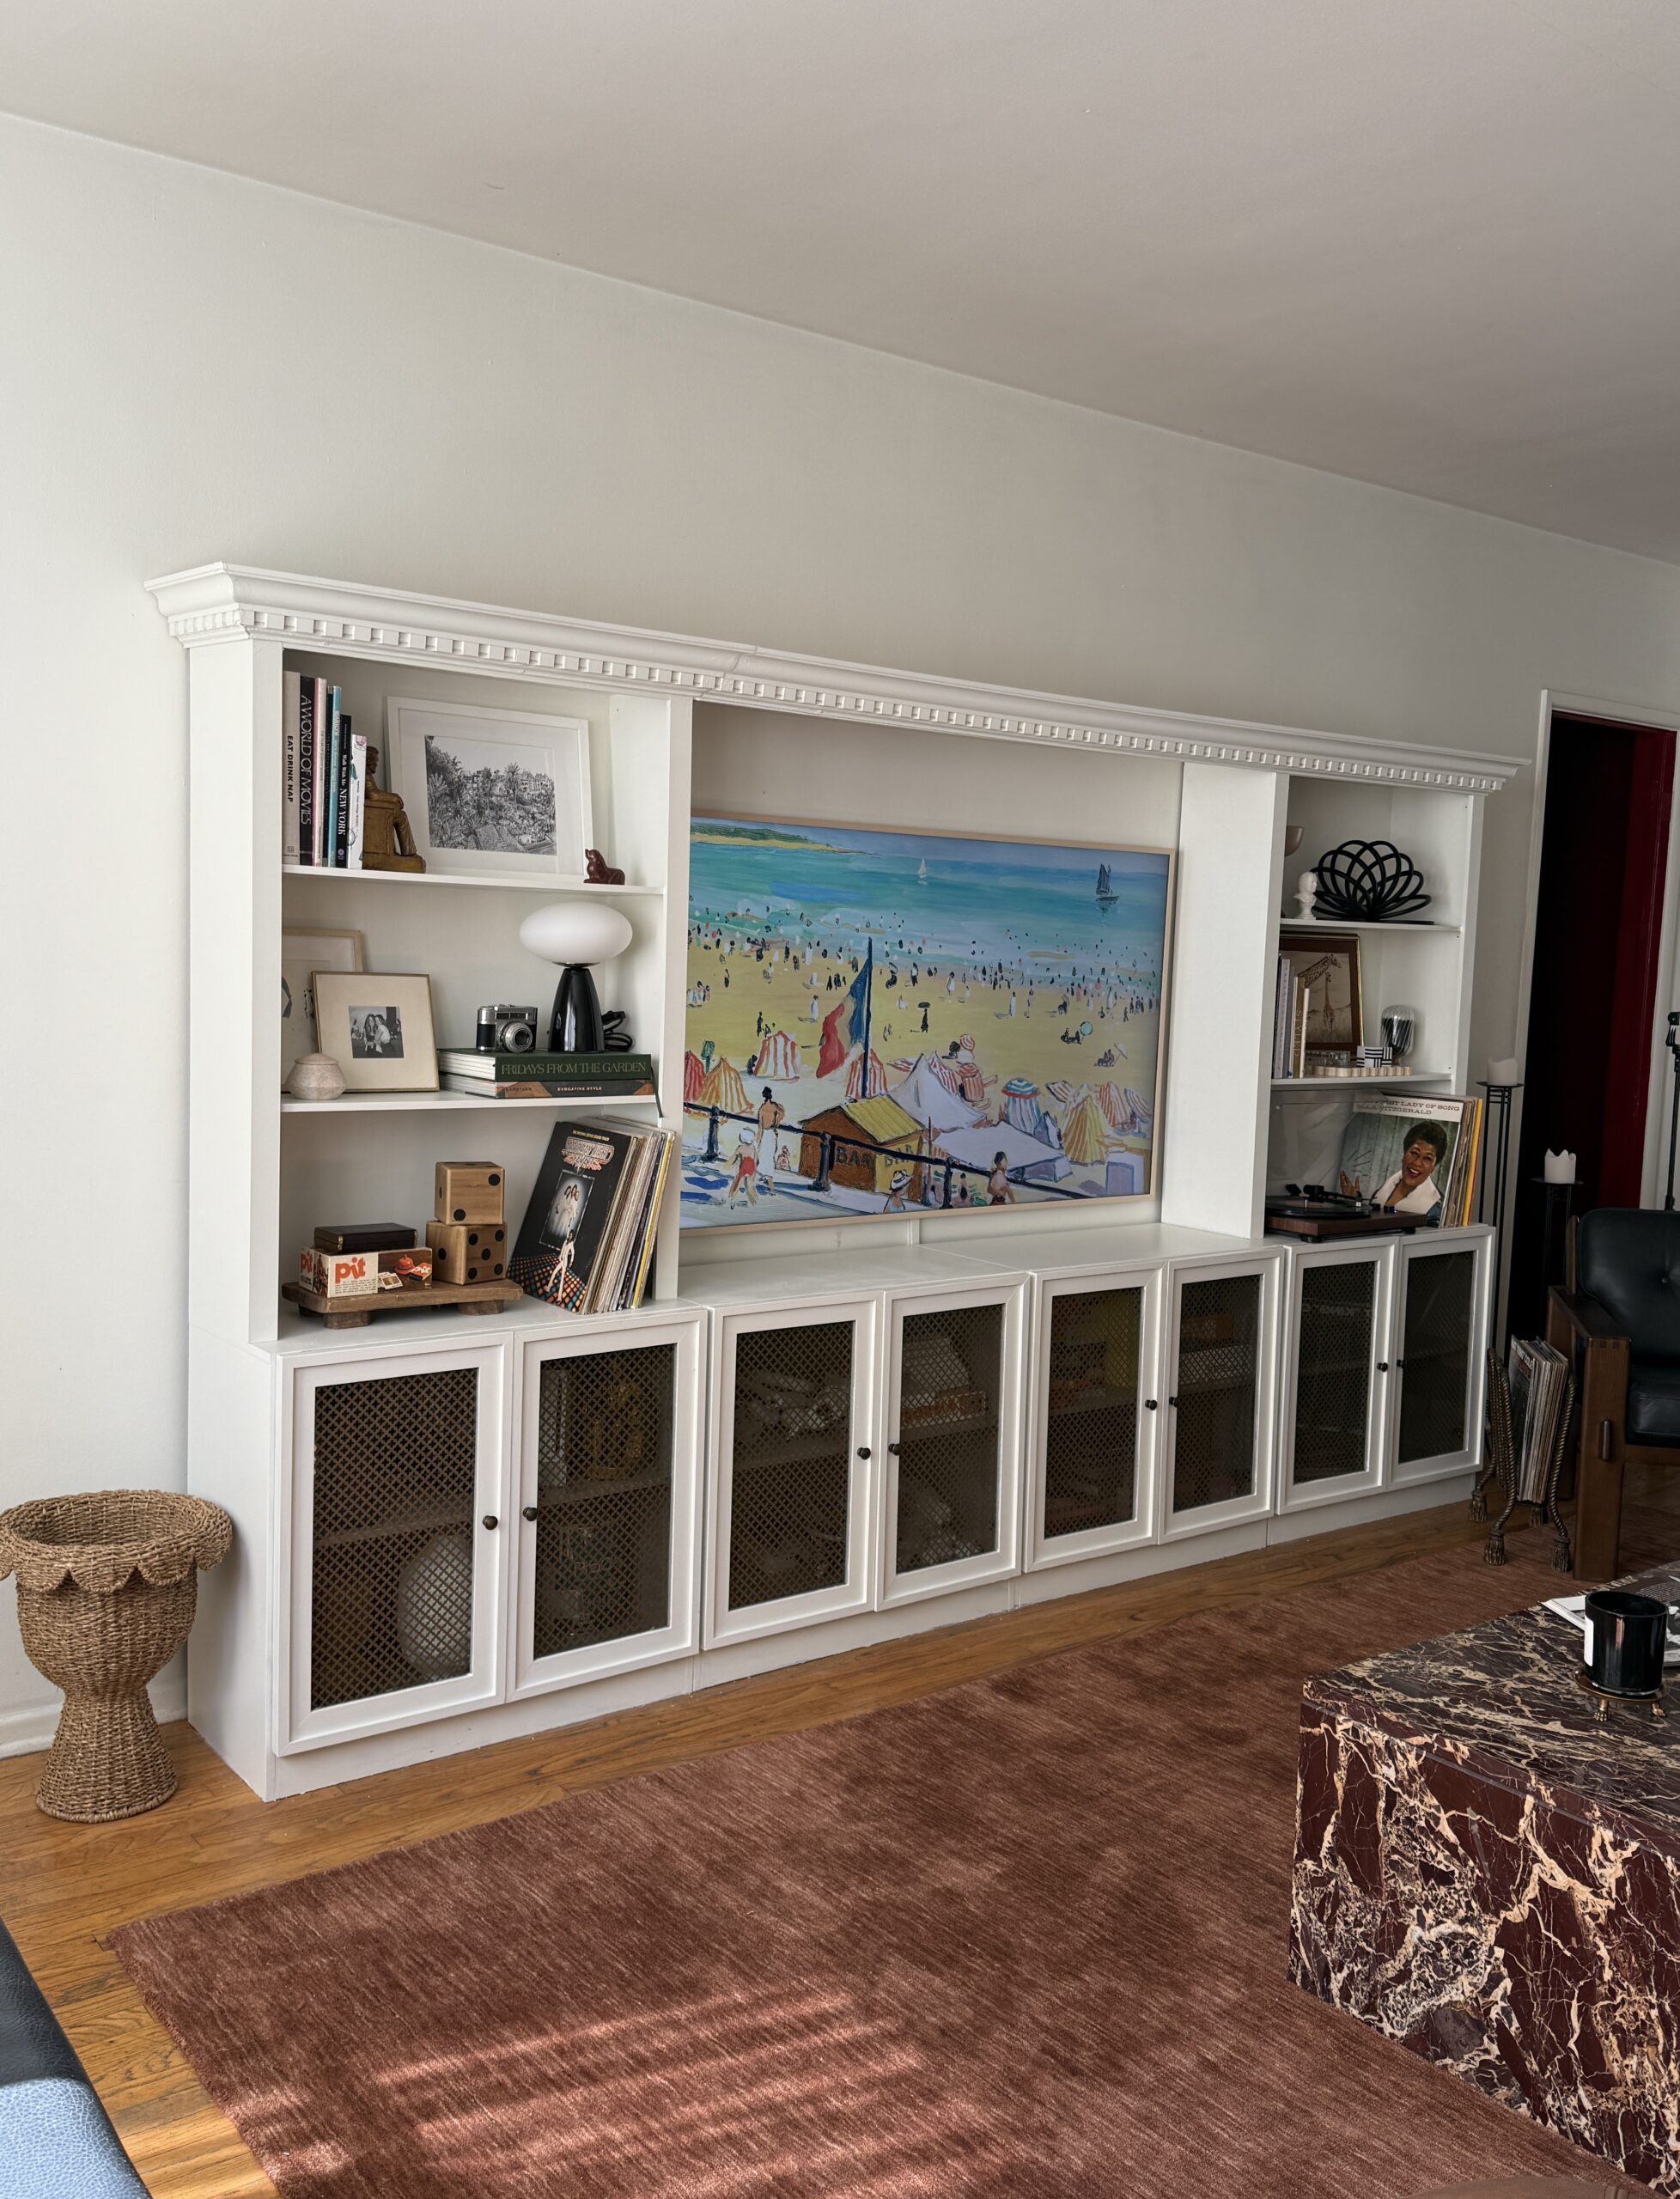
And lastly, right here’s a sneak peek of the beautiful photographs EHD alum and superb LA-based photographer, Sara Ligorria-Tramp, took of my full lounge makeover with AllModern – which I’m going to be sharing with you subsequent week! Keep tuned, pals!

Thanks a lot for studying and to your help!! You guys are one of the best xx
Opening Picture By: Sara Ligorria-Tramp | Design and Styling by Mallory Wackerman
")

")


")
