

")

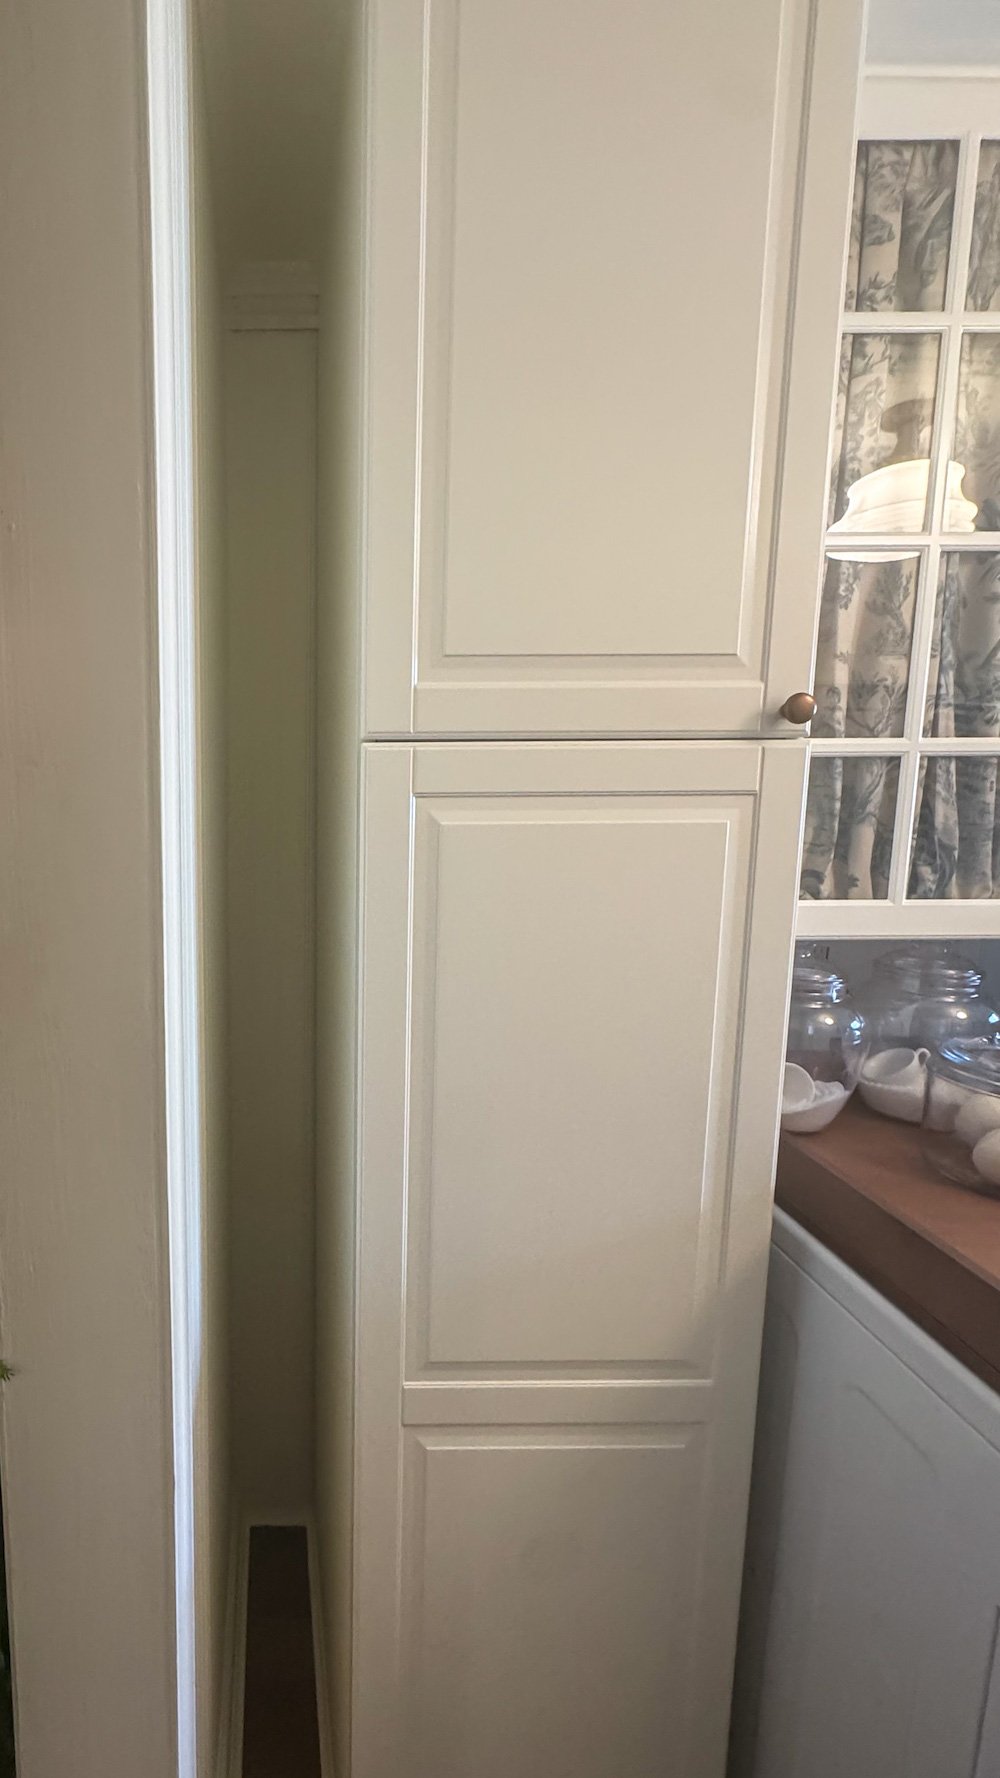
If there’s one factor I like, it’s discovering sneaky little methods so as to add storage the place you least anticipate it. Our laundry room is hardworking however slim, and each inch counts. So once I realized we had a tiny 6″ hole between our cupboard and the wall, I knew it had potential.
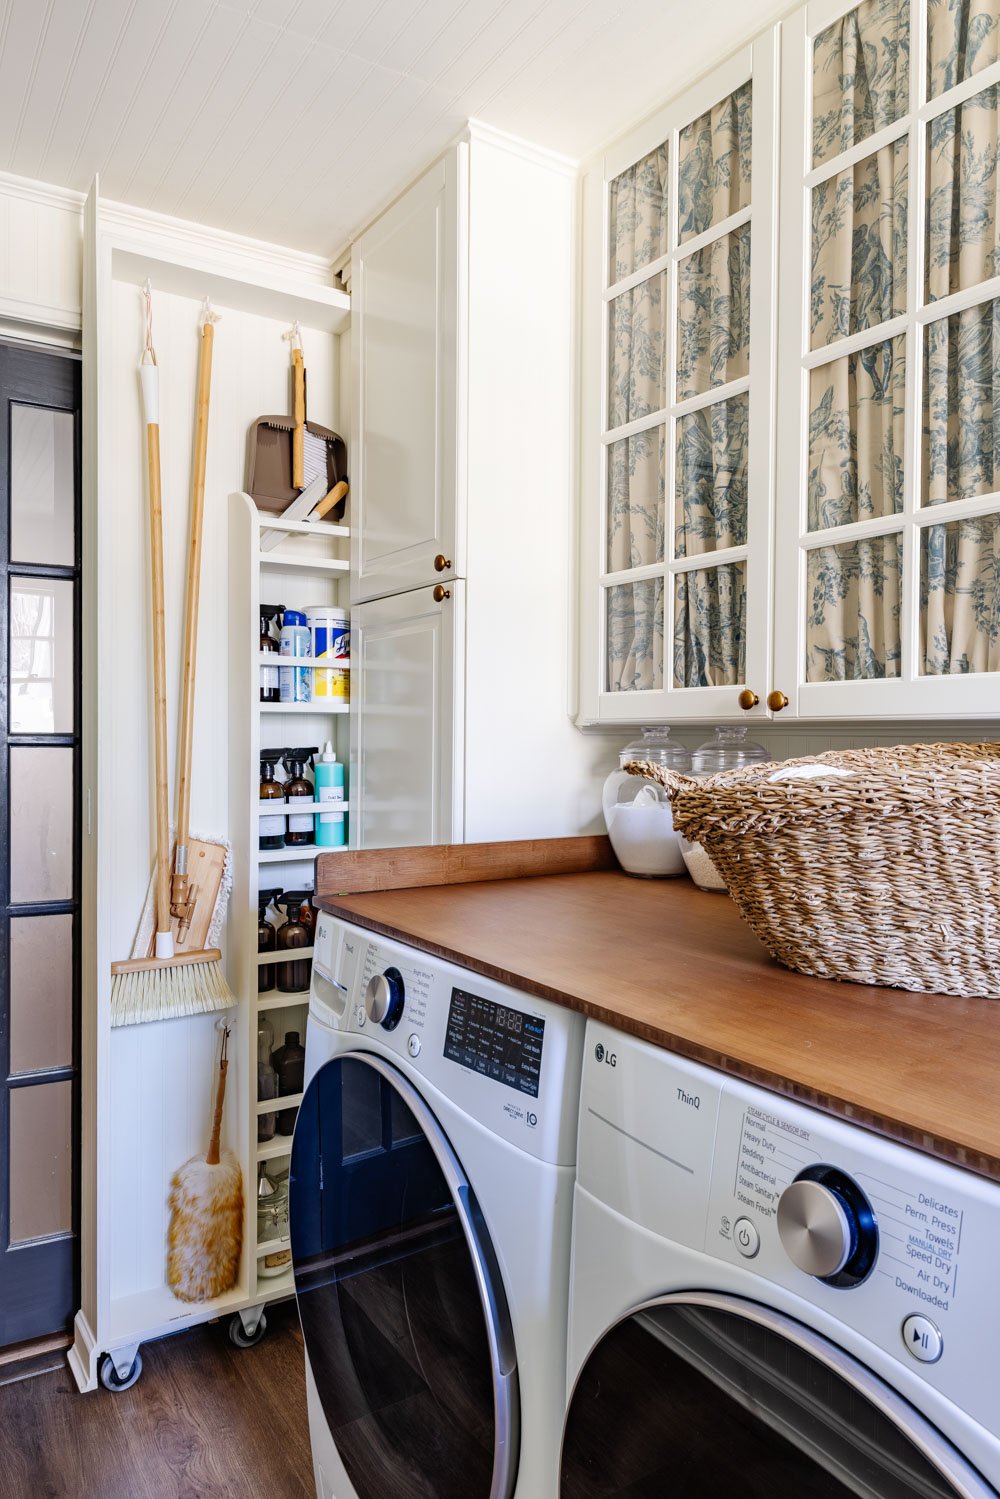
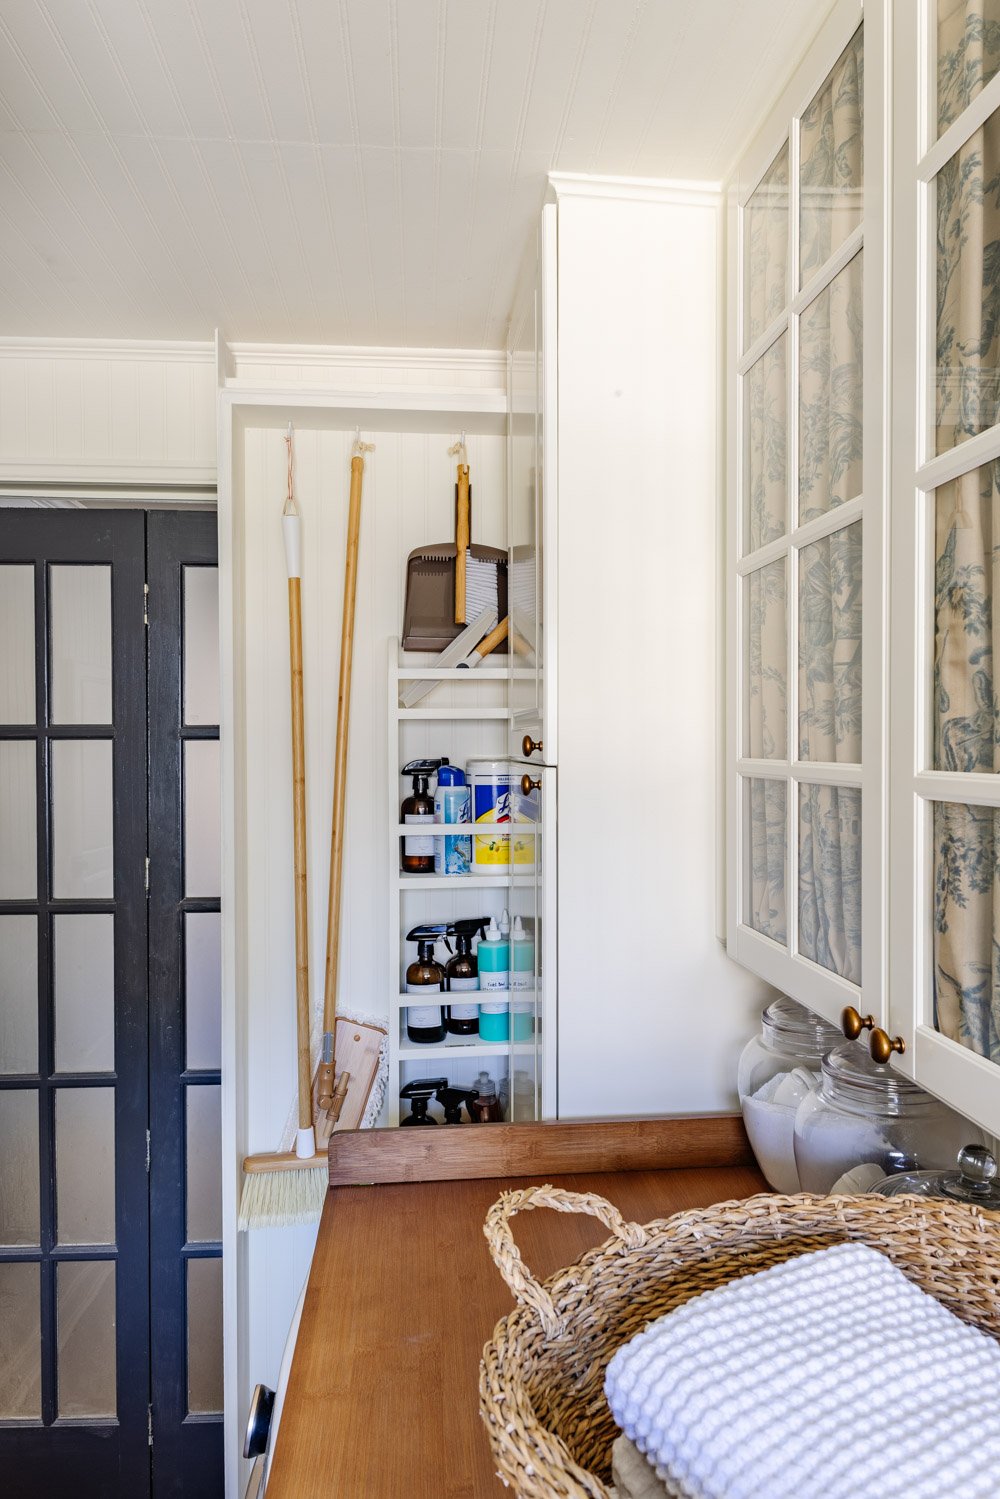
That little sliver grew to become one among my favourite useful particulars within the room: a hidden broom cabinet that slides out once we want it and disappears once we don’t.
At first look, it appears like a part of the wall. No super-visible deal with. No apparent door. Simply clear traces and beadboard that blends proper in. However pull it out, and it neatly shops our broom, mop, and cleansing provides with out stealing precious area.
We used constructing plans from Renovate108.com as our place to begin (they’ve a incredible tutorial), however as a result of our laundry room cupboards have been already put in, we needed to get a little bit artistic. I’ll stroll you thru precisely how we tailored their design and constructed our personal customized broom cupboard step-by-step.
Why Construct a Hidden Broom Cabinet?
Earlier than we get into the how, let’s discuss in regards to the why.
- No extra leaning brooms in a nook
- No cumbersome utility closet taking on area
- Messy wanting cleansing instruments keep hidden however simply accessible
- It appears customized and built-in (although it isn’t)
That is a kind of initiatives that makes a room really feel thoughtfully designed although it’s actually simply good storage.
Our Customized Changes (In comparison with the Authentic Plans)
The Renovate108 plans use a wall-mounted monitor system, however that wasn’t an choice for us since our laundry room cupboards have been already secured in place. So we made a couple of key modifications to make it work in our area:
- Constructed a customized ceiling-mounted pull-out monitor in a 6″ hole (We actually simply constructed it utilizing scrap wooden from an outdated pallet we occurred to have.)
- Mounted the cabinet body on casters so it rolls easily
- Added beadboard to the entrance so it blends into the wall
- Hid the caster wheels with baseboard trim
- Put in a pocket door pull to maintain every thing almost invisible
All of those tweaks helped the broom cabinet really feel seamless and intentional prefer it was all the time meant to be there.
Step-by-Step: How We Constructed Our Hidden Broom Cupboard
Step 1: Measure the House (Right down to the Final Inch)
As a result of this broom cabinet was designed to suit into a really tight hole, exact measurements have been crucial. We measured:
- The width of the hole between the cupboard and wall
- The depth out there with out interfering with the cupboard doorways
- The ceiling peak for tall cleansing instruments
When you’re making an attempt one thing comparable, measure greater than as soon as; this venture has zero room for error.
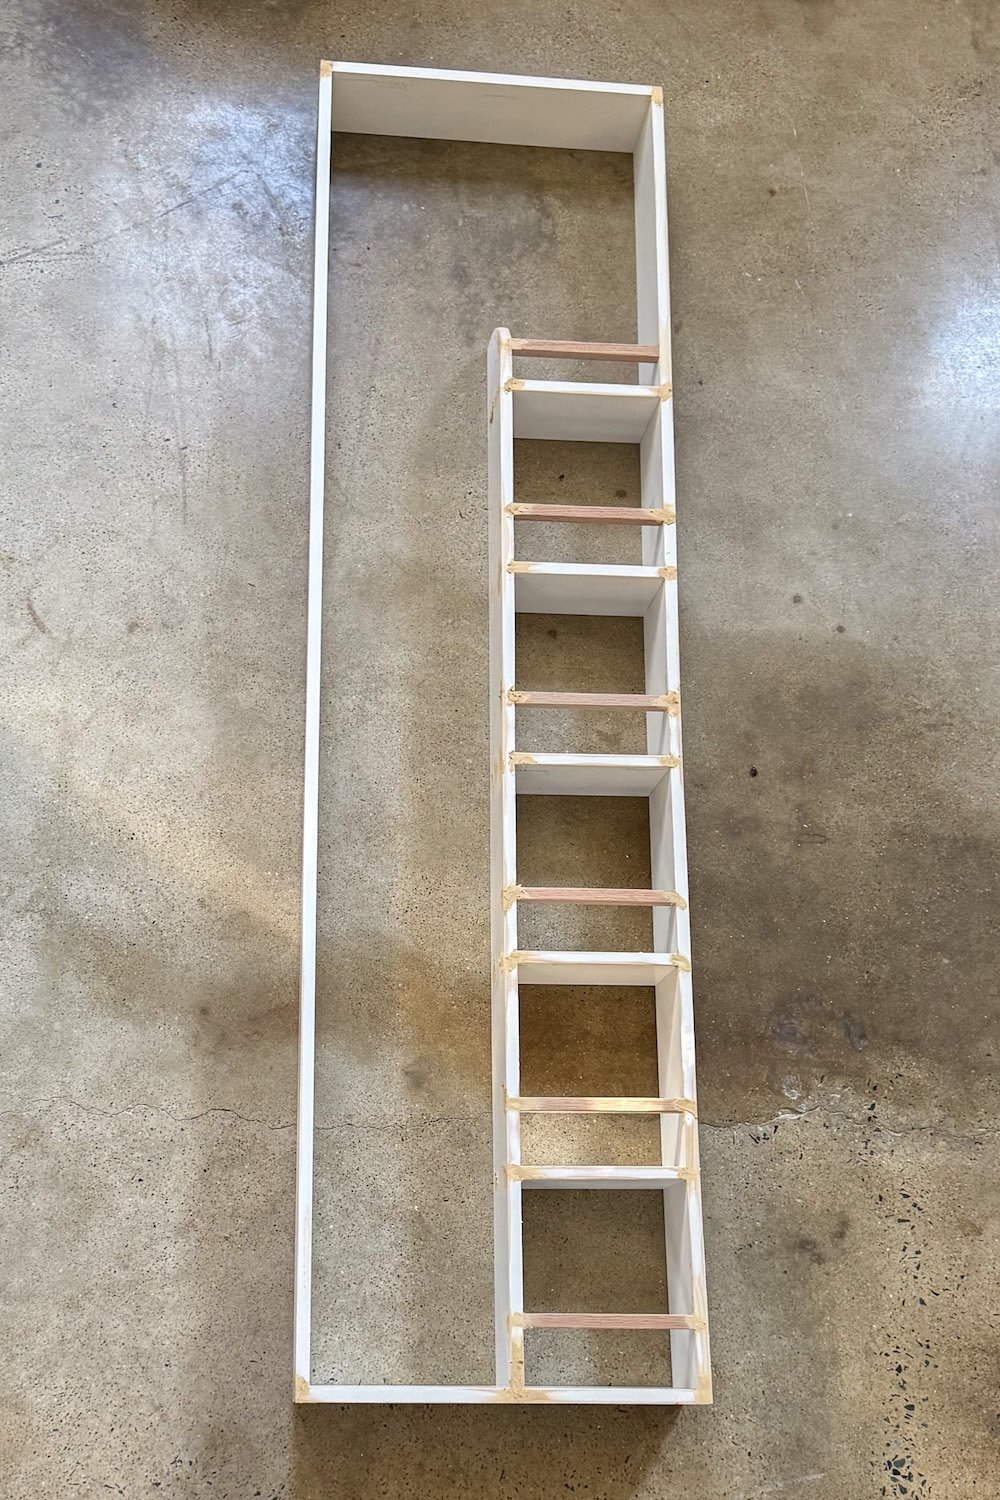
Step 2: Construct the Broom Cabinet Body
Utilizing the Renovate108 plans as a base, we constructed a tall, slim cupboard body sized particularly for our area. This included:
- A sturdy rectangular body
- Horizontal helps for stability
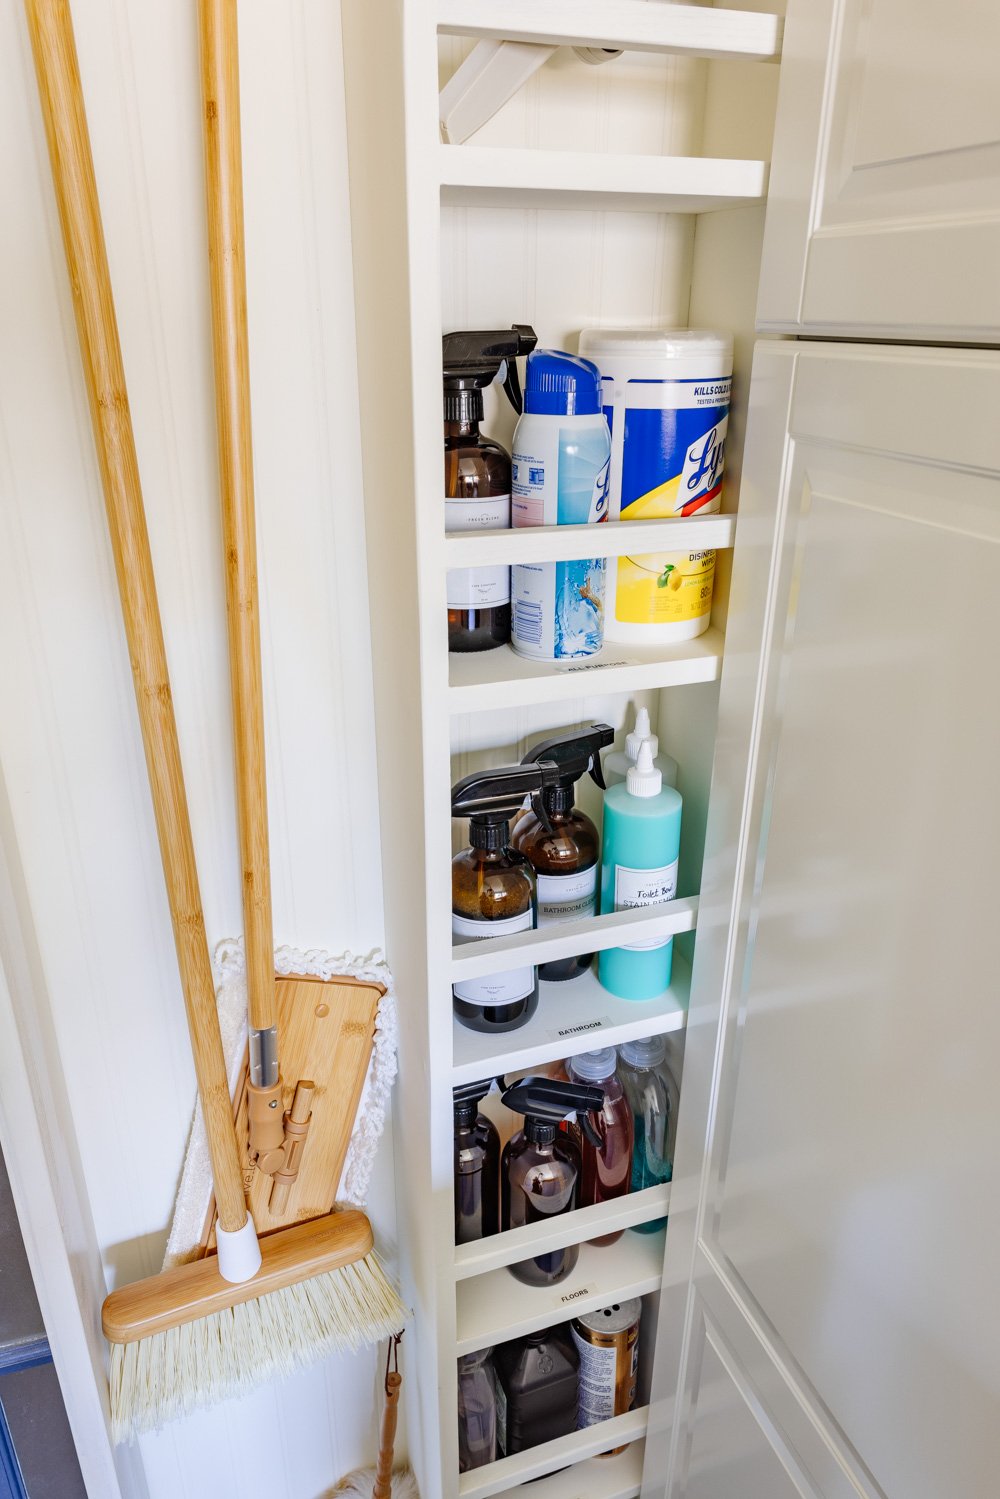
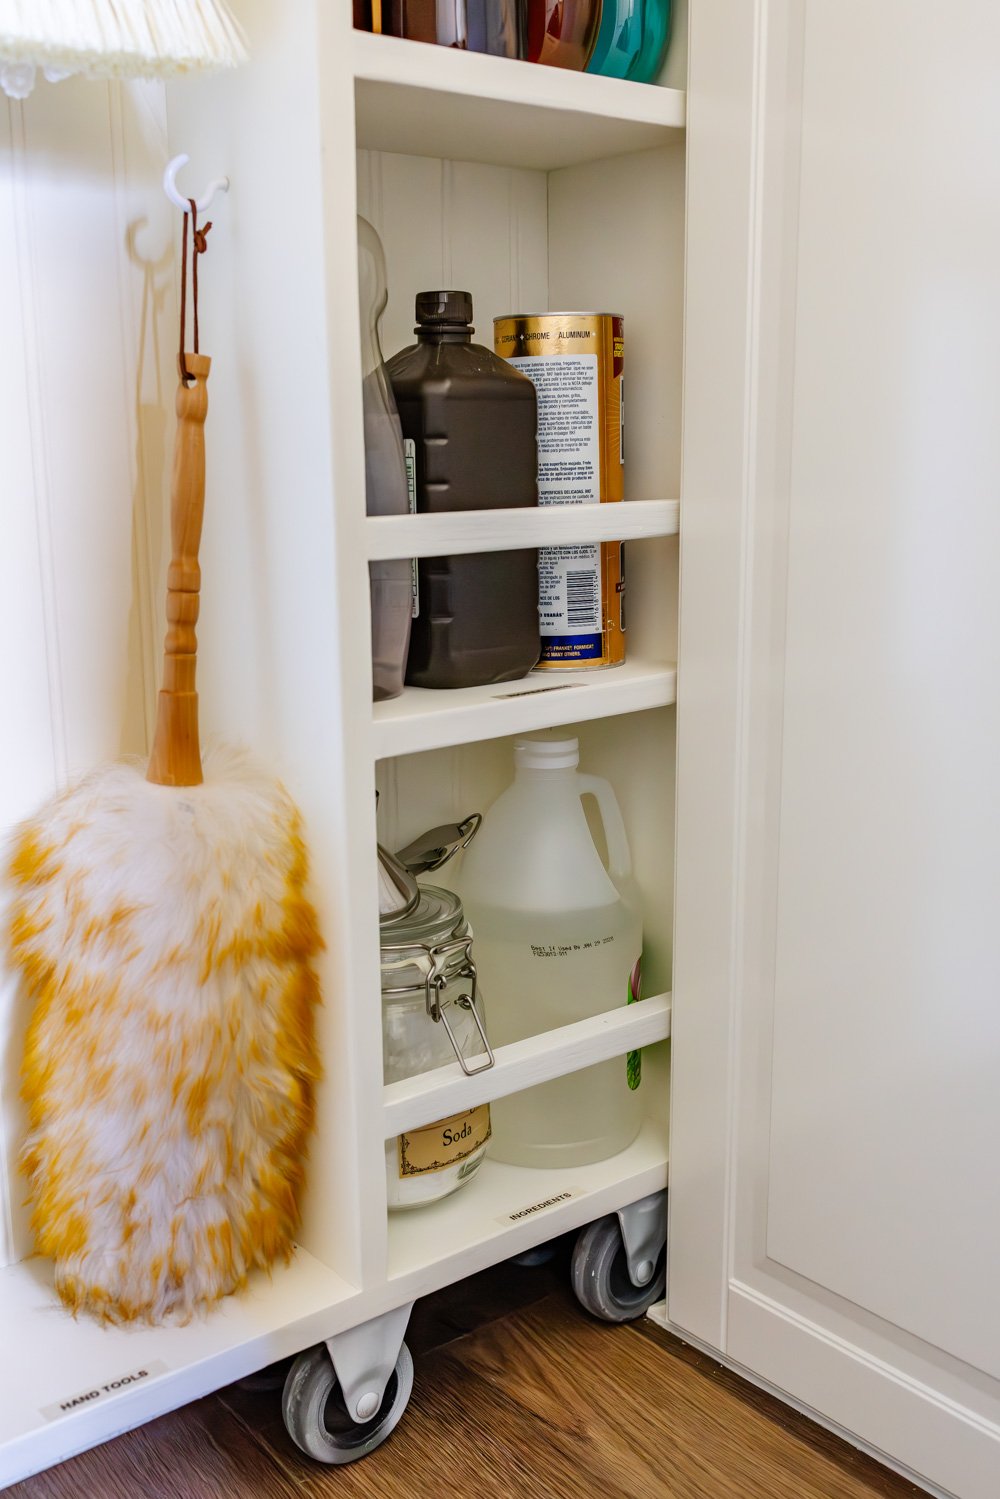
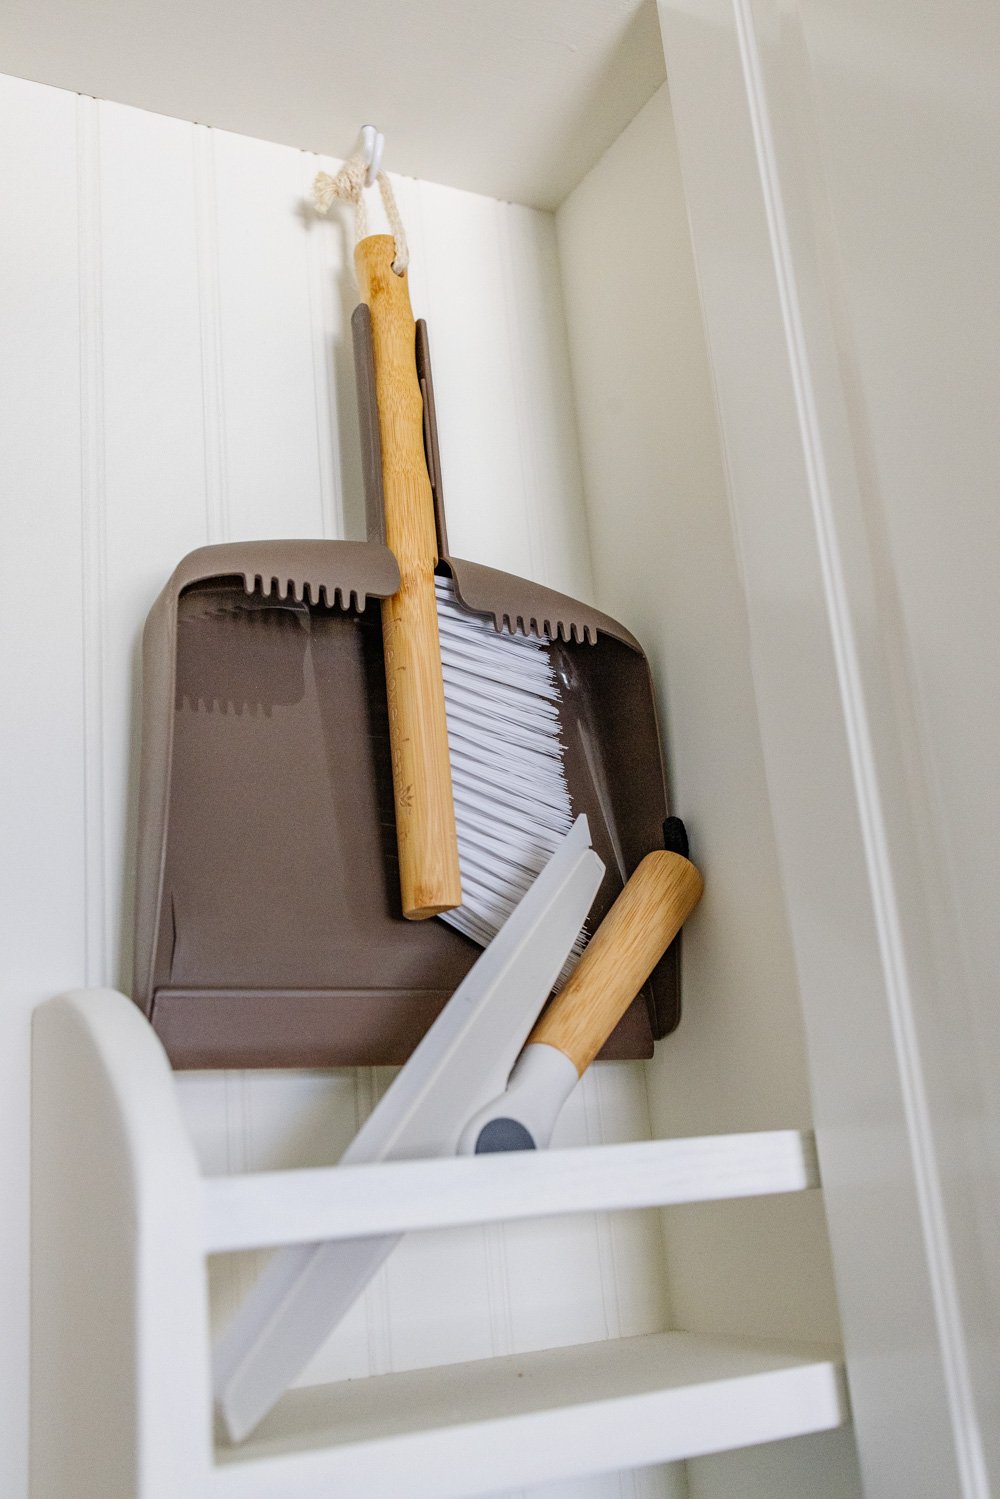
- An open inside sized to carry a brush, mop, and duster
At this stage, it appears very very like a tall, skinny field and never very thrilling but.
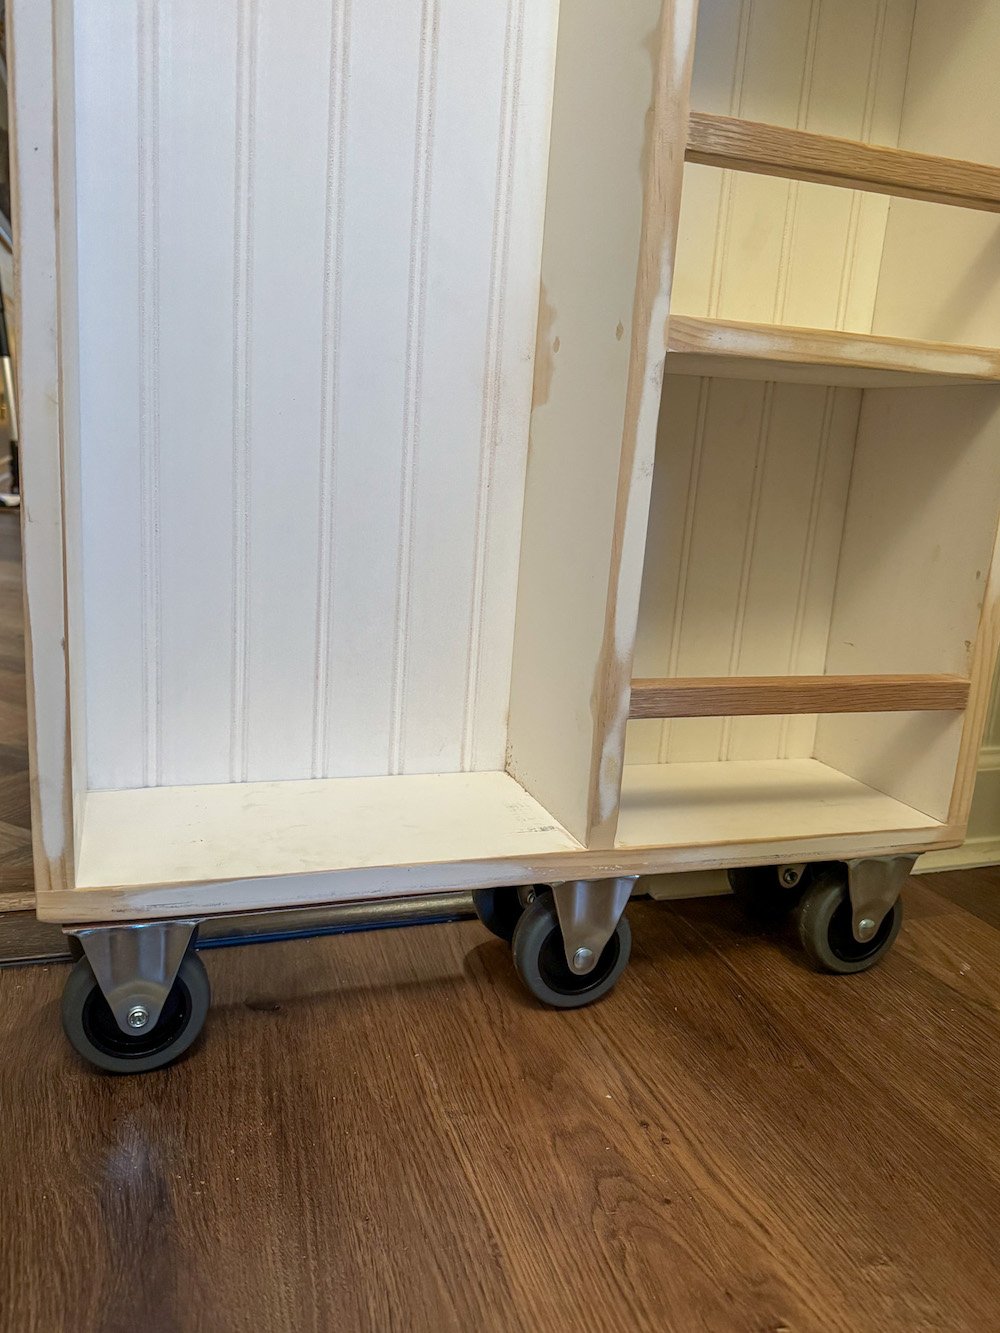
Step 3: Add Casters for Easy Sliding
Since we couldn’t use a wall-mounted monitor, we mounted casters to the underside of the body so your entire broom cupboard might roll out simply.
This made an enormous distinction. The cabinet slides easily with little or no effort, even when absolutely loaded with cleansing instruments.
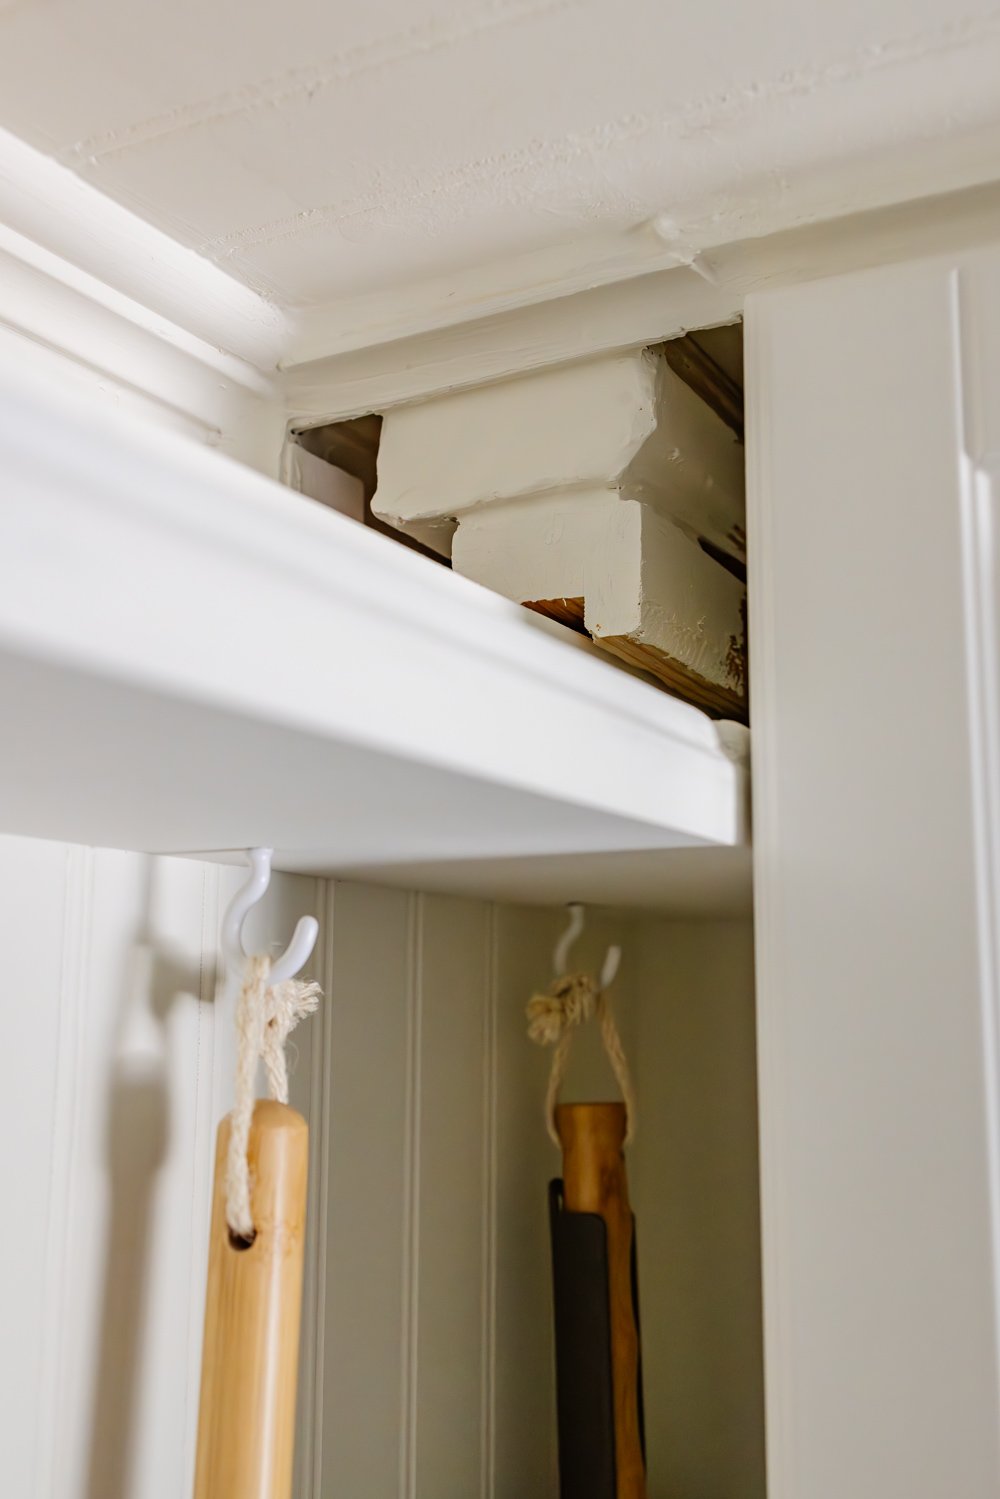
Step 4: Construct a Customized Ceiling Observe
To maintain the broom cabinet from tipping or wobbling, we created a easy ceiling-mounted information monitor.
This was put in within the small 6″ hole between the cupboard and the wall and helps hold the cabinet shifting straight because it slides out and in. It’s hidden from view however does all of the onerous work behind the scenes.
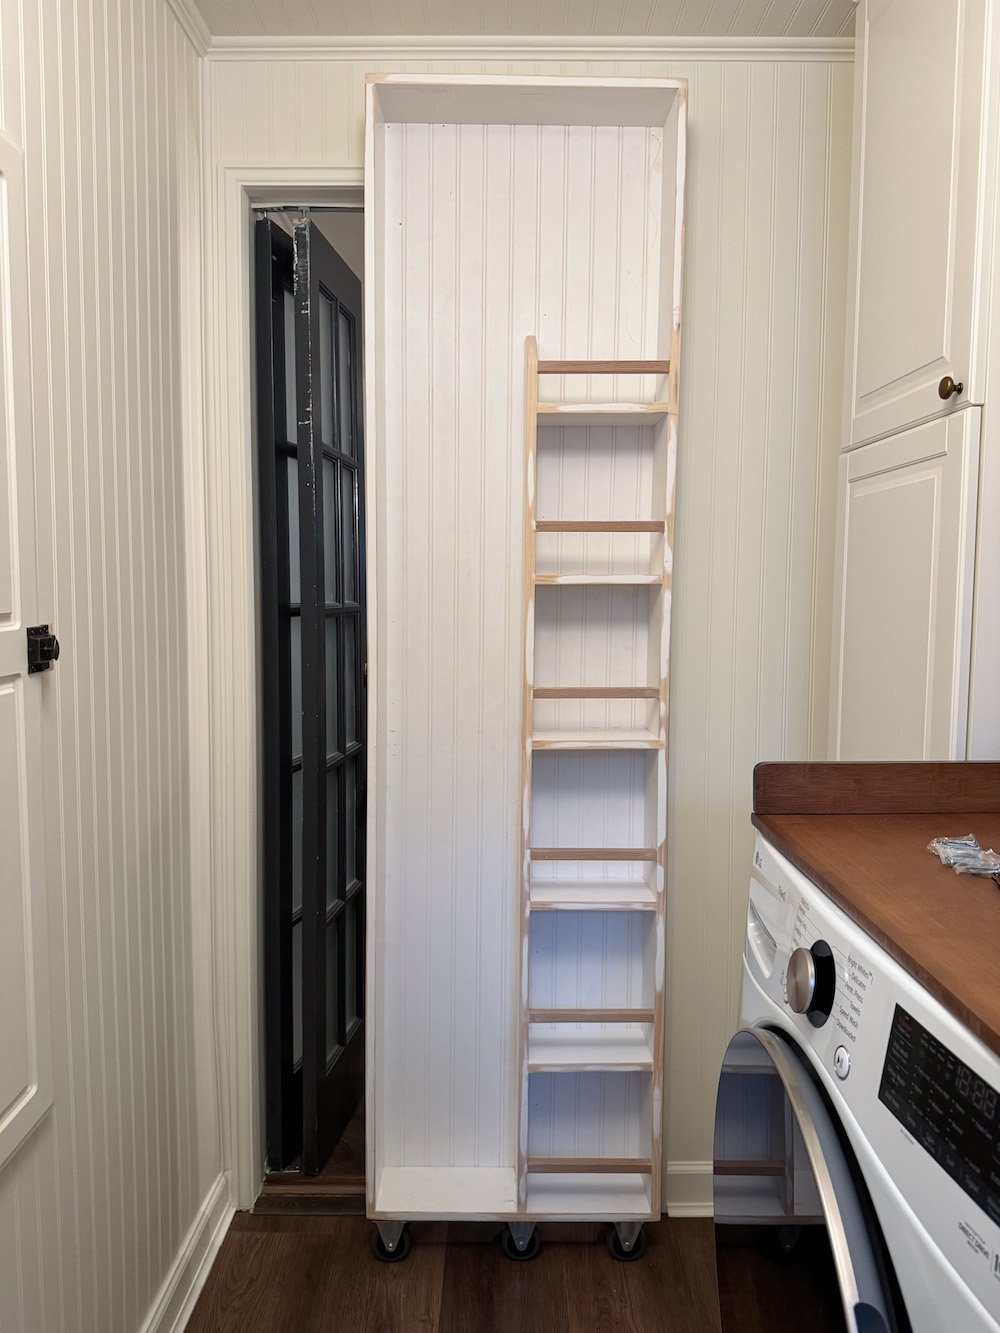
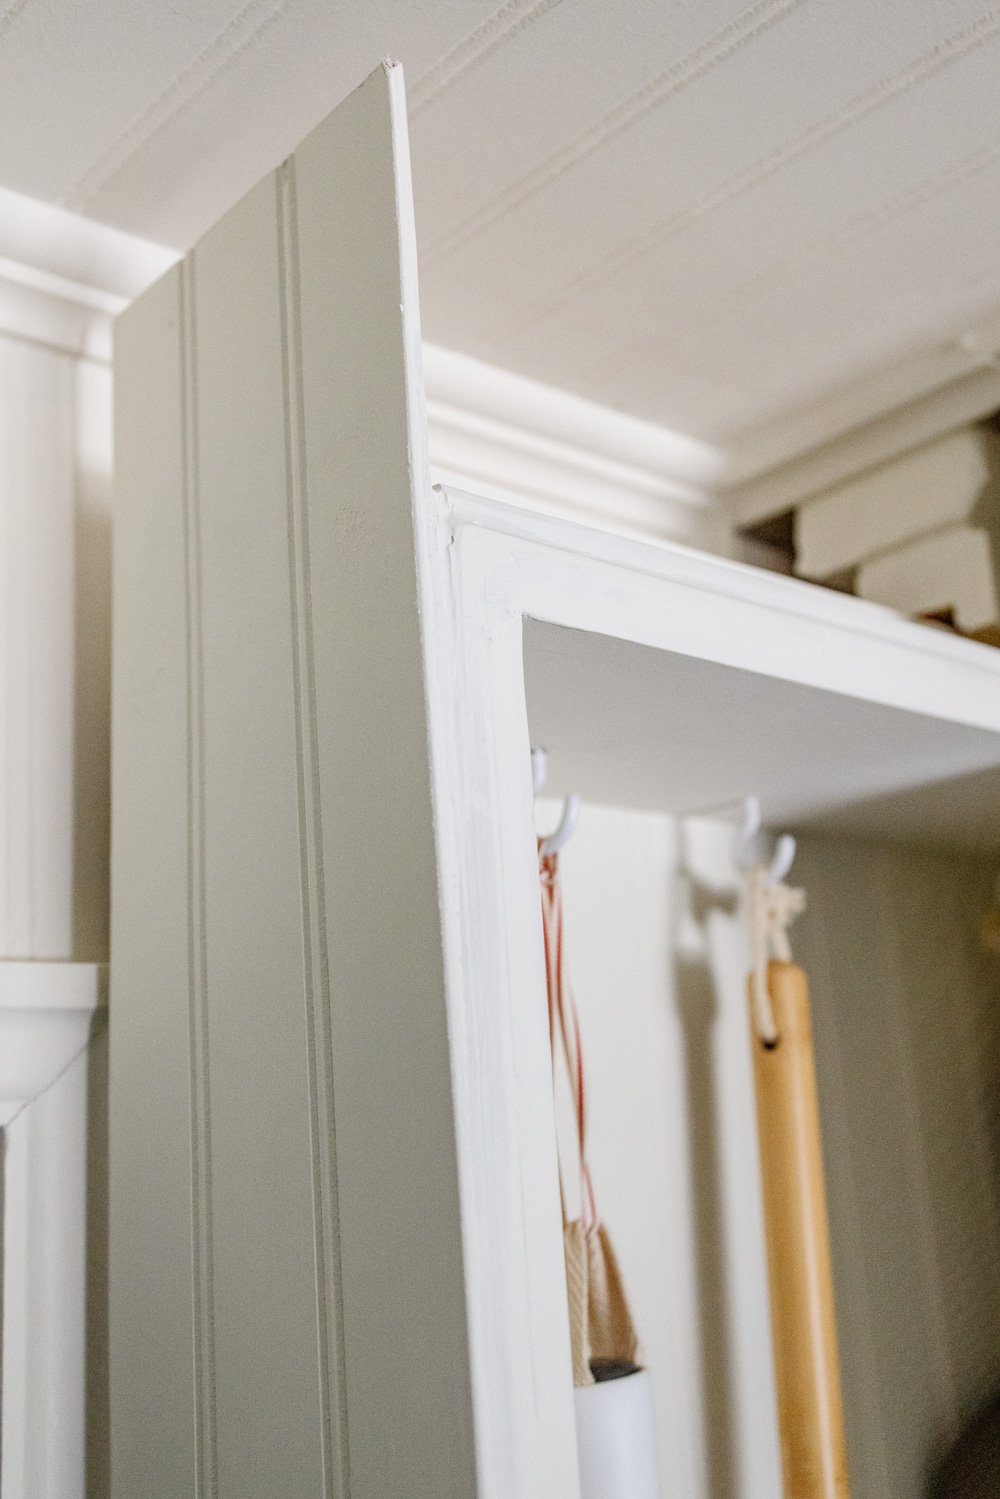
Step 5: Add Beadboard to the Entrance
That is the place the magic occurs.
We utilized beadboard to the entrance of the broom cabinet so it visually matches the remainder of the laundry room partitions. As soon as painted, it appears like wall paneling, not a cupboard door.
If you’d like a really hidden broom cabinet, this step is essential.
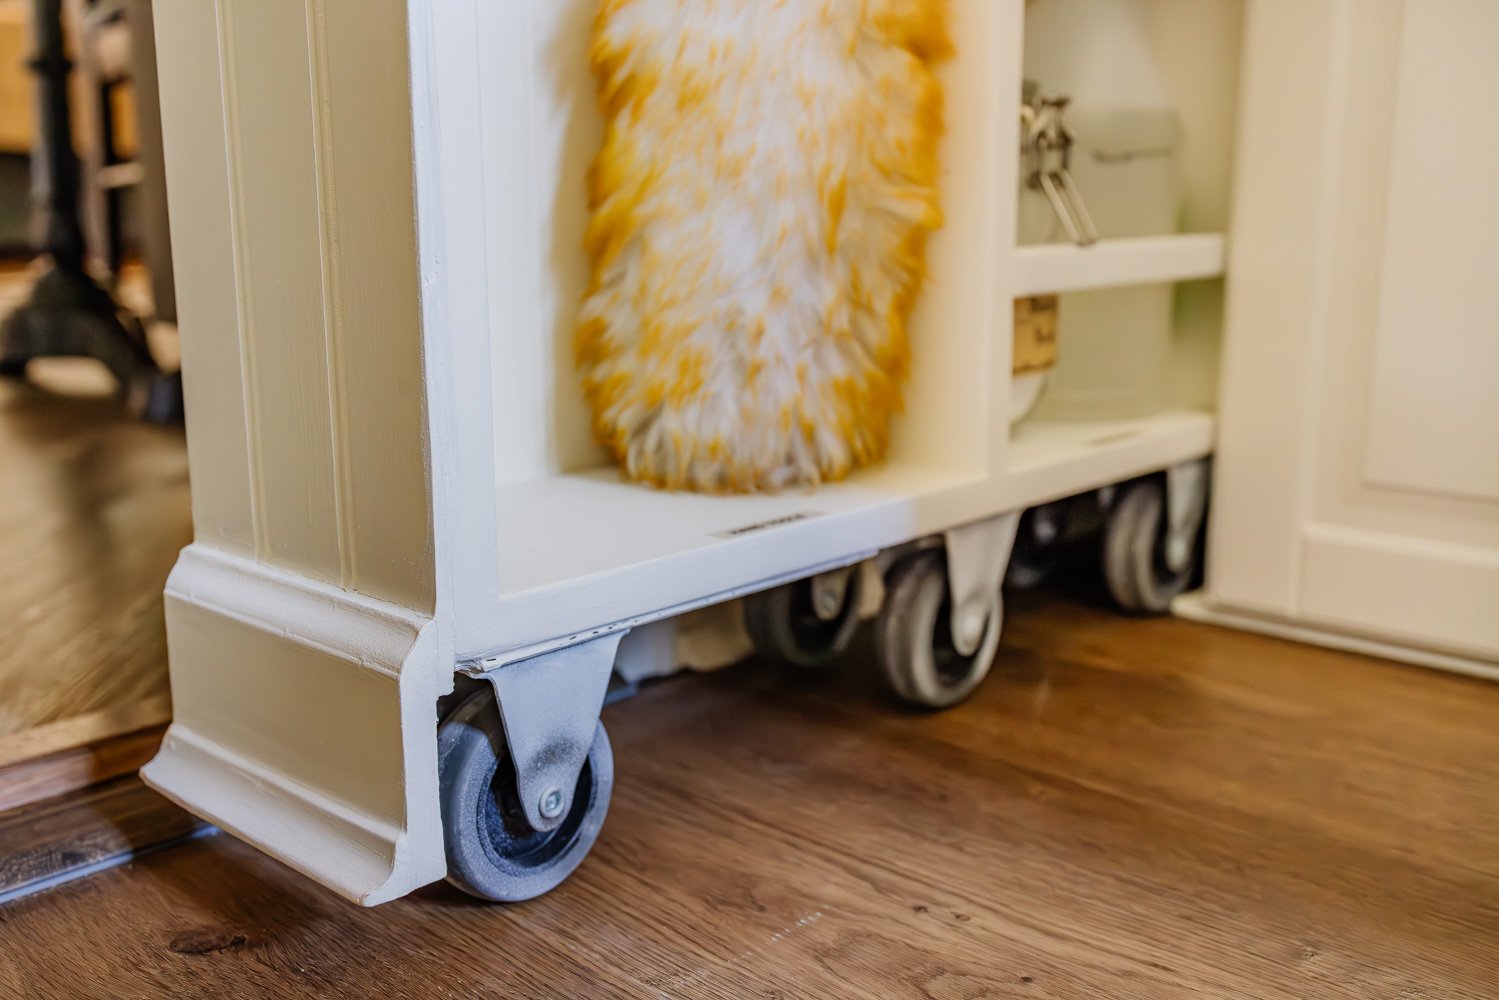
Step 6: Cover the Casters With Baseboard
To make the underside look completed, we hooked up a chunk of baseboard trim to the entrance of the cabinet.
- It hides the caster wheels utterly
- It traces up with the prevailing baseboard on the wall
- It helps the cupboard look flush and built-in
This small element makes a large visible distinction.
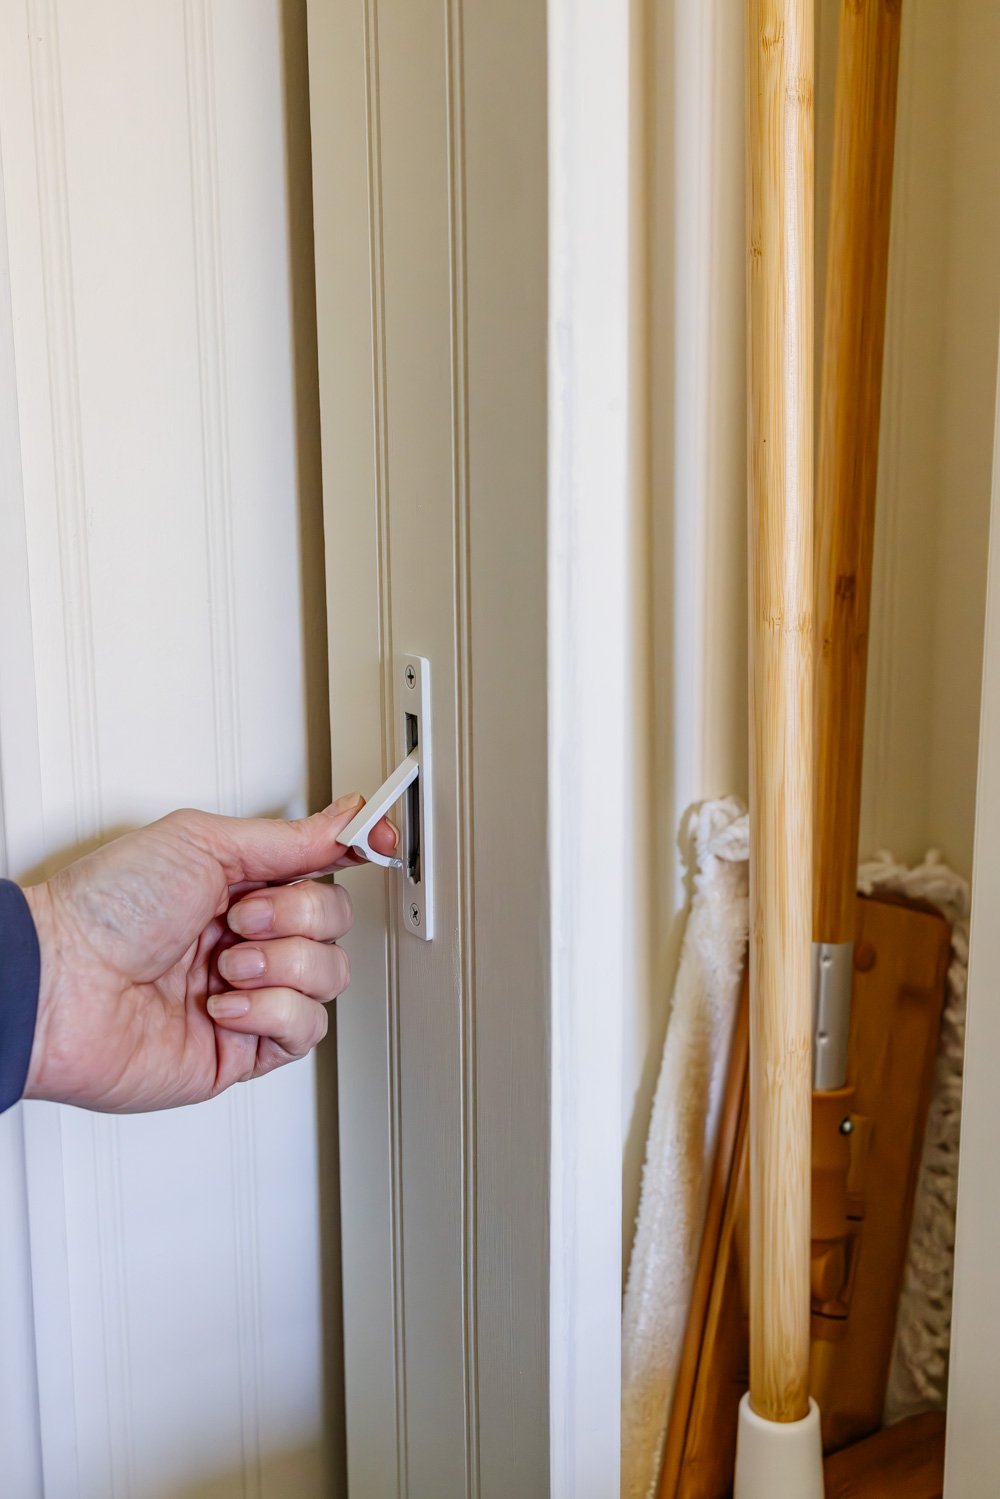
Step 7: Set up a Pocket Door Pull
As an alternative of a standard cupboard knob, we put in a flush pocket door pull so the broom cupboard stays almost invisible when closed.
It’s straightforward to seize while you want it, however disappears into the design while you don’t. That is one among my favourite particulars of the entire venture.
The Completed Hidden Broom Cabinet
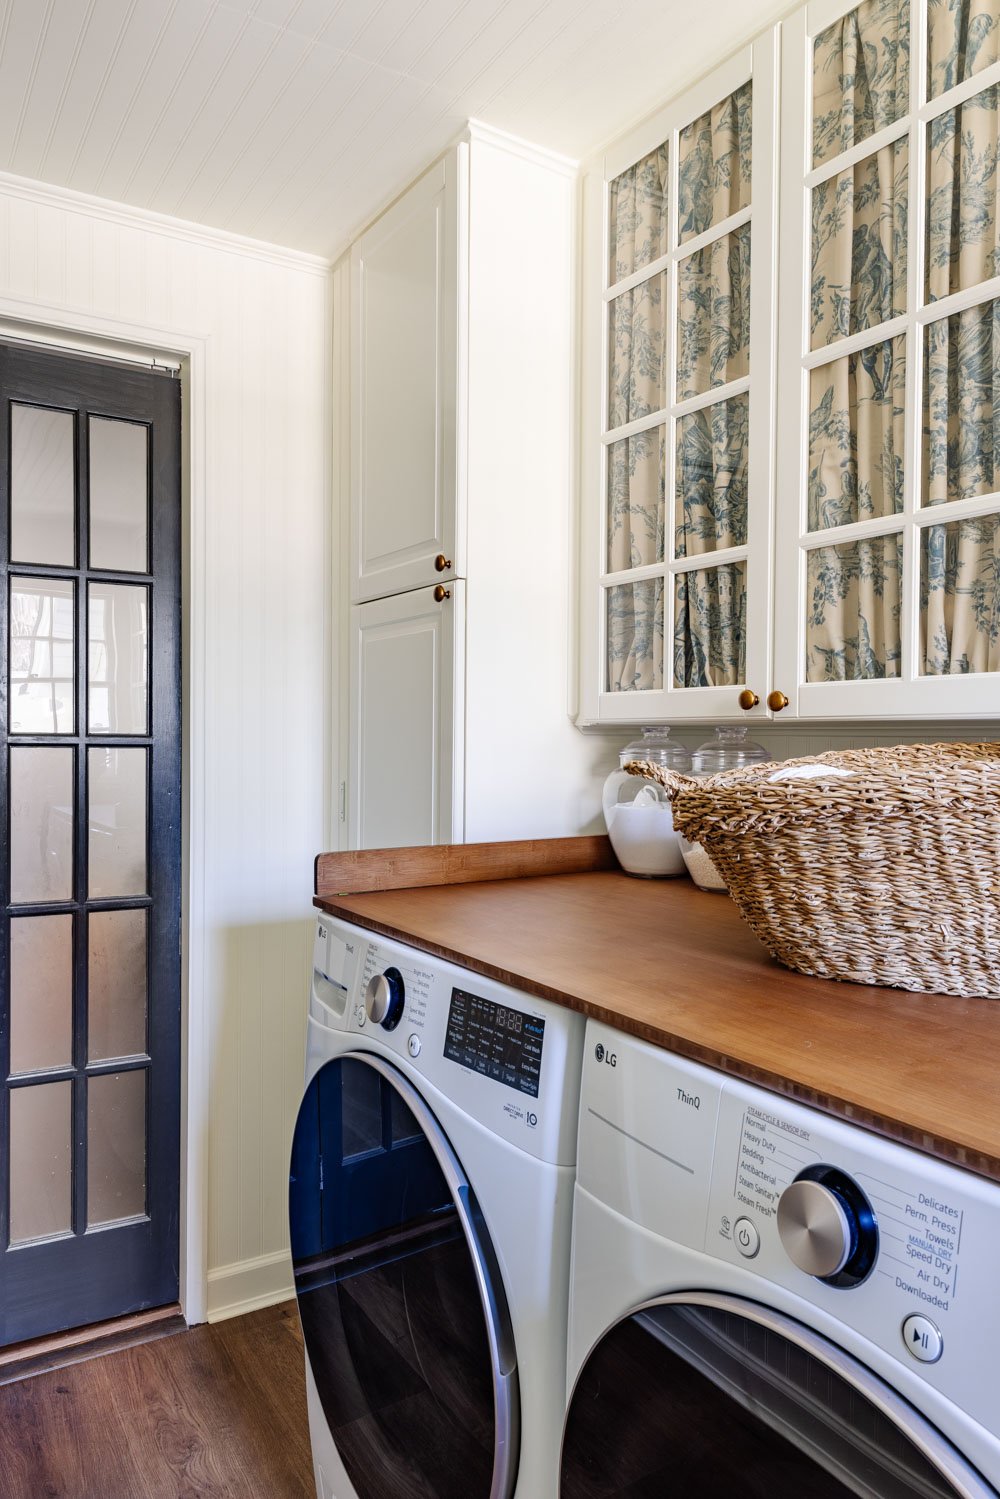
As soon as every thing was painted and slid into place, the broom cabinet blended proper into the laundry room wall. When you didn’t comprehend it was there, you’d stroll proper previous it.
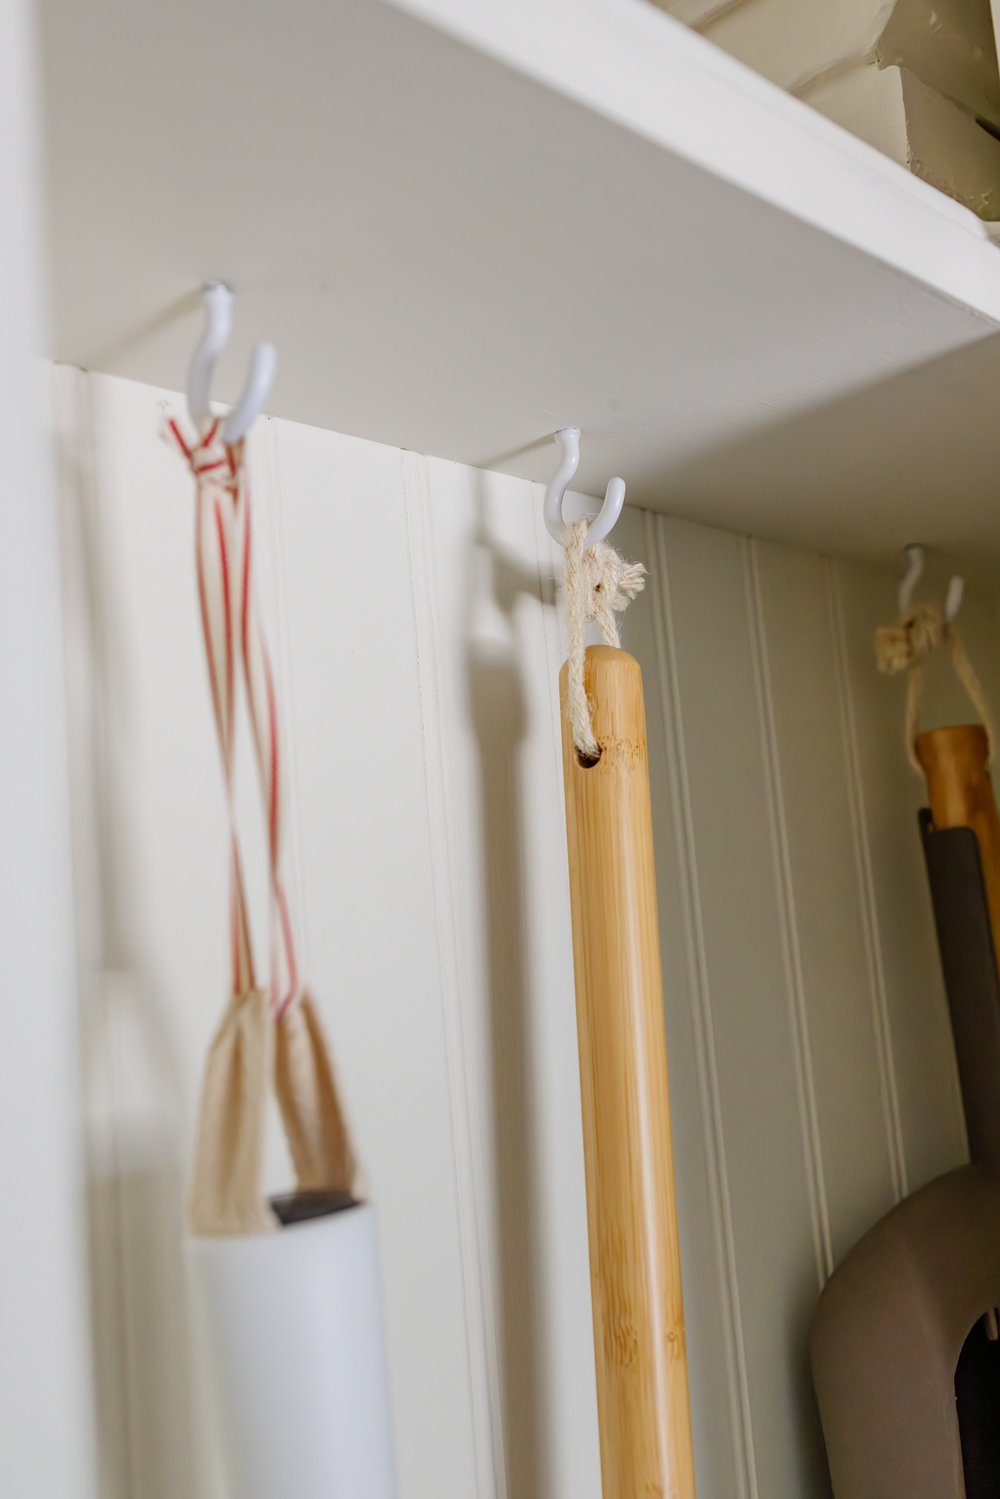
- Our brooms are saved upright
- Every part has a delegated place
- The room feels cleaner and extra intentional
That is a kind of initiatives that quietly makes on a regular basis life simpler and people are all the time my favorites.
This hidden broom cupboard proves that even the smallest areas can work tougher with a little bit creativity. I truly can’t wait to arrange all the different cupboards and drawers on this laundry room so that each family merchandise has a spot and could be simply present in right here.
When you have a clumsy hole, unused sliver of wall, or a continuing broom-in-the-corner scenario, this may simply be the answer you didn’t know you wanted.
And truthfully… there’s one thing deeply satisfying about storage that hides in plain sight.
Extra House Organizing Concepts

")

")


")
