


I like a superb artwork venture. Right here’s one you are able to do at any talent stage.
I’ve made loads of DIY artwork over time, however the factor I like most about this artwork thought is which you could not solely make it any scale, you too can full it at any talent stage. Even youngsters can get in on the motion for this one.
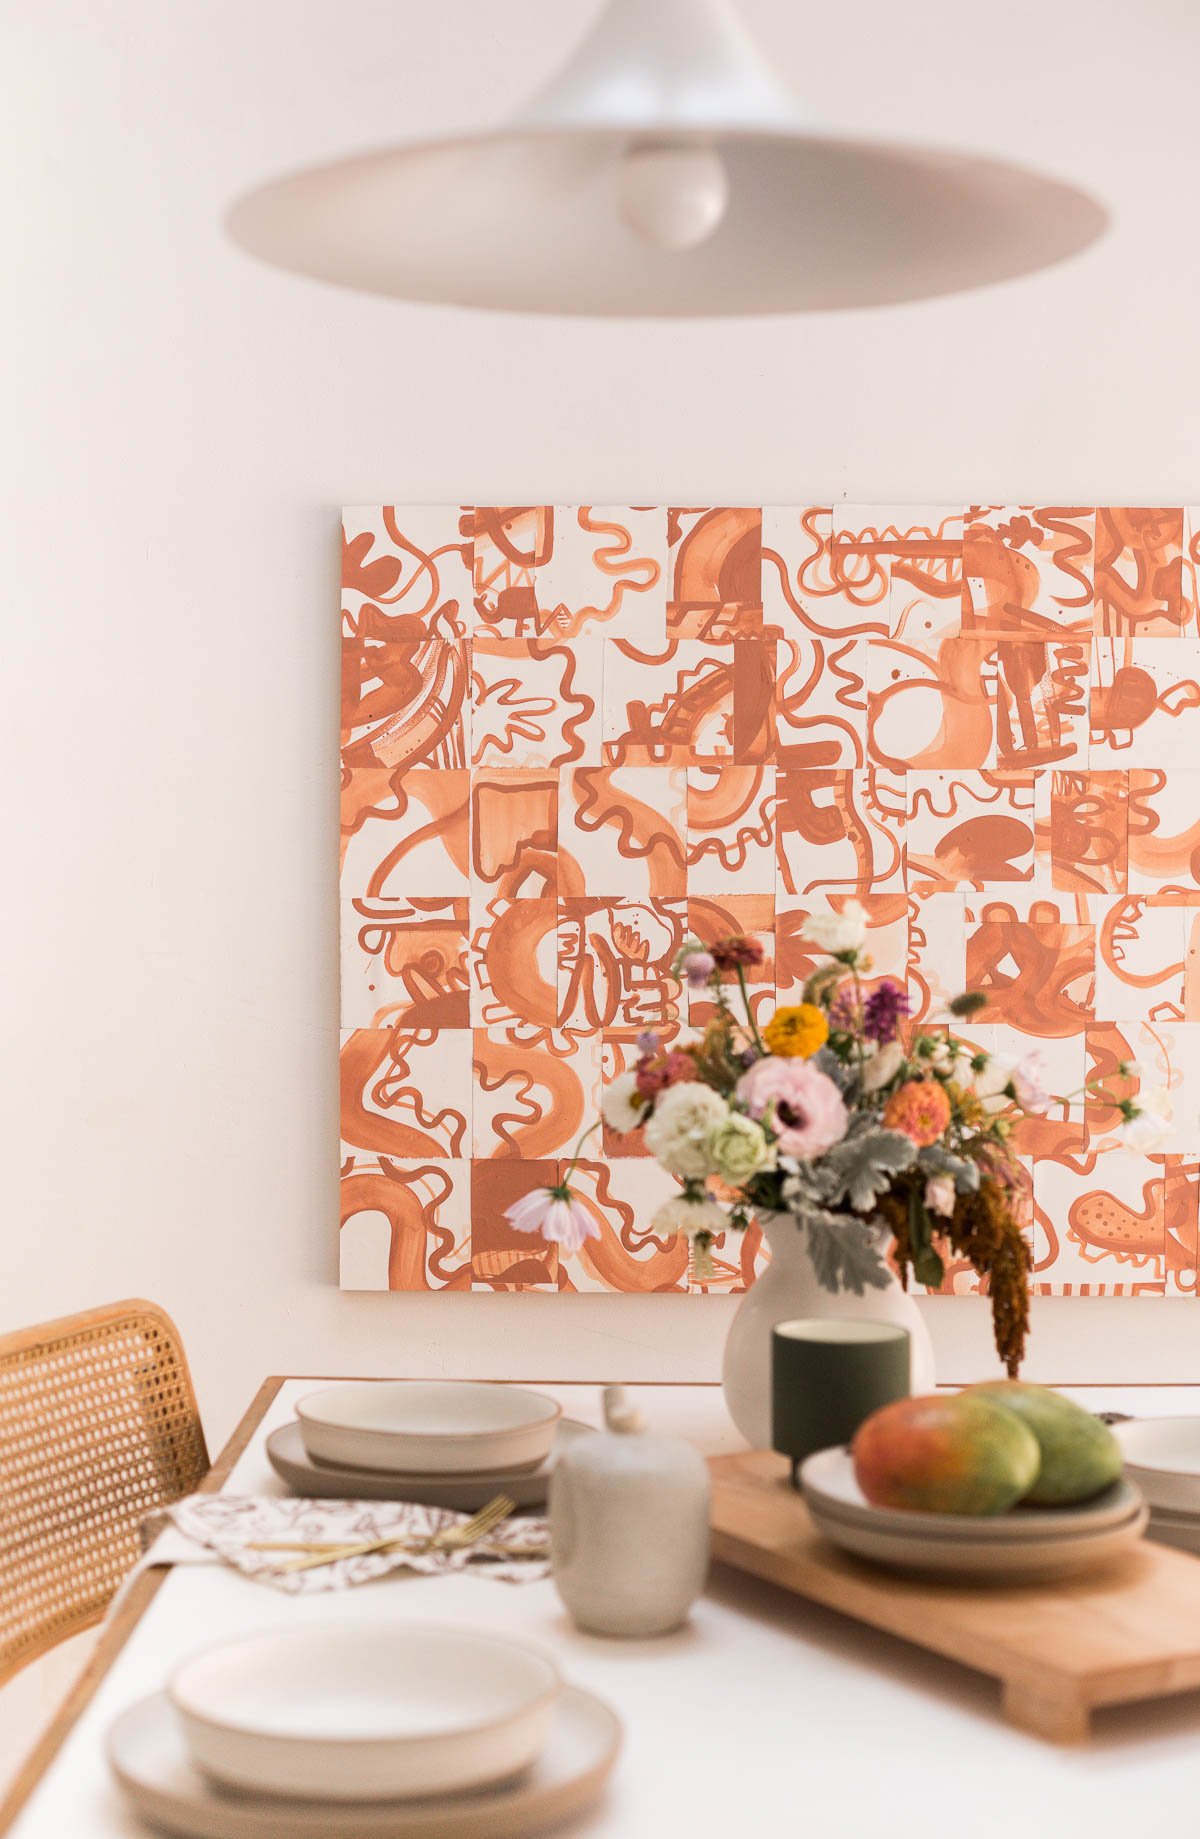
Impressed by patchwork quilts, that is the way to make a big scale summary / combined media artwork piece. Click on by for the tutorial.
A bit of backstory on this DIY…
Once I was little, my grandparents solely lived a block away from us. So I spent a whole lot of time with them after I was younger. A few of my fondest recollections at their home have been instances after I was simply sitting subsequent to my grandma whereas she sewed her quilts.
She was a part of a neighborhood quilting membership and did some quilt exhibits and all of that. She had an entire room stacked full of materials and provides. And typically I might go in there and look by all of the materials and pick my favorites. And take into consideration what I might make after I finally discovered the way to sew.
Anyway, I bear in mind considering how neat it was, that she made these very time-consuming textiles only for the love of it. Not with the intention of promoting them, simply making issues for enjoyable as a option to cross the time.
I take into consideration that always. And its one of many many the reason why I really feel such a connection to creating issues.
Provides
- paint (I used Canyon Ridge from BHG paint)
- massive heavyweight artwork paper 22×30 or bigger (I like Reeves BFK)
- cradled artwork panel (or canvas), light-weight masonite, or scrap wooden
- matte medium or glue
- small containers (for thinning down paint, if desired)
- paint brush
- pencil
- scissors
- ruler or straight edge
- water
The way to Make Massive Paintings for the Wall
Fast observe: You need to use a number of completely different paint colours for a venture like this (simply be sure the colours work nicely collectively).
OR you are able to do what I did, and simply use one paint shade and create washes in various transparencies to present some depth, and not using a ton of additional work.
I’ll clarify the instructions from that viewpoint, with the washes. However obvs, do no matter you want.
1. Make a number of paint washes.
Begin by creating a couple of paint washes in small containers, mixing simply paint and water. Wherever from 1-3 washes appears to be the candy spot.
The purpose with the washes is to get various levels of saturation. I sort of talked about this earlier than, however this may create extra depth within the ultimate portray, however nonetheless really feel cohesive. And it’s a reasonably simple means to try this.
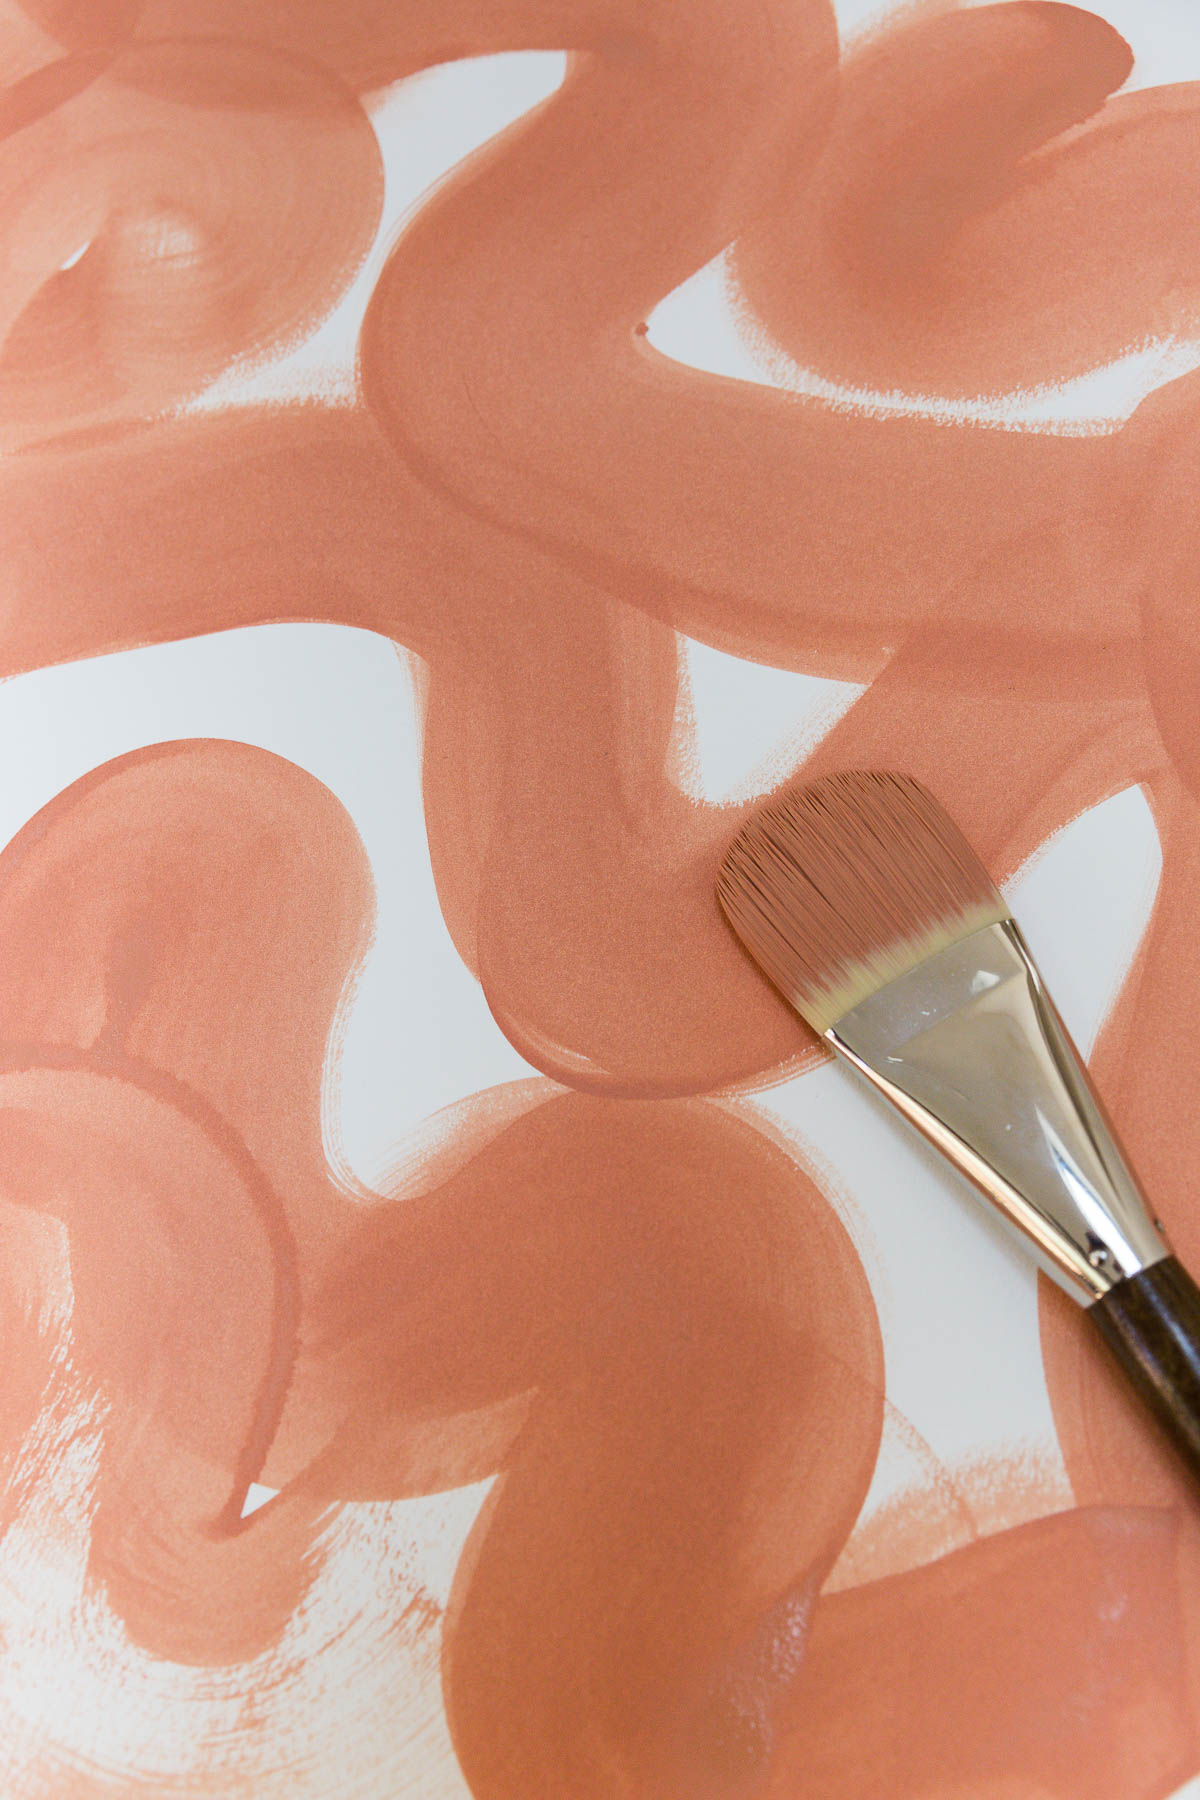
2. Paint summary shapes and patterns onto paper.
Then start portray summary shapes, patterns, and so on onto paper – within the washes you created in the 1st step. Should you’re scuffling with what to color, strive a blind contour drawing to get began.
You’ll be reducing the paper into items later, so that you don’t should be treasured or exact with this a part of the method. *Relying on the specified dimension of your ultimate artwork piece, chances are you’ll have to repeat this course of with a number of sheets of artwork paper.
3. Create grid strains alongside the again of every completed piece.
Await the paint to dry. Then flip the paper over to the again and use a ruler and pencil to create grid strains throughout the complete paper.
You are able to do this with squares or rectangles. And they are often as huge or as small as you want.
Observe: The smaller / nearer collectively the grid strains are, the longer it should take to create the ultimate piece.
4. Lower alongside the grid strains to create smaller squares or rectangles.
Subsequent, minimize alongside the grid strains that you simply created to type smaller items of paper, nearly like puzzle items.
5. Rearrange the painted items.
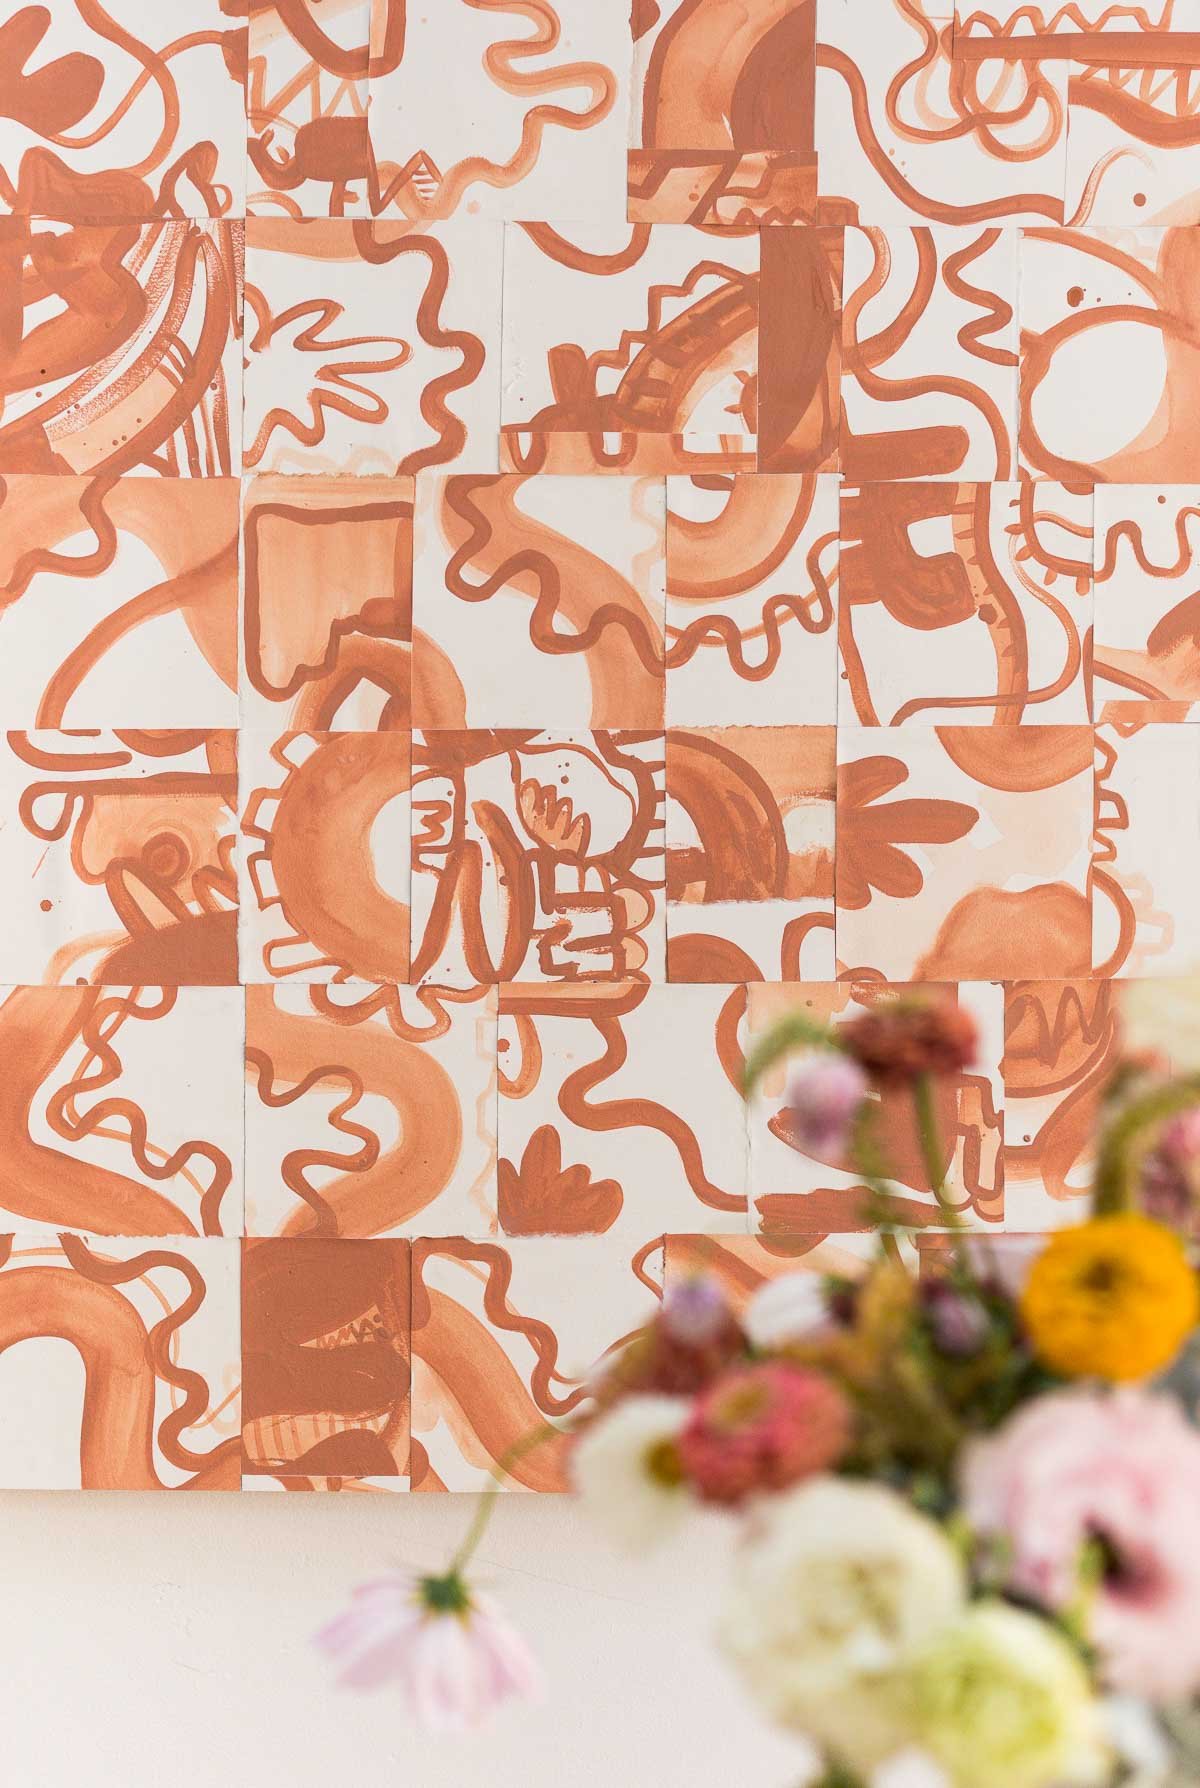
Flip them again over and rearrange them in a brand new much more distorted, summary sample.
6. Glue the items down.
When you’ve landed on a ultimate look that you simply like, start glueing them onto your cradled artwork panel or masonite within the order you’ve selected.
I take advantage of matte medium as glue, as a result of it creates a powerful bond and is mainly invisible as soon as dry. However you should use common craft glue as nicely.
7. Repeat this course of till full.
Repeat this course of many times till the panel is totally crammed.
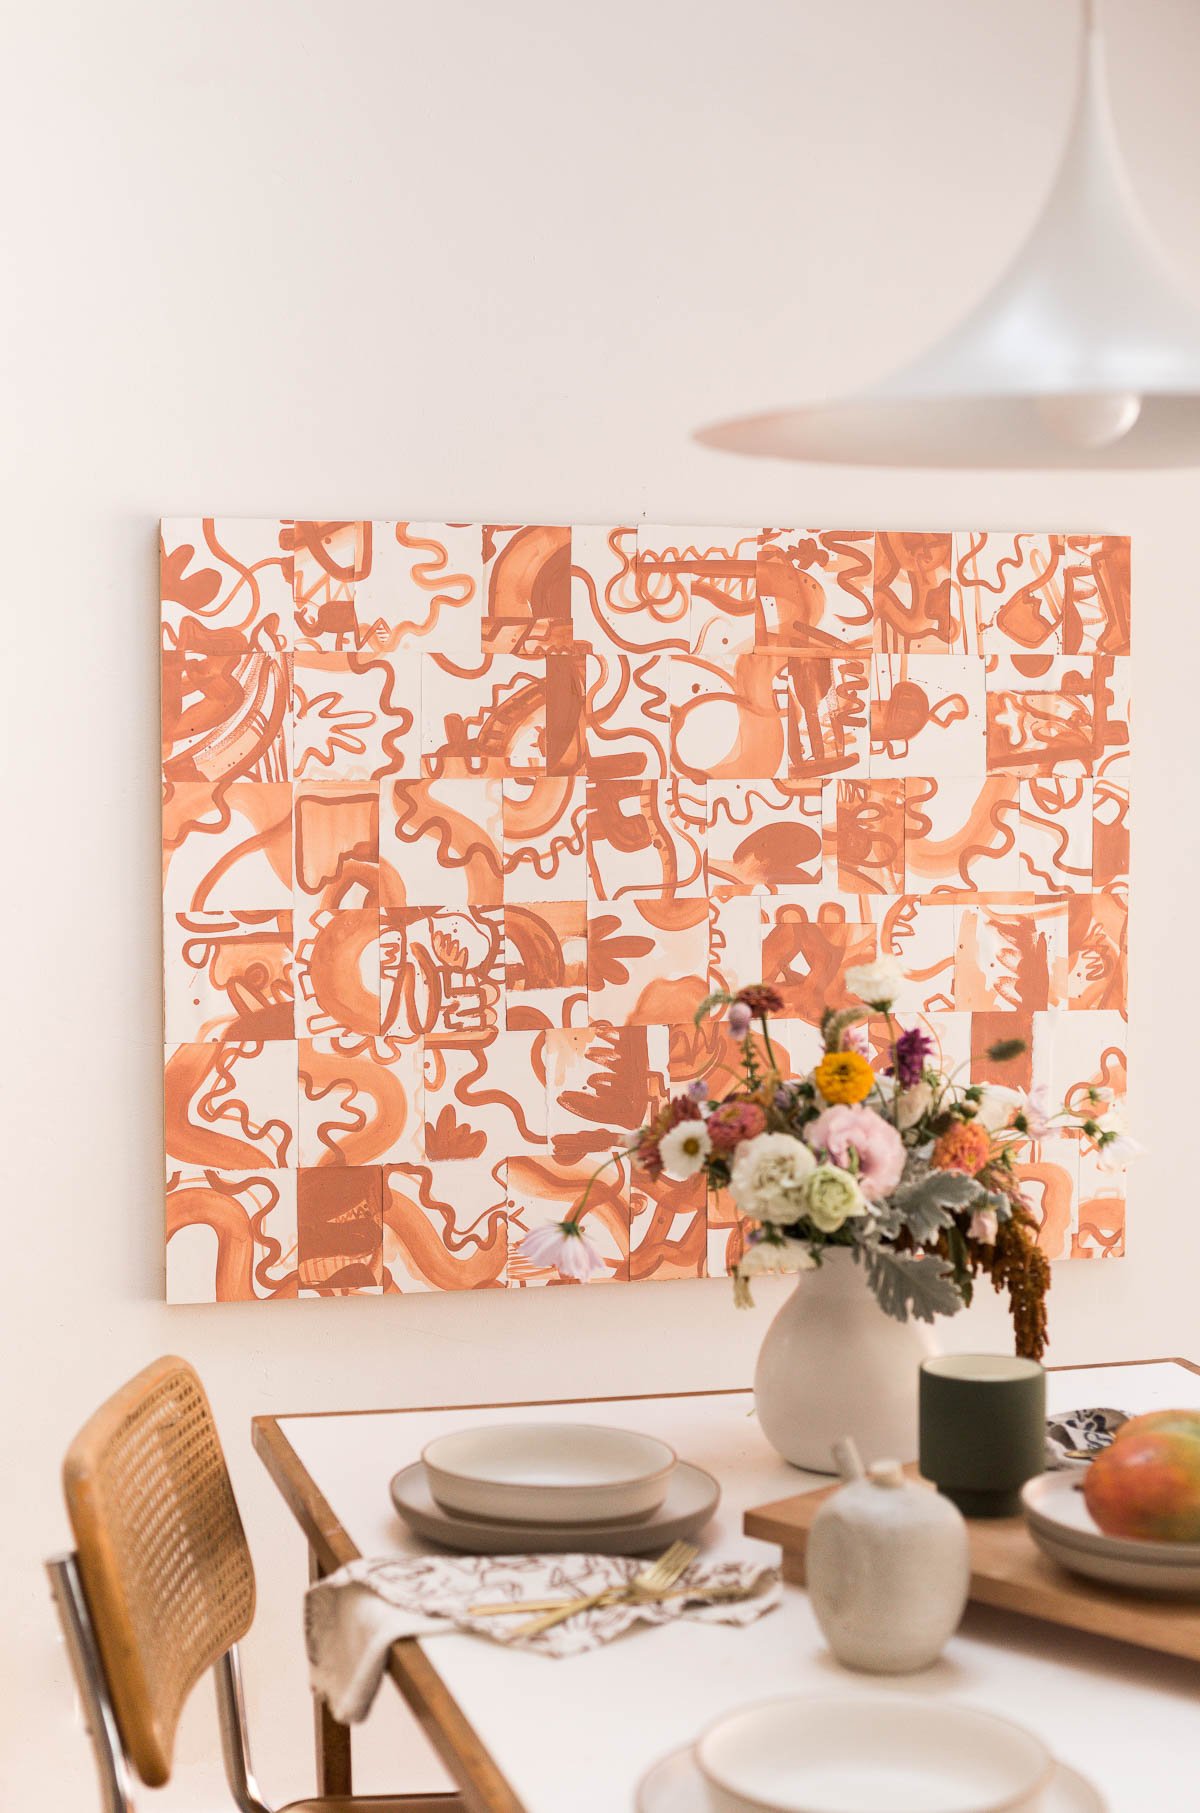
You may add a body at this level, if desired. And it’s prepared to hold.
Video Tutorial
Need extra? I’ve a video tutorial for the precise venture on Instagram, should you wanna test it out. I’m a visually learner, so if you’re too, possibly a video will assist.
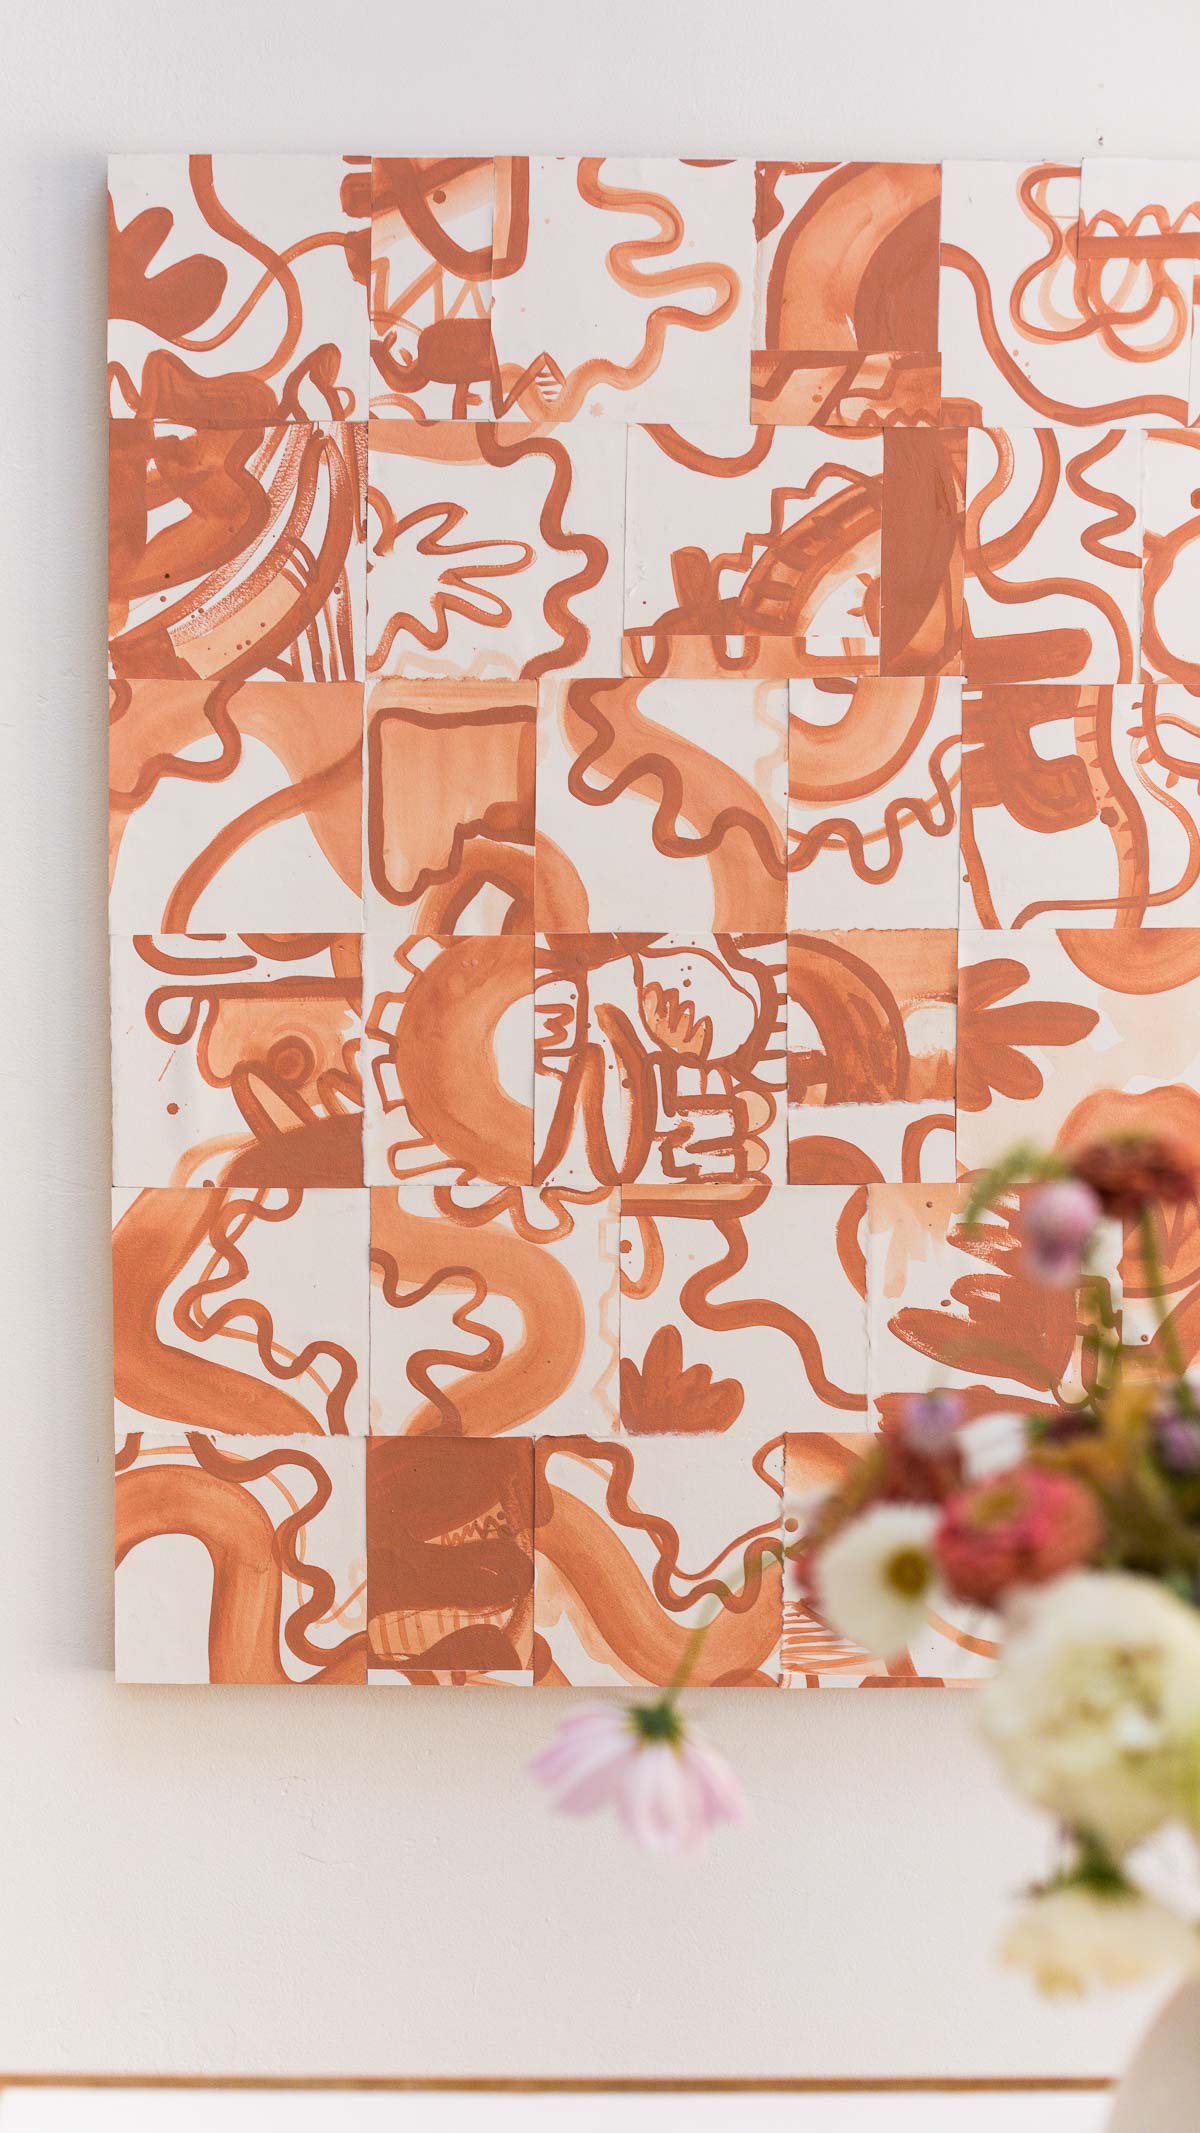

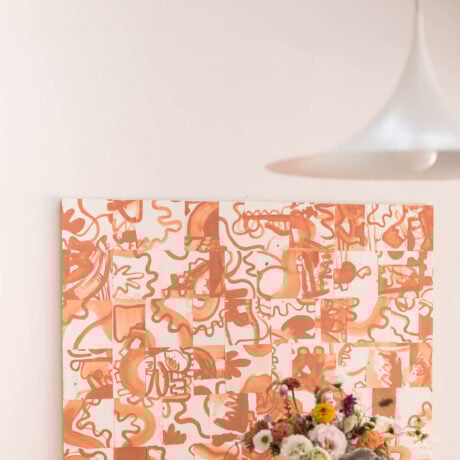
DIY Summary Artwork Challenge: The way to Make Massive Paintings for the Wall
Impressed by patchwork quilts, I made a big scale portray that’s really really easy to recreate. Any scale, any shade scheme, any talent stage. Even youngsters can get in on the motion for this one. Curious to see the way it’s made? Click on by for the tutorial.
- paint I used Canyon Ridge from BHG paint
- massive heavyweight artwork paper 22×30 or bigger I like Reeves BFK
- cradled artwork panel (or canvas), light-weight masonite, or scrap wooden
- matte medium or glue
- water
Make a number of paint washes.
-
Begin by creating a couple of paint washes in small containers, mixing simply paint and water. Wherever from 1-3 washes appears to be the candy spot.
-
The purpose with the washes is to get various levels of saturation. I sort of talked about this earlier than, however this may create extra depth within the ultimate portray, however nonetheless really feel cohesive. And it is a fairly simple means to try this.
Paint summary shapes and patterns onto paper.
-
Then start portray summary shapes, patterns, and so on onto paper – within the washes you created in the 1st step. Should you’re scuffling with what to color, strive a blind contour drawing to get began.
-
You will be reducing the paper into items later, so you do not should be treasured or exact with this a part of the method. *Relying on the specified dimension of your ultimate artwork piece, chances are you’ll have to repeat this course of with a number of sheets of artwork paper.
Create grid strains alongside the again of every completed piece.
-
Await the paint to dry. Then flip the paper over to the again and use a ruler and pencil to create grid strains throughout the complete paper.
-
You are able to do this with squares or rectangles. And they are often as huge or as small as you want.
-
Observe: The smaller / nearer collectively the grid strains are, the longer it should take to create the ultimate piece.
Lower alongside the grid strains to create smaller squares or rectangles.
-
Subsequent, minimize alongside the grid strains that you simply created to type smaller items of paper, nearly like puzzle items.
Rearrange the painted items.
Glue the items down.
-
As soon as you’ve got landed on a ultimate look that you simply like, start glueing them onto your cradled artwork panel or masonite within the order you’ve got selected.
-
I take advantage of matte medium as glue, as a result of it creates a powerful bond and is mainly invisible as soon as dry. However you should use common craft glue as nicely.
Repeat this course of till full.
-
Repeat this course of many times till the panel is totally crammed.
-
You may add a body at this level, if desired. And it is prepared to hold.
")

")


")
