There’s nothing extra annoying than a cracked or damaged ground tile spoiling the aesthetic of a superbly tiled ground. You’ll discover it each time you stroll into the room and want it weren’t there. It’s not simply unattractive, it may be damaging to you and the ground beneath.
In case you’re fortunate sufficient to have a spare tile from tiling a ground beforehand, then it received’t be lengthy earlier than you possibly can convey a ground again to its former glory. All you’ll want are a number of easy instruments, a little bit of muscle energy and the assistance of this information to make it occur.
Paul Kerr
Paul Kerr is a constructing and flooring specialist at Beatsons Constructing Provides Restricted, the place he advises owners and commerce professionals on sturdy and sensible options.
Why substitute a damaged ground tile
A damaged ground tile will must be changed, however the timing is determined by its location and the severity of the break. Right here we take a look at the frequent causes and the issues that may trigger.
Aesthetic attraction Cracked or chipped ground tiles are unappealing and can spoil the aesthetic of a ground. If apparent, it is going to draw the attention and be exhausting to disregard.
Journey hazard A damaged tile can increase the profile of the tile floor, creating a possible journey hazard. When strolling barefoot, it’s simple to catch the sting of a tile and lower your foot.
Subfloor points Cracks will permit water to ingress into the subfloor beneath the tile. If left unaddressed, the problem will solely worsen and will result in harm which may be costly to restore.
Instruments you’ll want to exchange a damaged ground tile
There are a number of instruments that you’re going to have to make the removing course of simpler. Right here we record what you may want, together with some suggestions.
QEP Molded Rubber Grout Float
A 9.5-inch grout float that makes use of a thick moulded gum rubber pad that stops absorption of supplies. A D-shaped deal with make it comfy and safe in use.
Larsen Professional Commonplace Set Flex
It is a professional-grade and cement-based ground and tile adhesive that can be utilized with most tile varieties. It’s prepared for gentle foot visitors and grouting after 18 hours.
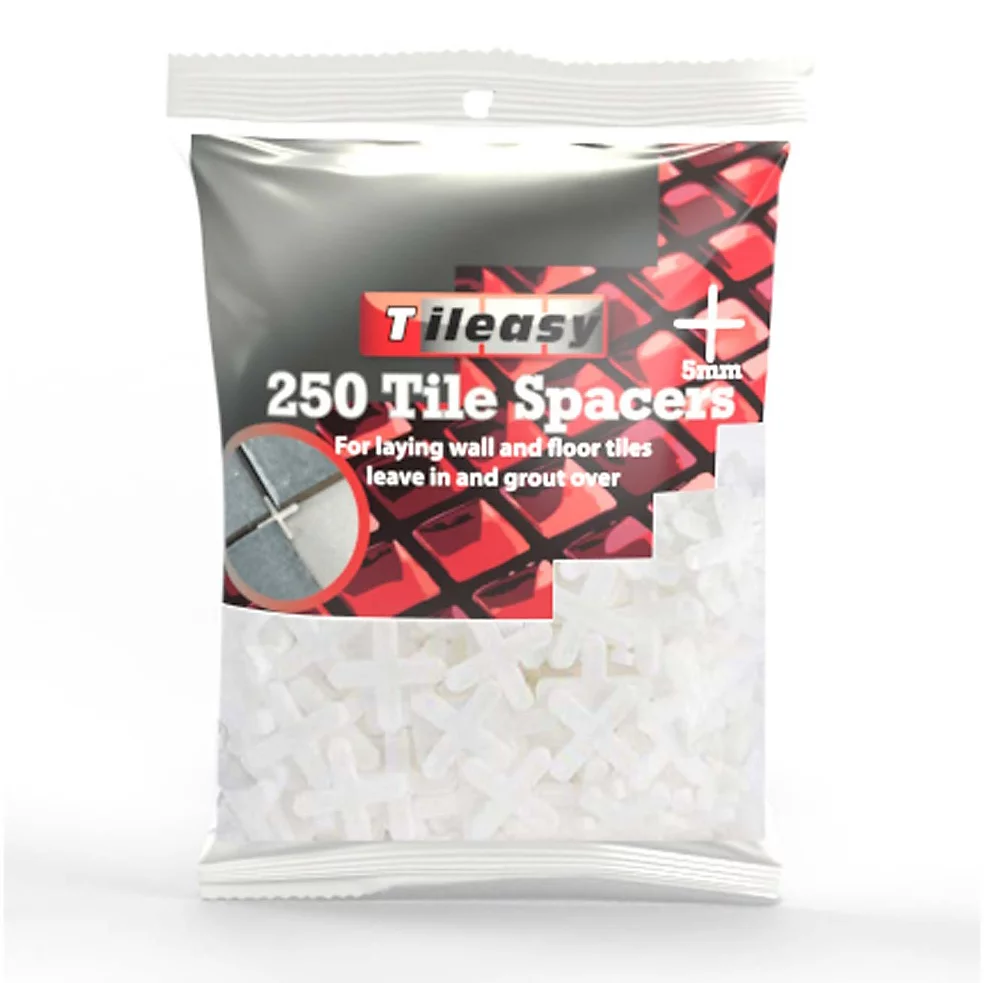
Tileasy Polystyrene 5mm Tile Spacers
A bag of 250 tile spacers designed for 5mm grout traces. Produced from high-grade polystyrene, they’re sturdy and reusable, serving to to attain excellent alignment.
Methods to substitute a damaged ground tile
Earlier than you dive in and begin changing a damaged ground tile, guarantee you could have a substitute tile or tiles. Guarantee they match when it comes to width, peak, and depth, and place them subsequent to the present tiles to evaluate how nicely the color or sample matches.
1. Take away the outdated grout
Flooring tiles are held in place by adhesive and grout, so step one is to take away the grout. Paul Kerr, constructing specialist at Beatsons, factors out, “Grout can get stronger over time and turns into brittle and troublesome to take away.”
To take away the outdated grout, you’ll want to make use of a specialist software, continues Kerr, “Use a grout rake to drag out the grout and you should definitely put on eye safety as grout can spit off in any course.” He provides, “I select to rake the grout throughout the traces in a protracted, sluggish movement; it might probably take a while to clear grout this manner.” A tip to assist velocity up the removing course of is to make use of a pointy utility knife to run it alongside the sides of the grout earlier than utilizing the rake.
Another choice is to make use of an angle grinder in the event you personal one. Make it possible for the grinding disc isn’t thicker than the grout; in any other case, you can begin slicing into the tile. Kerr shares, “Remember to cowl your eyes and mouth as these grinders can create numerous mud.” He provides, “A vacuum is useful right here to take away mud as you go alongside.”
2. Break up and take away the tile
With the grout eliminated, the following step is to interrupt up the tile and take away the fragments. Kerr says assume security. “Security glasses and lengthy sleeves are suggested right here.” There are a number of choices for breaking apart a tile. Kerr says, “You need to create a weak spot in the midst of the tile, you are able to do this by drilling into the centre of the tile, and chiselling on the gap that’s made. He provides, “If the bond is weak, it could pop up fairly simply in a single or two items.”
Thomas Oldham, co-founder, UK Development Weblog, suggests a barely totally different method: “If it’s a thinner tile, a hammer and chisel will do the job.” He provides, “Place the chisel within the centre and faucet it with the hammer to crack the tile into smaller items. For thicker stone or porcelain, scoring it first with an angle grinder makes breaking it up simpler.”
Alternatively, you can begin by simply tapping the center of the tile with a hammer. To take away the damaged tile, place the chisel underneath the tile and faucet out with a hammer.
Thomas Oldham
Thomas Oldham has spent the previous 4 years utilizing his experience of working within the engineering and building trade for over a decade to develop the UK Development Weblog – a number one on-line platform devoted to empowering people and companies within the building trade.
3. Clear up subfloor
As soon as the tile has been damaged up and eliminated, you must clear up the world. Kerr says, “You need to chisel away the mortar so the bottom floor is as degree as doable so the tile doesn’t seem increased than the remaining.” He warns, “Watch out to not chisel too closely near the opposite tiles.” Take your time and ensure all mortar is eliminated.
To assist the clear up course of, Kerr provides, “An angle grinder is nice at clearing up mortar near the sides.” Once more, take your time as you don’t need to harm the encircling tiles. Lastly, Kerr says, “Clear away the particles with a vacuum.”
4. Add new tile
As soon as the floor is degree and clear, verify that your tile matches correctly. Oldham says, “Dry laying the tile earlier than sticking it down is price the additional time.” He provides, “This allows you to verify the match, make any cuts, and line it up with the sample round it.”
Take away the tile and prep the world. Kerr says, “You need to moist it with a moist sponge (this stops the dry base absorbing an excessive amount of of the moisture out of the mortar as soon as utilized.”
He provides, “Apply a pre-mixed skinny set mortar (tile adhesive) into the house, go spherical all the sides to make sure the mortar is evenly unfold, don’t use an excessive amount of mortar as you want your tile to stay degree with the remainder of the ground.” Use spacers to get even and constant gaps across the tile.
Press the tile into the mortar and use a degree to make it possible for it’s degree with the encircling tiles. Take away any extra tile adhesive to make sure you have room for the grout.
5. Add ending touches
Go away the tile to set, verify the producer’s directions, however 24 hours must be ample. Select a grout color that matches your present grout and start regrouting the tiles. Use a grout float to work within the grout across the tile (or tiles). To complete, Kerr says, “Wipe away any further grout with a moist sponge.” Be sure to rinse out the sponge repeatedly in clear water. Go away the grout to dry. It will go away a movie on the tile. Use a dry material to shine off.
Lastly, in the event you’re laying a porous tile, you’ll want to use a sealer to guard in opposition to harm and make it simpler to scrub.
FAQ
How do I match tiles?
The best state of affairs is a spare tile, as Oldham factors out, “When you’ve got a spare tile left over from the unique set up, that’s excellent as a result of it means a assured match.” However in the event you don’t have a spare, step one is to see if the tile remains to be being manufactured. Begin by making an attempt the shop the place you initially purchased the tiles. If unavailable, do an internet search.
In case you can’t discover a excellent match, then assume exterior the field. Oldham says, “Take into consideration changing a small part to create a function as an alternative.” Select a complementary color or use an summary sample to create one thing totally different.