


I didn’t fairly get so far as I had hoped on the lavatory over the weekend, however the excellent news is that the glued-on mirror has been eliminated, the partitions have been prepped, and so they’re now prepared for primer and wallpaper!
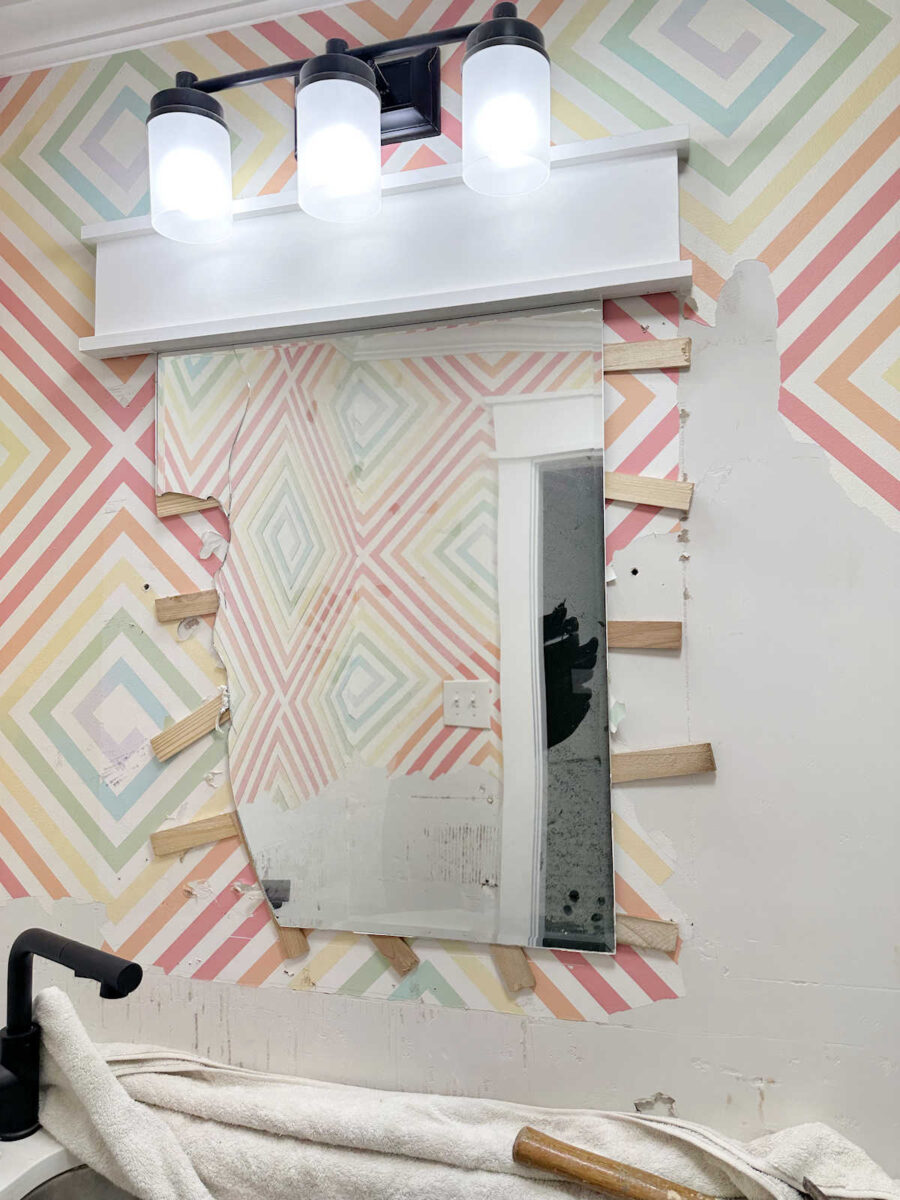
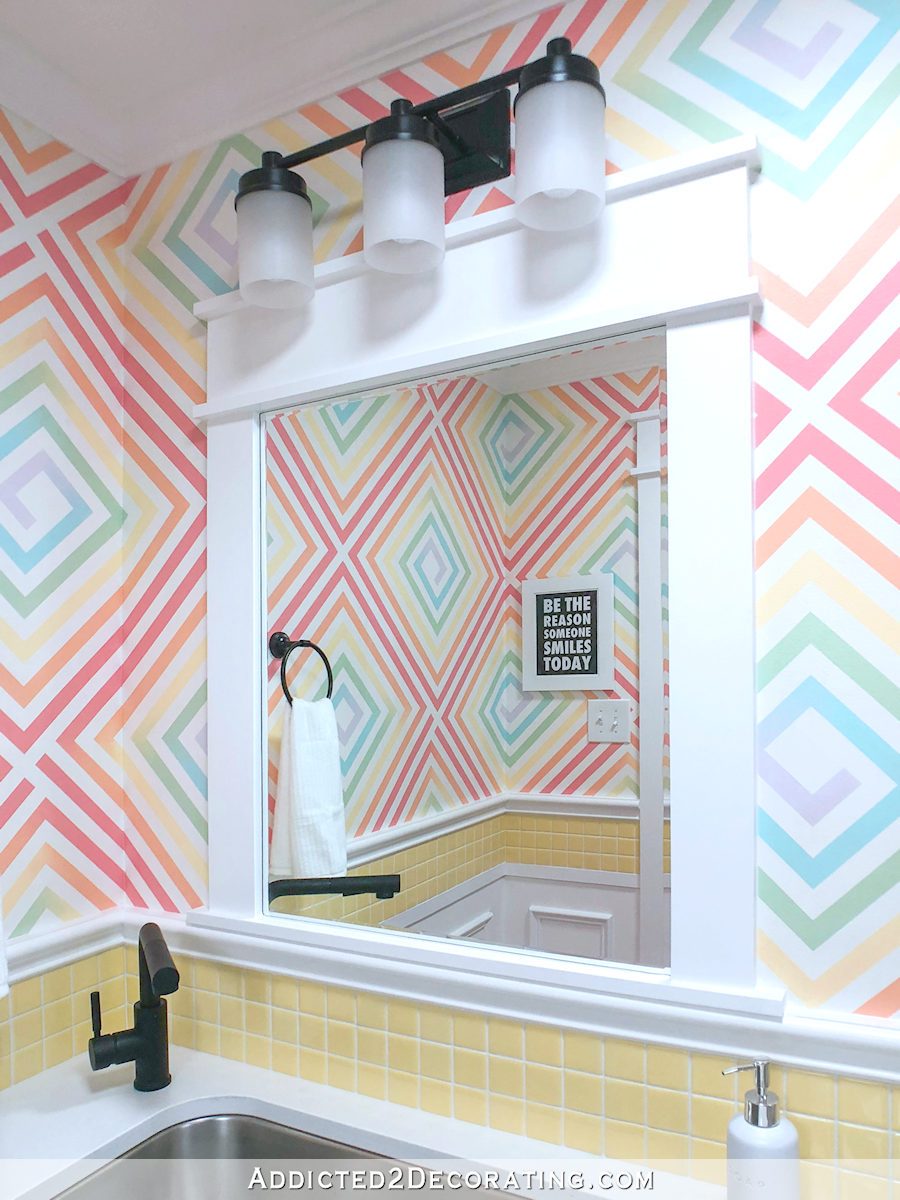
I’ll begin with the mirror removing. An enormous THANK YOU to all of you who gave me recommendations on how you can get this mirror off of the wall. It’s very clear that after I put this mirror on the wall a number of years again, I had no intention of this factor ever being eliminated. It was meant to remain on this wall till the tip of time primarily based on the quantity of mirror mastic I had used. So eradicating it was sluggish and tedious, however I simply labored patiently and methodically till every bit of it was gone.
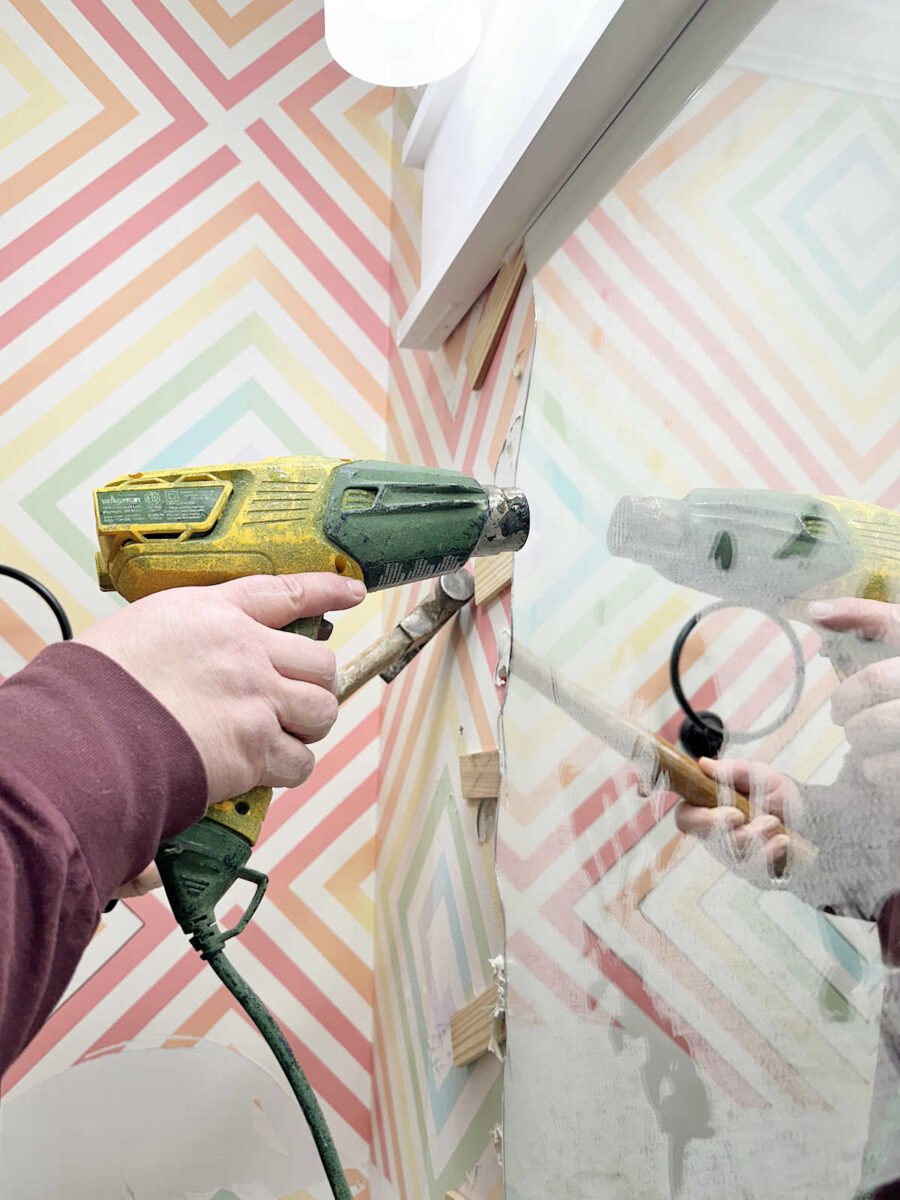
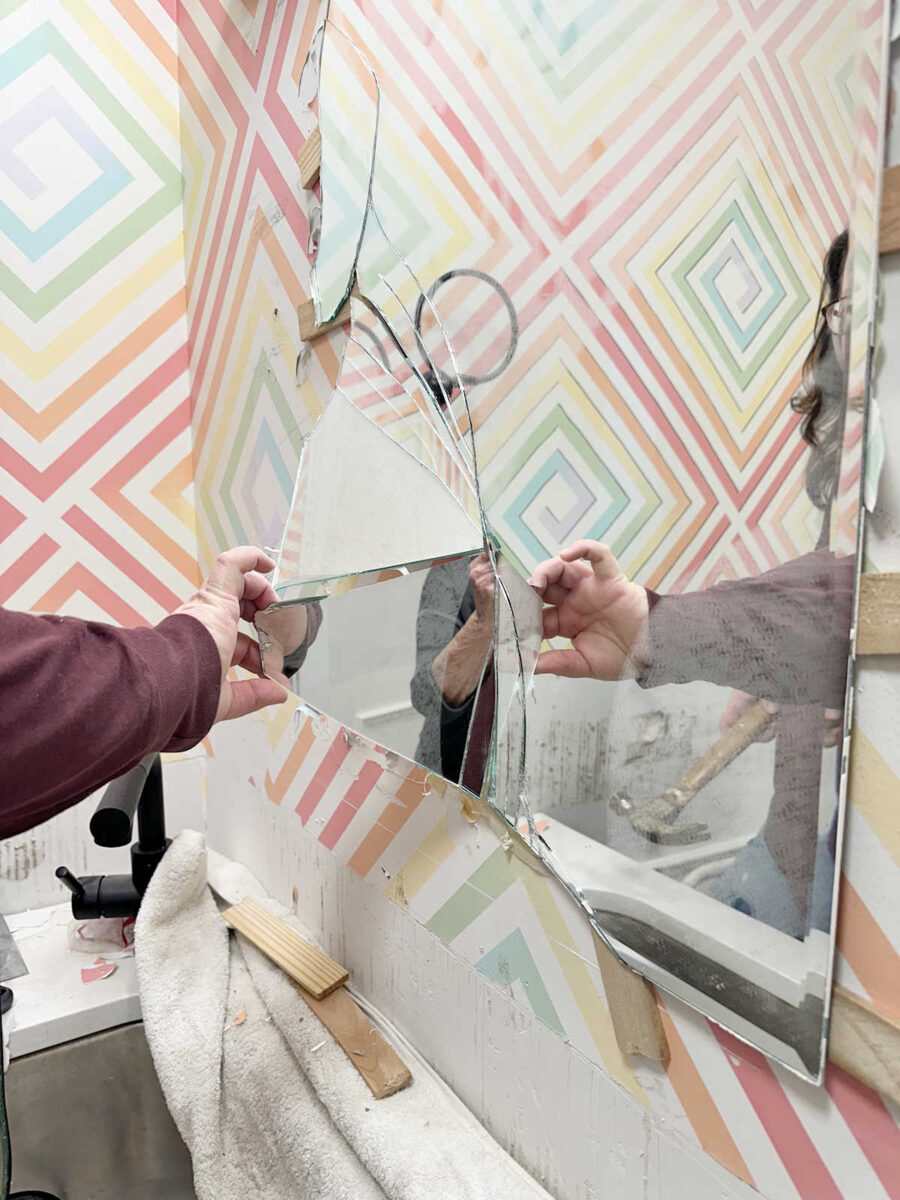
I didn’t need to must buy something (like piano wire) if I didn’t must. So primarily based in your strategies, after which seeing what I had readily available, I made a decision to make use of my warmth gun and wooden shims. That truly labored completely! To make clear, it was an ideal resolution since I wasn’t involved within the least about breaking this mirror. Since I had no plan to reuse it, I didn’t care if it broke within the removing course of. If my intent was to maintain it in a single piece, this course of wouldn’t have labored due to the quantity of mirror mastic I had used to connect it to the wall.
Utilizing the wooden shims and a hammer, I put the shims between the wall and the mirror so far as they’d go.
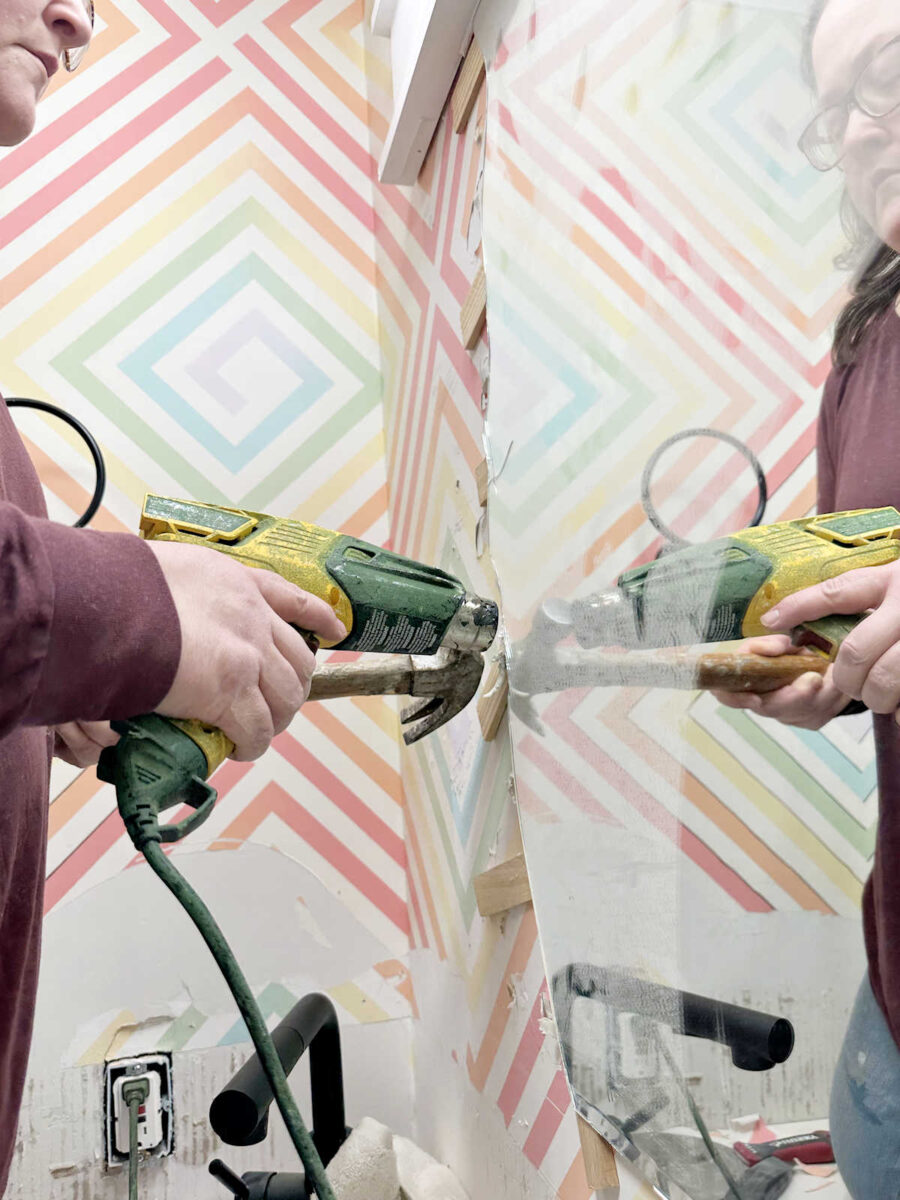
Once I felt resistance, I’d cease, use my warmth gun to melt the adhesive, after which hammer the shims in so far as they’d go till I’d really feel resistance once more.
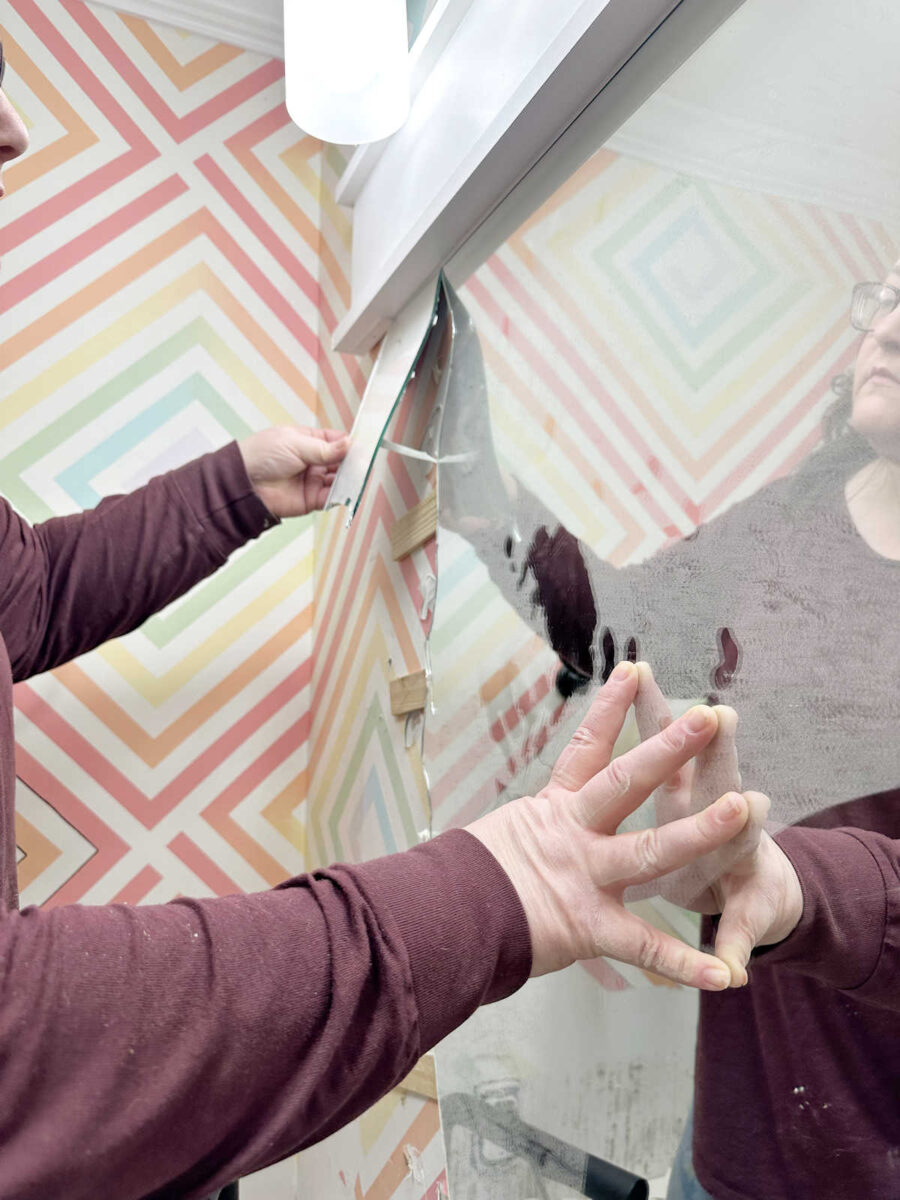
As each bit broke, I’d pull it off the wall after which repeat the method with the warmth gun and shims.
It was a fairly sluggish course of, so it took fairly a little bit of endurance.
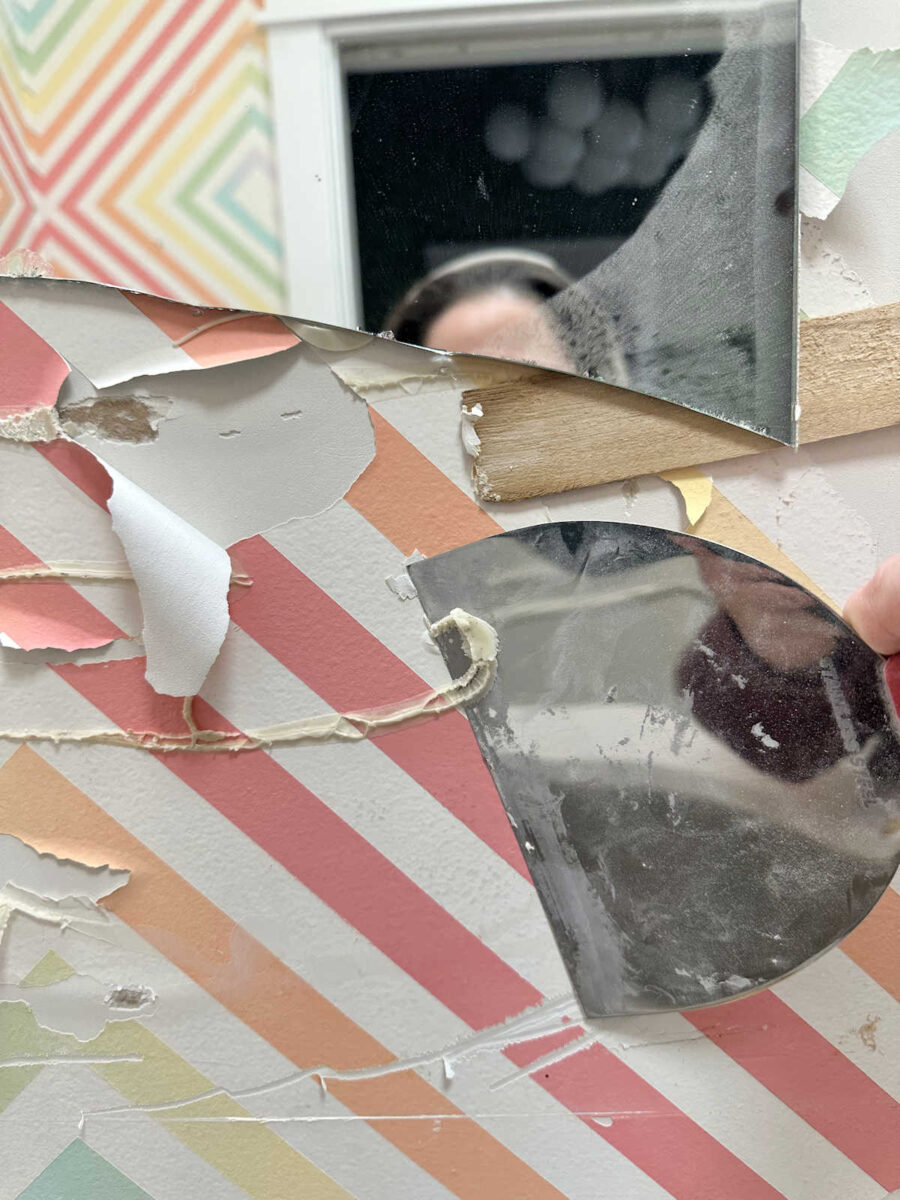
Additionally, I didn’t trouble taping the entrance of the mirror as a result of I knew that I had used a lot mirror mastic to place the mirror on the wall. Not one single piece of the mirror fell by itself. As you’ll be able to see beneath, I actually needed to pull each piece off of the wall. There wasn’t a single piece that didn’t have mastic on it.
So, lesson discovered. If I ever glue a mirror to a rest room wall once more, I’ll use a a lot smaller quantity of mirror mastic, and I’ll solely put it within the 4 corners, and perhaps one dollop within the middle of the mirror. Perhaps. However what I did when attaching this mirror to the wall was overkill, and that’s an understatement.
For any mastic that was left behind on the wall, I used my warmth gun and drywall mud knife to scrape it off. It truly got here off very simply. However as you’ll be able to see beneath, the entire course of brought on fairly a bit of harm to the wall.
So after I received the entire thing eliminated, I then needed to spend fairly a little bit of time sanding down the tough edges, mudding the entire space (together with the areas throughout the room the place the tile and trim had been eliminated), after which doing a complete lot of sanding as soon as the drywall mud had dried.
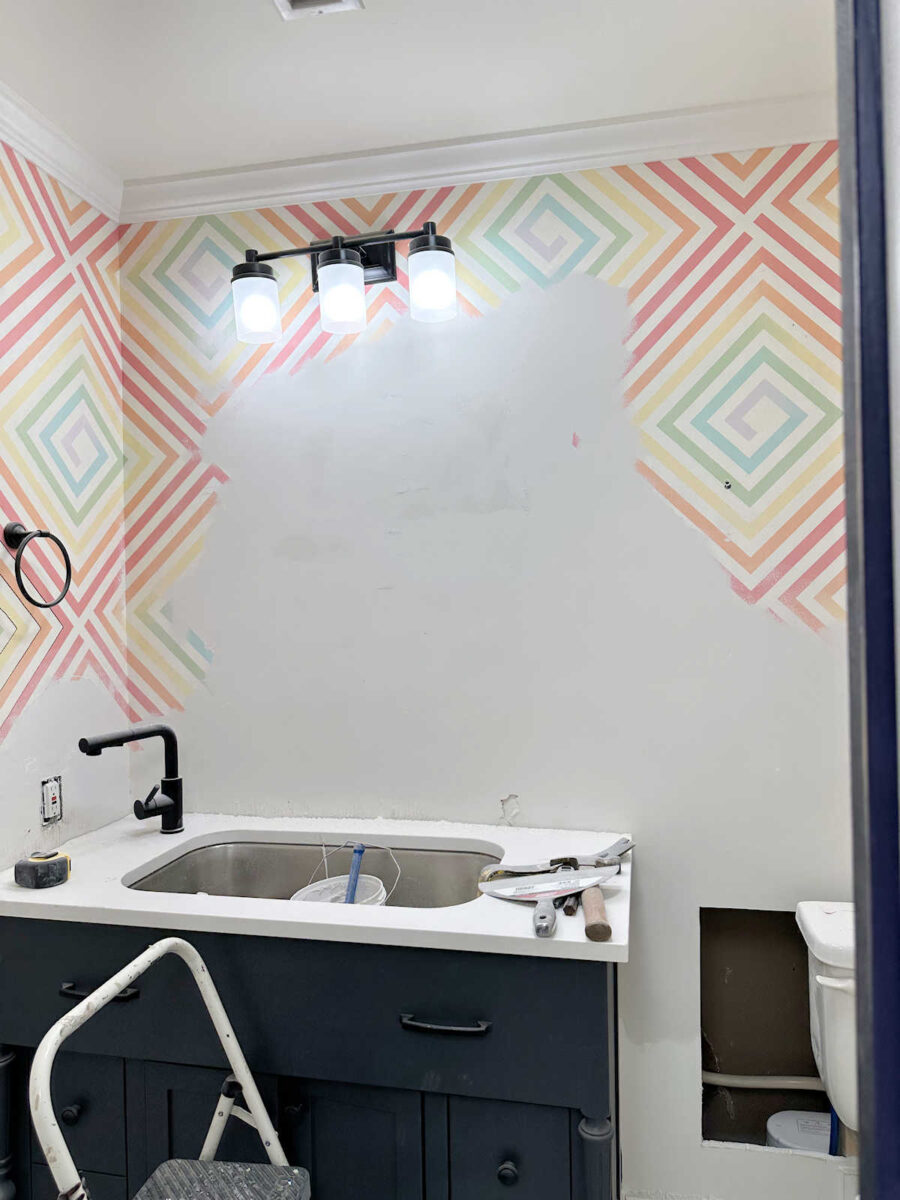
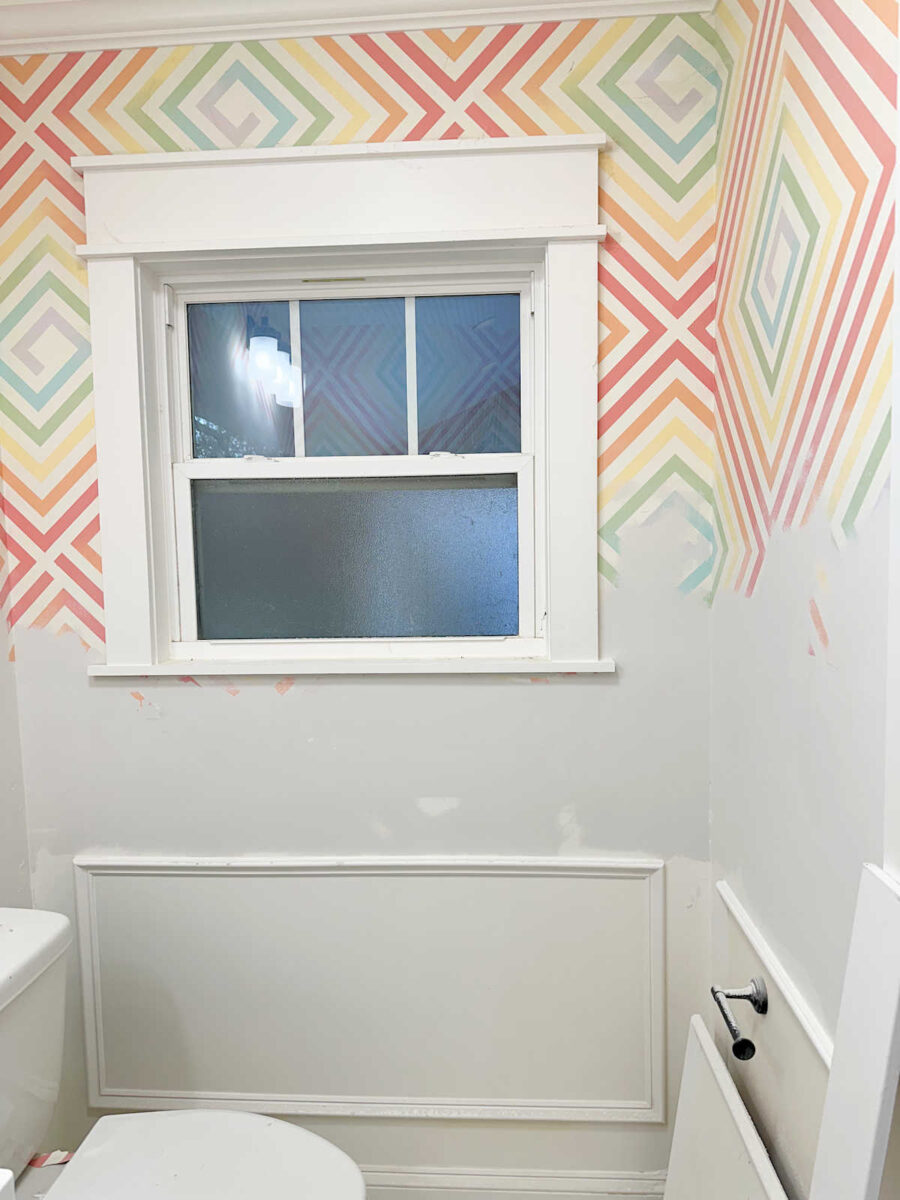
However the excellent news is that these partitions are actually sanded and prepared for primer.

I’ll give the primer about 24 hours to dry, after which I’ll be prepared to put in wallpaper! Whereas I’m ready for that, I can go forward and set up the trim to complete up the highest portion of the wainscoting and get that each one completed. I purchased the entire trim I would like for that yesterday, so I’m able to get happening that at this time.
So if it had been only a matter of the bulk having their say, the choice can be made. However since that is my home and my studio and my rest room, it’s not fairly that easy. 😀 For me, this one continues to be within the working and really has a slight edge over the eggplant self-importance.
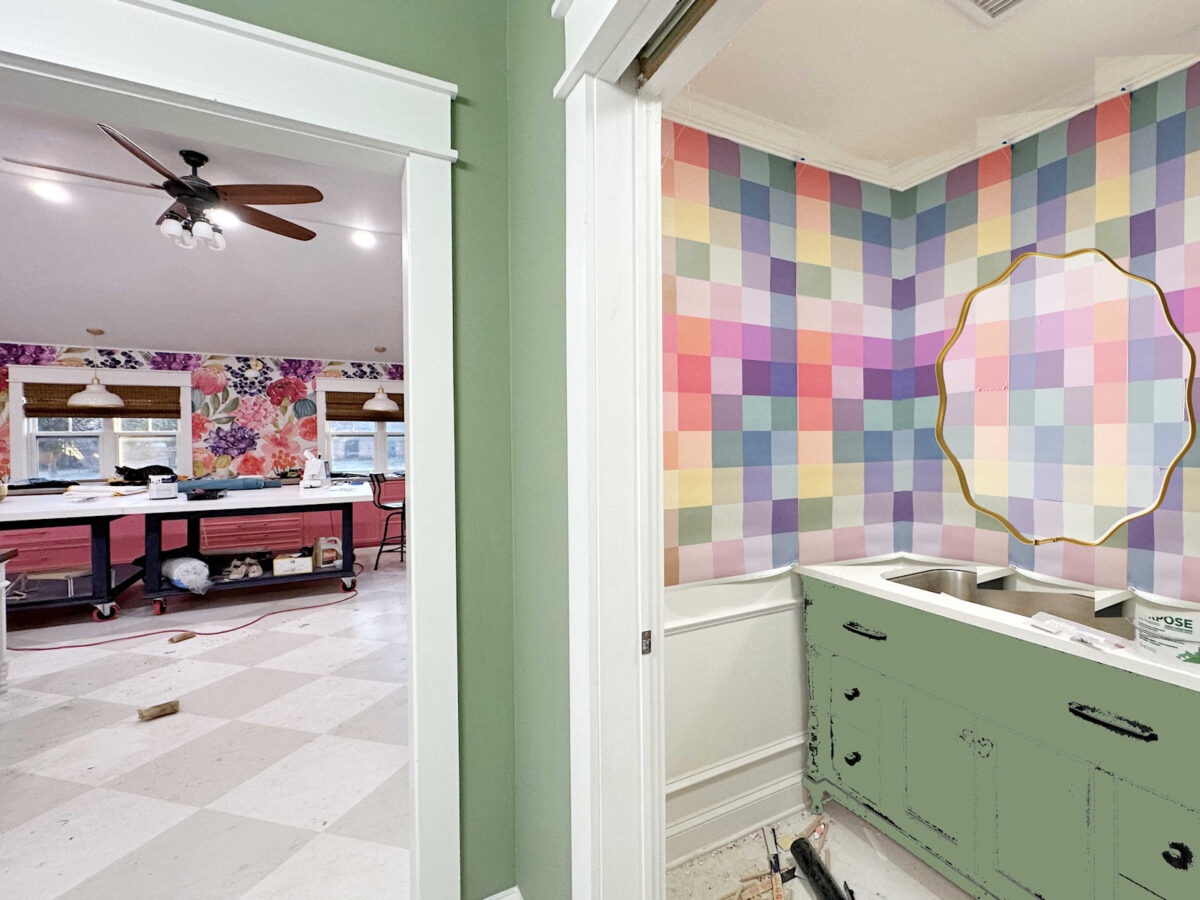
So, at this level, I don’t assume it’s extra enter that I would like. I simply must decide and get it finished. Who is aware of what I’ll find yourself with? I might flipflop between the 2 ten extra instances earlier than I’m truly standing on the paint counter in Residence Depot ordering paint. And even after it’s painted and the wallpaper is up, I might change my thoughts once more. In spite of everything, I’m me, and that’s what I do if I’m not 100% glad with one thing. 😀 But when I had been pressured to decide proper this minute, you would anticipate a inexperienced self-importance. I’d most likely make it barely lighter worth than the inexperienced on the again entry partitions of the studio. However once more, we’ll see! It would all come right down to my temper in the mean time.
Extra About My Studio Rest room
see all studio
rest room diy tasks
learn all studio
rest room weblog posts

Addicted 2 Adorning is the place I share my DIY and adorning journey as I transform and beautify the 1948 fixer higher that my husband, Matt, and I purchased in 2013. Matt has M.S. and is unable to do bodily work, so I do nearly all of the work on the home on my own. You’ll be able to be taught extra about me right here.
")

")


")
