


Issues are shifting proper alongside on my walk-in closet undertaking! I now have the entire thing trimmed out (apart from three items), however I nonetheless don’t have the beautiful molding connected but. I’ve been within the wooden filling and sanding stage for the final two days. As quickly as I get via that course of, I’ll connect the beautiful molding, do some little bit of wooden filling on these nail holes, after which begin caulking all the pieces. If issues go as deliberate, I hope to be able to prime and paint this weekend or early subsequent week on the newest!
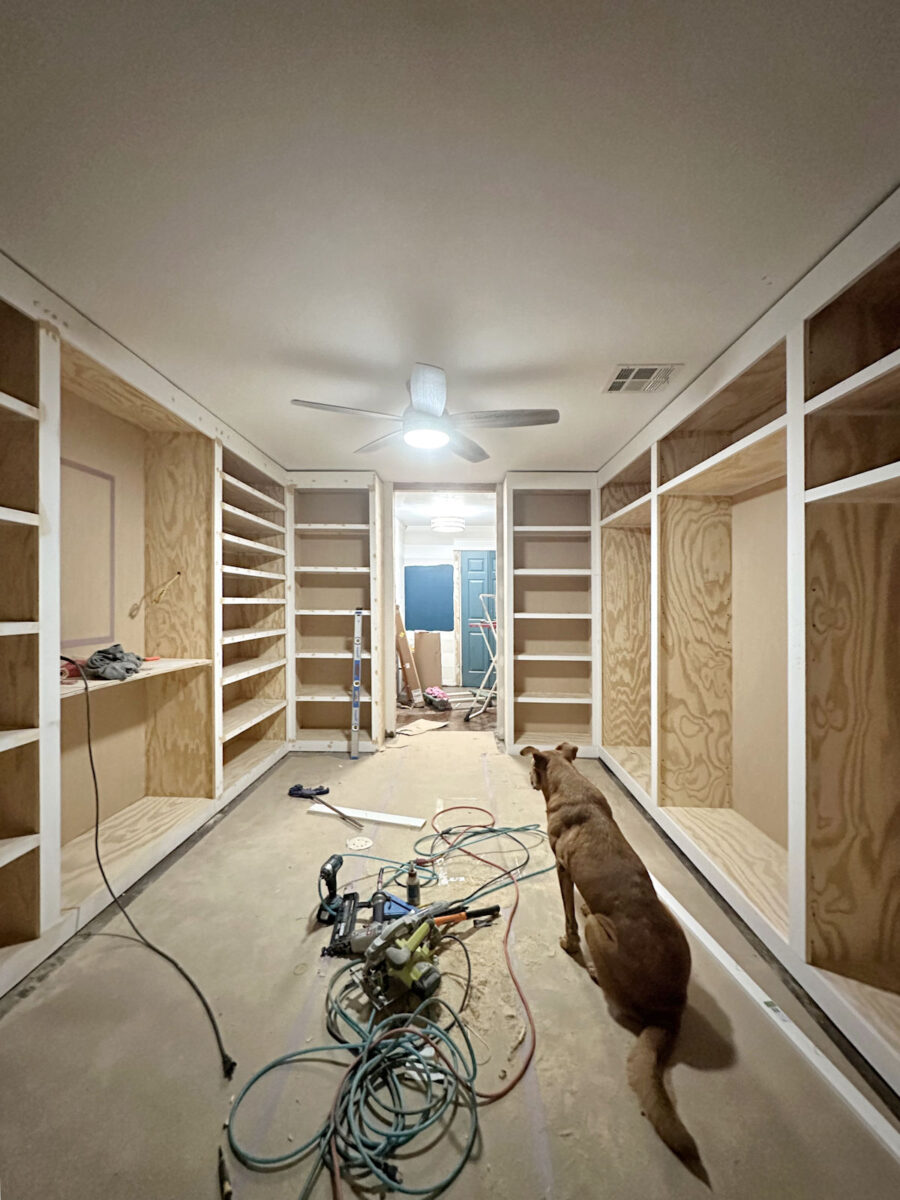
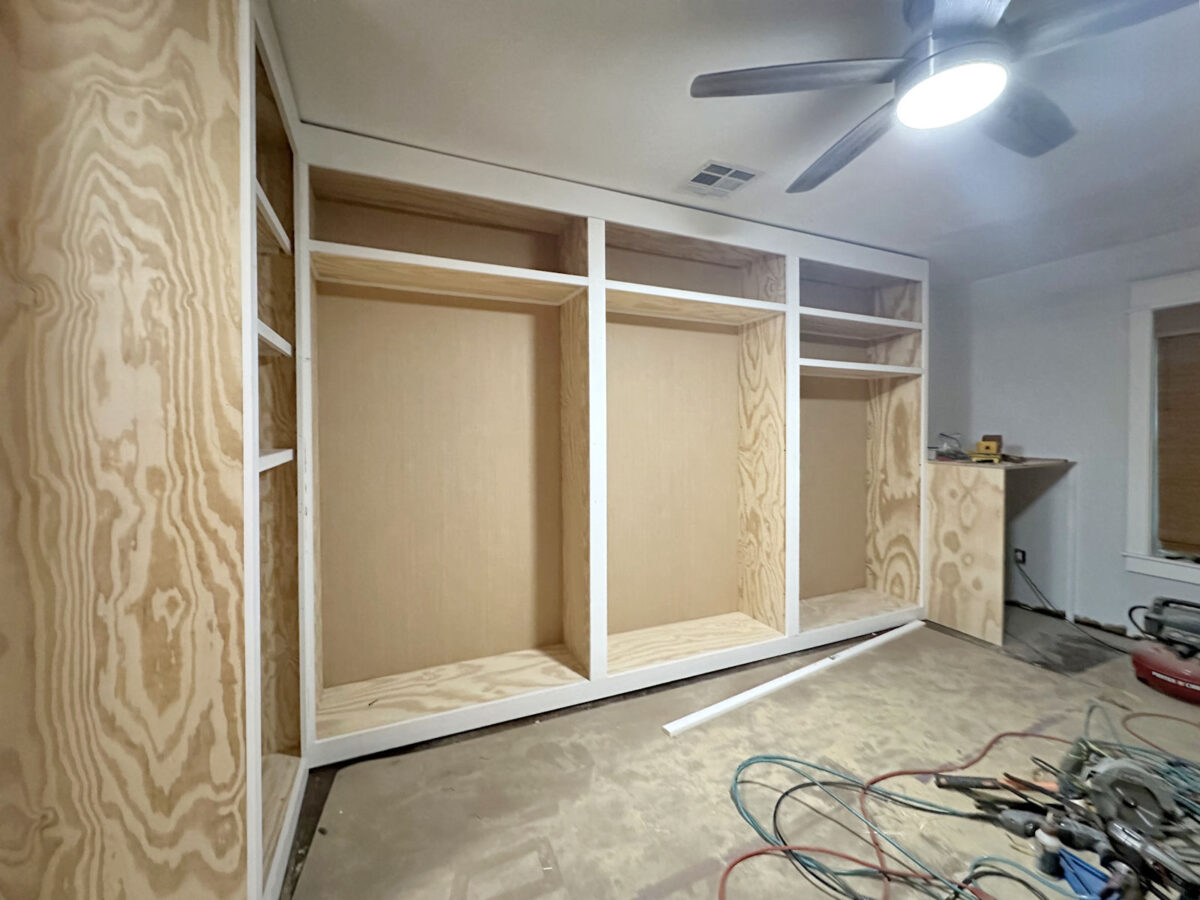
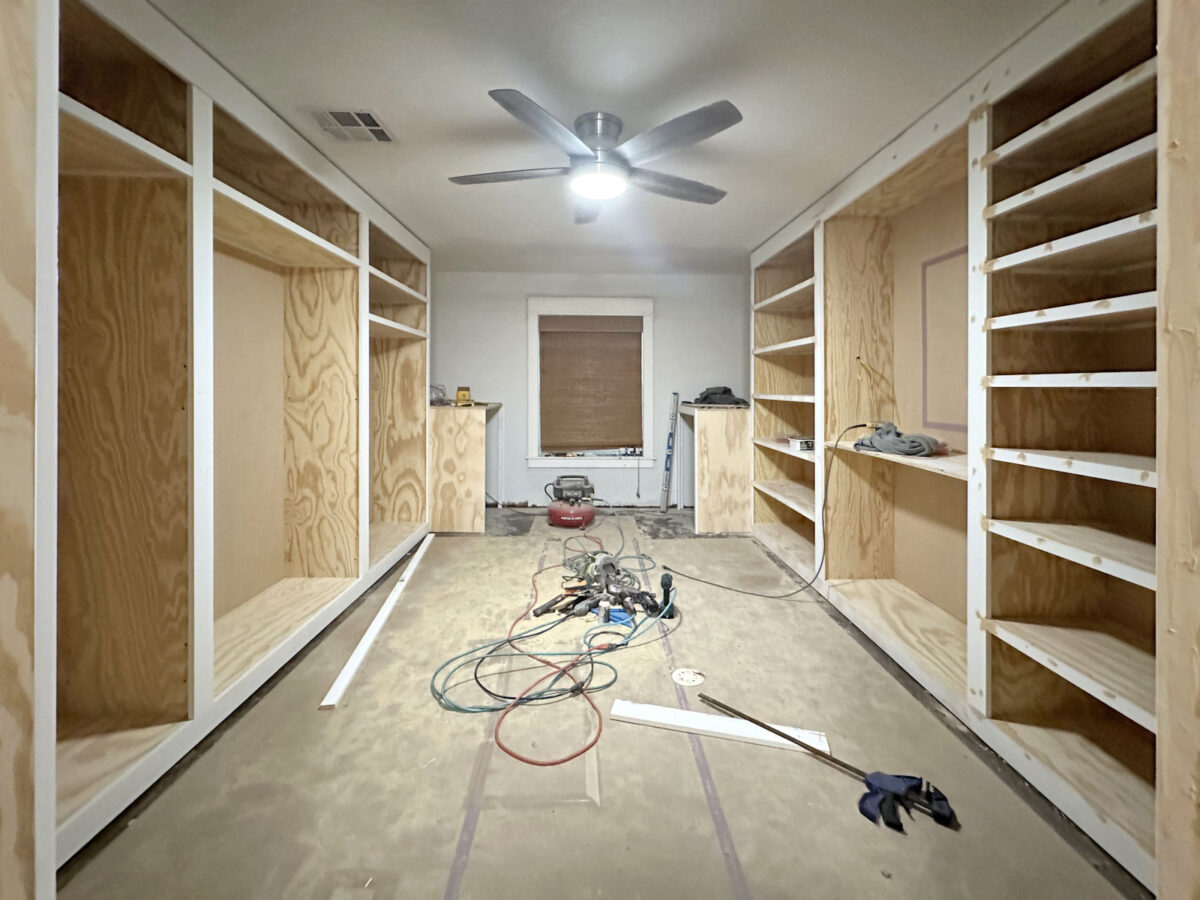
Right here’s what the closet seems to be like now that the opposite facet of the room has been trimmed out.
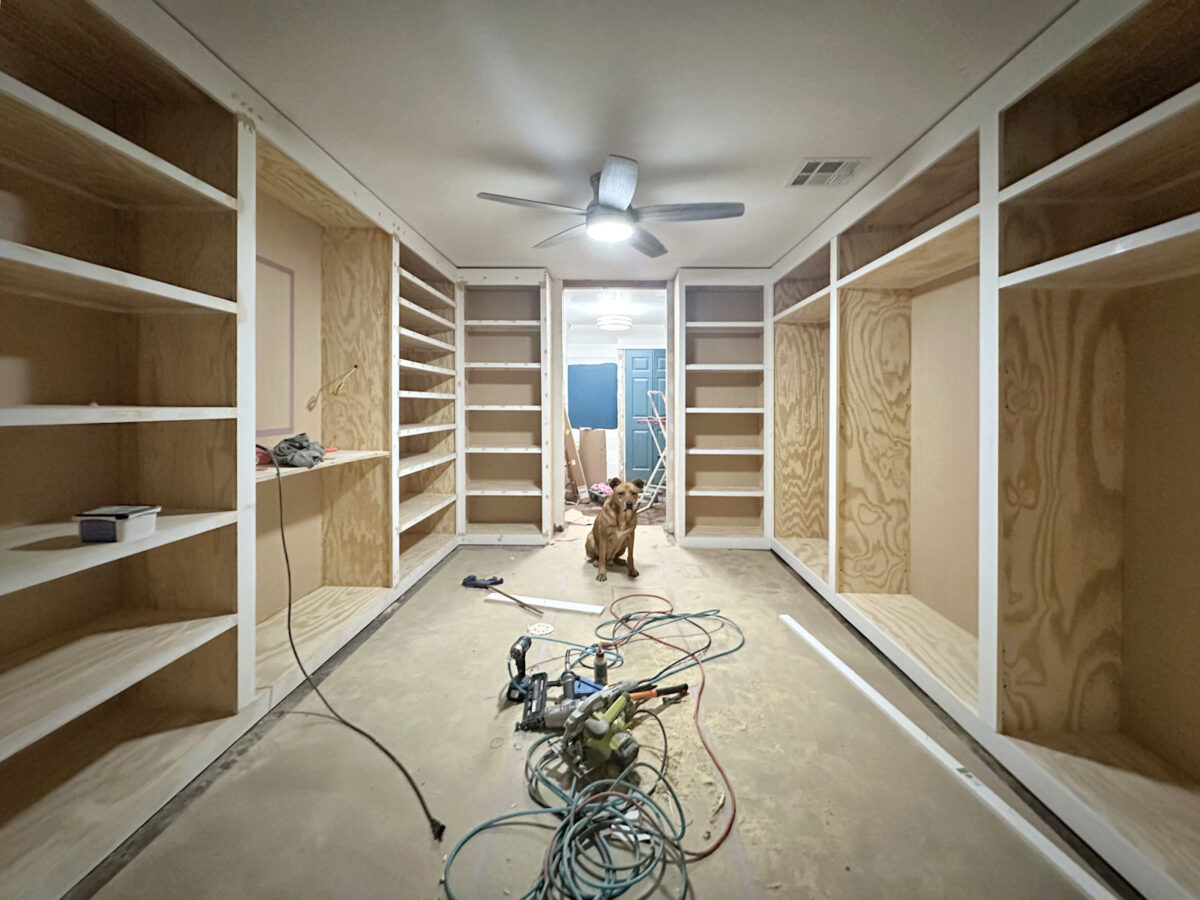
This facet of the room clearly had quite a bit much less trim that needed to be put in, nevertheless it additionally gave me essentially the most issues. I believed I’d by no means get these cabinets straight. Discover I stated “straight” and never “stage” as a result of when working in a 70+ year-old house, nothing is completely stage, sq., or plumb. That implies that if I connected the highest trim alongside the ceiling after which had the cabinets completely stage, they might look utterly off with one another. So it’s a balancing act when coping with older properties. You need issues to be as stage as attainable, realizing that they’re not going to ever be completely stage, whereas additionally making them look uniform with one another. That requires quite a lot of “splitting the distinction” when putting in cabinets inside sq. cupboard items that aren’t sitting completely plumb on an unlevel ground and with an unlevel ceiling.
However I lastly obtained them wanting proper…I feel. I did the most effective I might with what I needed to work with.
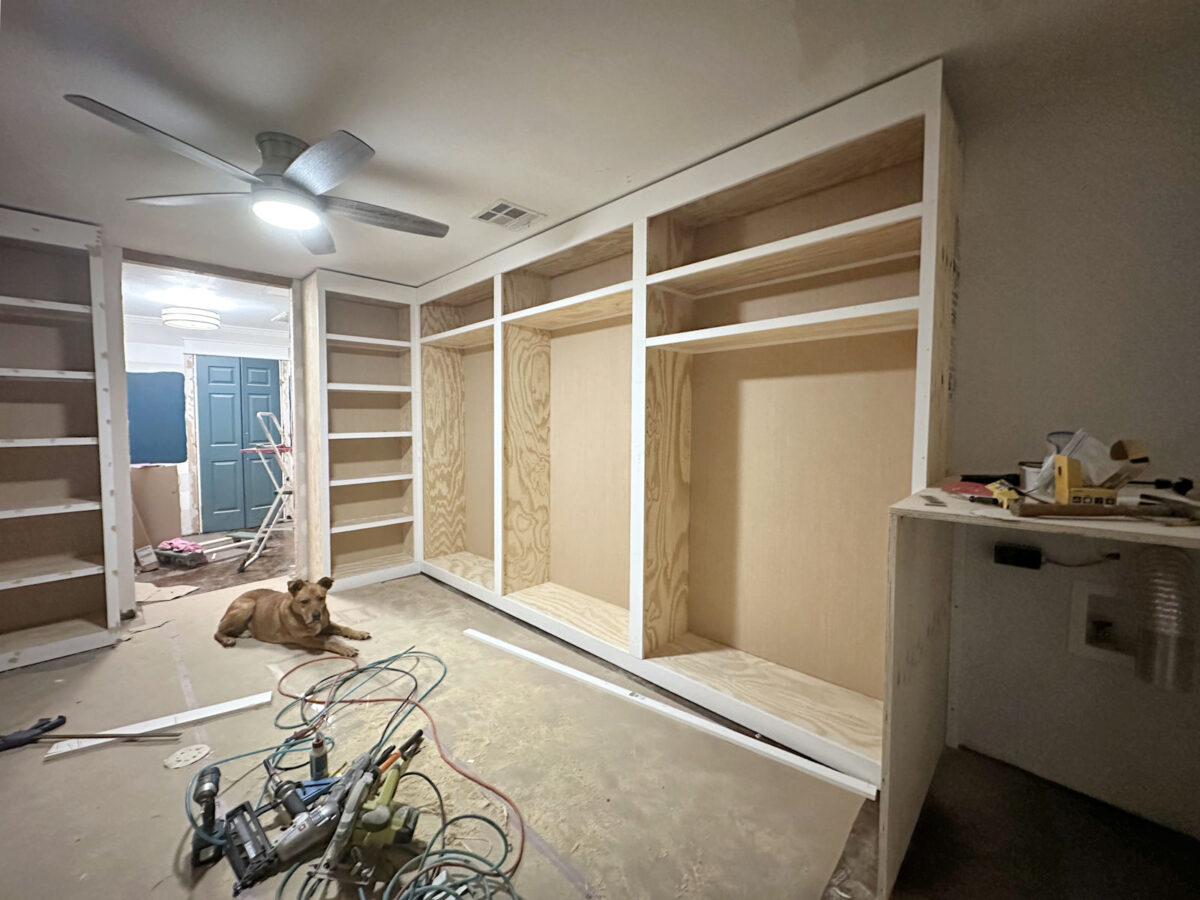
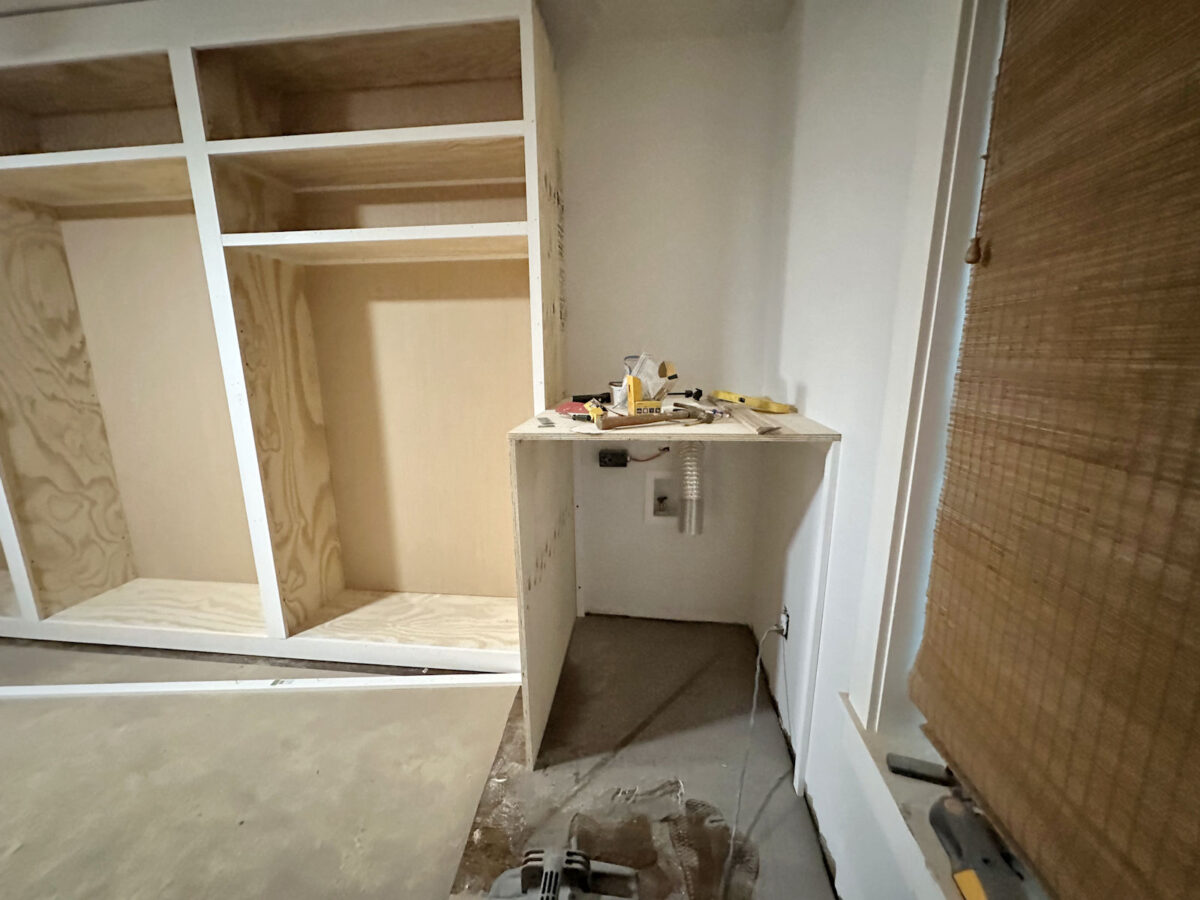
I additionally obtained a bit slowed down by redoing the cupboard on the best facet of the doorway. I had that cupboard in place and screwed to the facet cupboard, and had it nearly utterly trimmed out. Then I made a decision to redo it. The explanation?
After I put in it the primary time, in an effort to get these two cupboards completely spaced with the doorway, the sting of the cupboard on the left facet was completely aligned with the entrance fringe of the facet cupboard. However in an effort to keep that spacing across the doorway, the cupboard on the best facet needed to be hidden an inch extra behind the facet cupboard on the best that it was related to. That meant that the doorways on the left cupboard would have been an inch narrower than the doorways on the best cupboard.
That didn’t set effectively with me. I attempted to brush it off and simply transfer ahead with trimming out the cupboard, however I couldn’t let it go. So I ended up taking off the trim, unscrewing that cupboard from the facet cupboard, shifting it over an inch (which I believed I’d by no means get completed as a result of it’s such a decent squeeze), screwing these cupboards again collectively, and beginning over on the trim.
Now the 2 cupboards have the identical width displaying, and the doorways would be the similar width on each cupboards. However now the doorway isn’t completely centered between these cupboards.
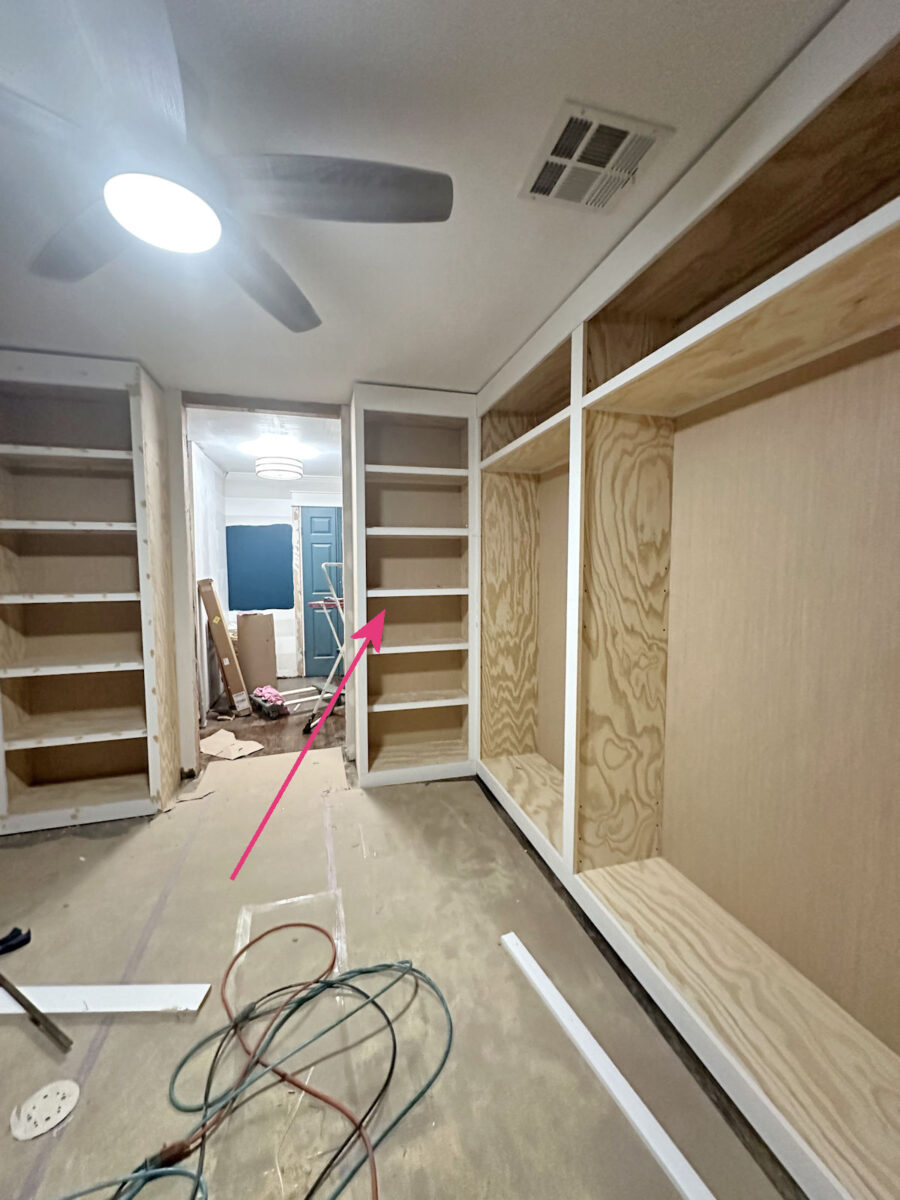
However I’ll care for that once I trim out the doorway. I’ll simply shim the door jamb on the best facet in order that it’s an inch away from the tough framing, and that may make the doorway centered between the cupboards once more. Happily, I’ve 38 inches of width to work with on that doorway, so shedding an inch on that facet received’t matter.
As a result of I wasted lumber by re-trimming that cupboard, I ran out of lumber to make use of to trim out the dryer cupboard. However that’s okay. It’s simply three items. I can try this in a short time.
Nevertheless it’s shifting proper alongside! I nonetheless have at the least two days of labor forward of me (not counting at the moment as a result of I don’t have quite a lot of time to work on Wednesdays). However tomorrow and Friday shall be all about wooden filling, sanding, and caulking.
And I’m so glad I waited to complete the doorway till after the cupboards had been all put in! It nonetheless wants some framing and drywall completed earlier than I can trim out that doorway. However had I already completed that, it might now be off heart with the cupboards. Now I can get the doorway completely centered with the cupboards on the primary go ’spherical.
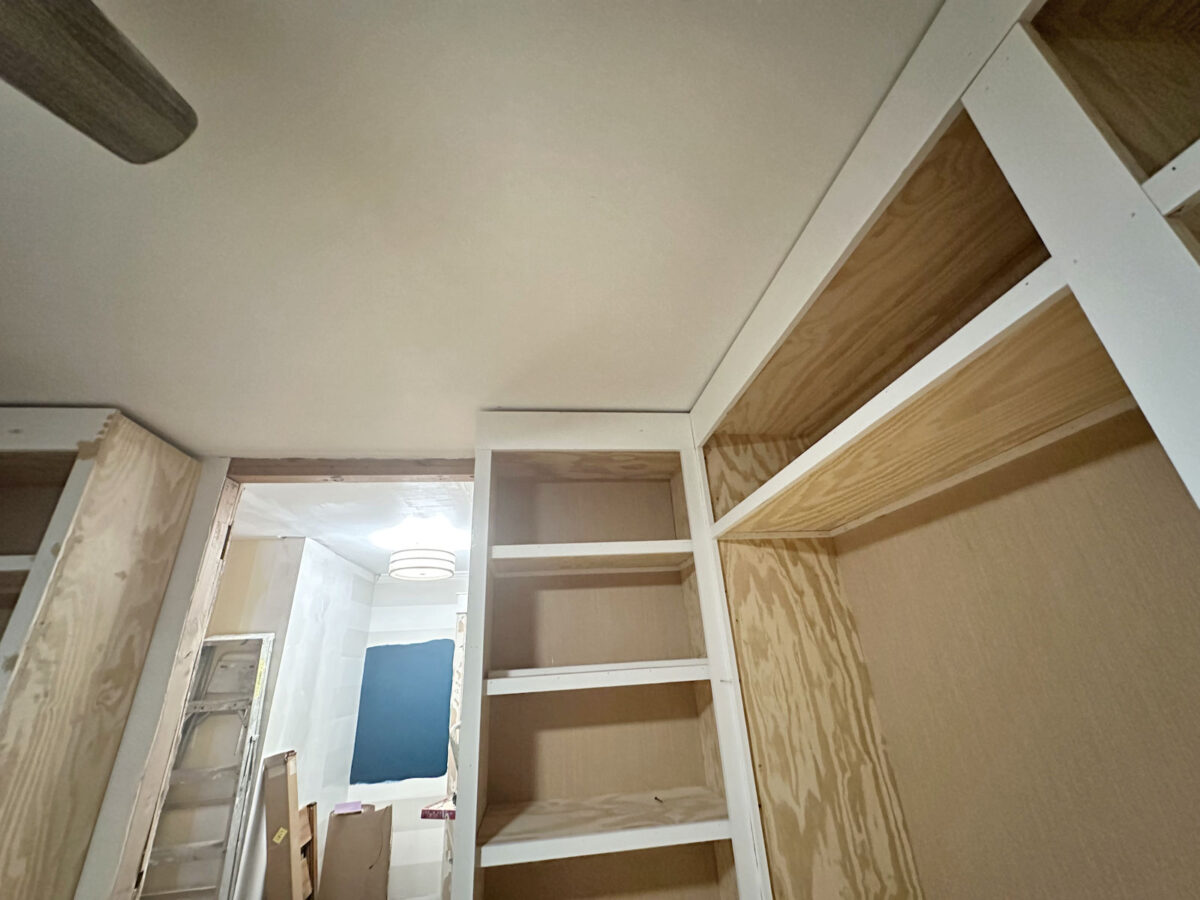
Additionally, I wish to level out that the hole between the highest trim and the ceiling will disappear as soon as the beautiful molding goes on. The crown molding will disguise that hole and go all the best way to the ceiling.
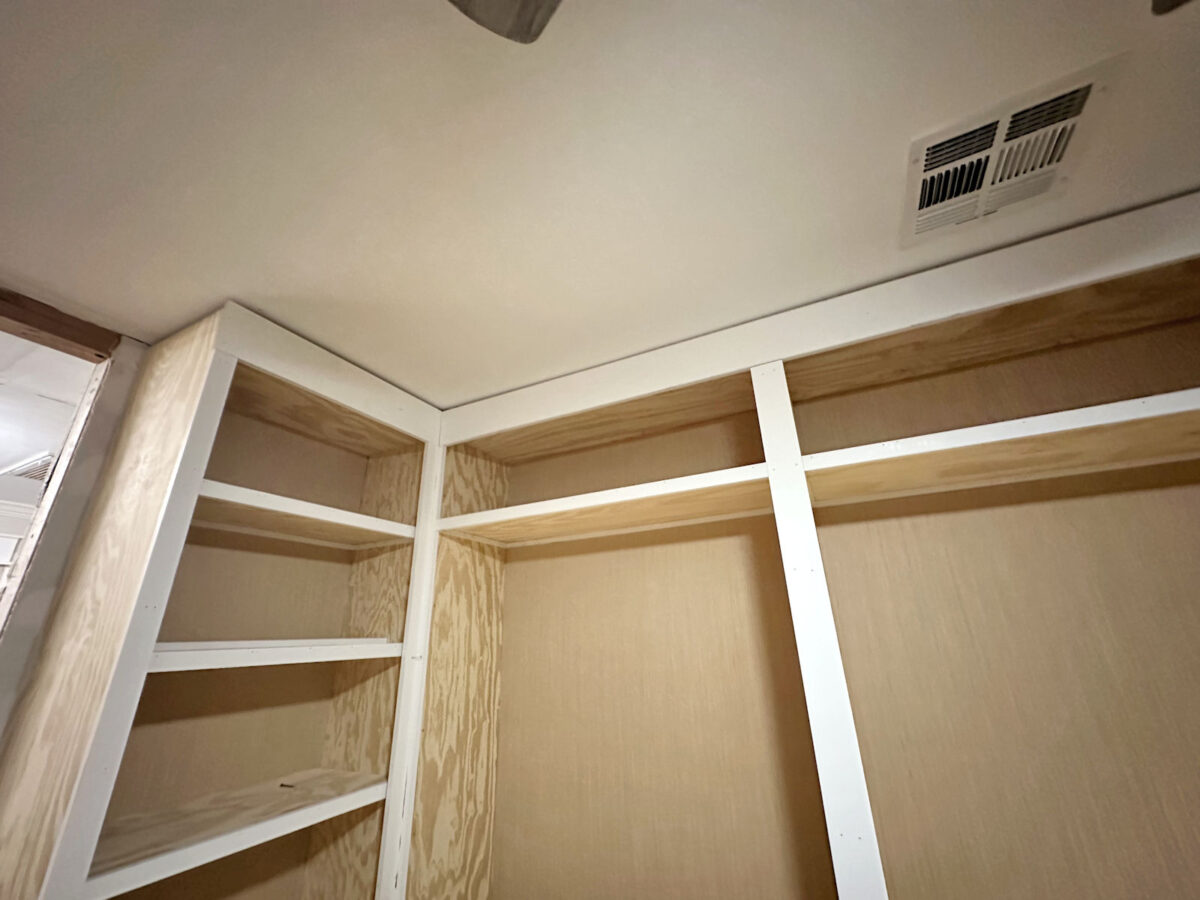
And right here’s a glance again the opposite route. I’m so enthusiastic about how that is shaping up!!

Addicted 2 Adorning is the place I share my DIY and adorning journey as I rework and beautify the 1948 fixer higher that my husband, Matt, and I purchased in 2013. Matt has M.S. and is unable to do bodily work, so I do nearly all of the work on the home on my own. You possibly can study extra about me right here.
")

")


")
